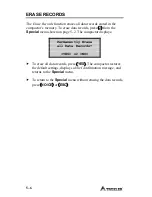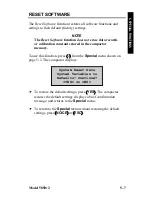
5–4
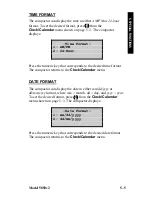
The top line of the display shows the current clock setting. To
accept this setting, press
ENTER
. The compactor returns to the
Clock/Calendar
menu. To change the clock setting, enter the
current time using the numeric keys and press
ENTER
. The
compactor returns to the
Clock/Calendar
menu.
NOTE
The hour and minutes must be entered as two-digit
numerals, with leading zeroes as required. For example,
to set the time to
7:06
, press
0
7
0
6
, and then
press
ENTER
.
CHANGE DATE
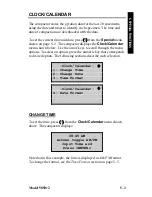
To set the date, press
2
from the
Clock/Calendar
menu shown
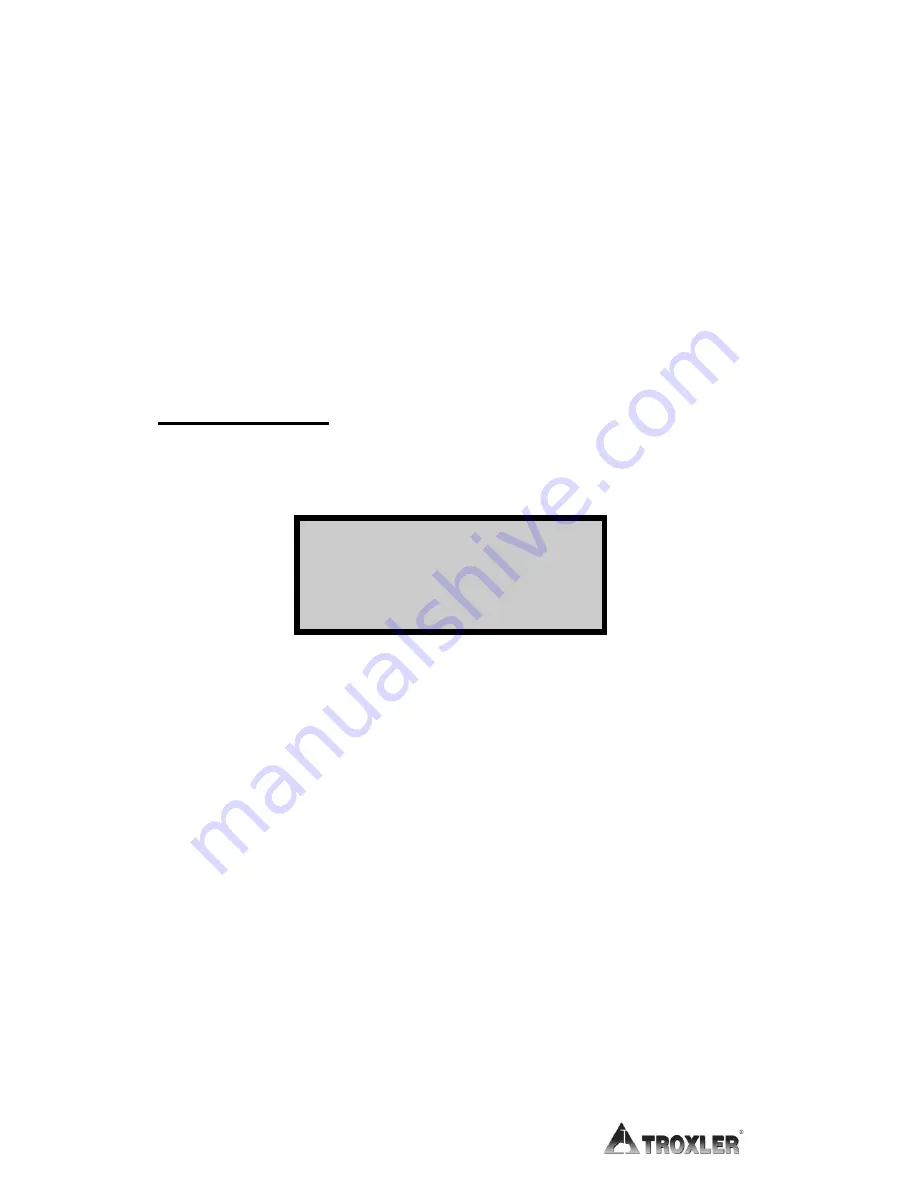
on page 5–3. The compactor displays:
04/08/2009
mm/dd/yyyy
Input Date and
Press <ENTER>
Note that in this example, the date is displayed in
mm/dd/yyyy
format. To change the format, see the
Date Format
section on page
5–5.
The top line of the display shows the current date setting. To accept
this date and return to the
Clock/Calendar
menu, press
ENTER
.
To change the date, enter the current date using the numeric keys
and press
ENTER
. The compactor returns to the
Clock/Calendar
menu.
NOTE
The month and day must be entered as two-digit
numerals, with leading zeroes as required. The year
must be entered as a four-digit numeral. For example, to
set the date to
April 8, 2009
, press
0
4
0
8
2
0
0
9
, then press
ENTER
.
Summary of Contents for 5850v2
Page 10: ...x LIST OF TABLES Table Title Page Table 2 1 Control Panel Keys and Button 2 2...
Page 17: ...Model 5850v2 1 7 1 INTRODUCTION Figure 1 1 Model 5850v2 Gyratory Compactor...
Page 27: ...Model 5850v2 2 3 2 SETUP OPERATION Figure 2 1 Model 5850v2 Control Panel Layout...
Page 35: ...Model 5850v2 2 11 2 SETUP OPERATION part numbers 106952 or 106953...
Page 37: ...Model 5850v2 2 13 2 SETUP OPERATION the chamber door...
Page 62: ...4 8 Figure 4 3 Routing Load Cell Cables ROUTE CABLES THROUGH NOTCH LOAD CELL...
Page 68: ...4 14 NOTES...
Page 76: ...5 8 NOTES...
Page 86: ...Appendix A 10 NOTES...
Page 99: ...Model 5850v2 Index...
Page 100: ...NOTES...
Page 102: ...12...

