SeaKing Sidecan Sonars
0374-SOM-00013, Issue: 01
56
© Tritech International Ltd.
16. Creating the Mosaic Image
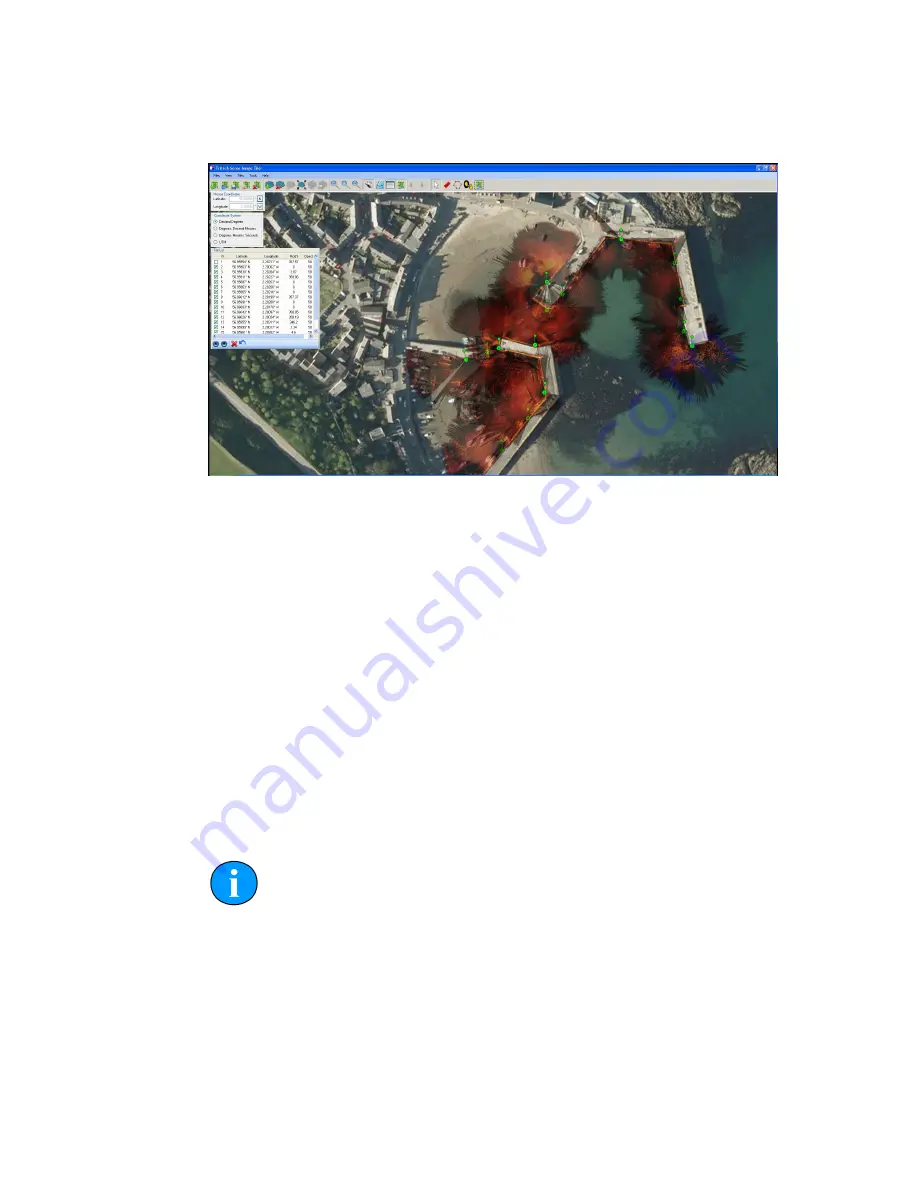
Figure 16.1. Completed Mosaic
A mosaic as shown in Figure Figure 16.1, “Completed Mosaic” can be created with
the Sonar Image Tiler using a background chart, and sonar image tiles with their
associated world files. The user must first set a background to place the image tiles.
This background is called a "chart"; although if an actual survey chart is not available
a blank canvas can be used. There is also the option to use the first added tile
as a reference. All image tiles and background chart or blank canvas require geo-
referencing. This is done during the creation of the chart by entering
Position
Co-ordinates
for the top-left corner and a chart
Width
and
Height
.
With a background chart in place the sonar image tiles can then be loaded and any
position or rotation corrections made. The entire chart and tiles, or a selected area,
can be exported as an image file and a (separate) world file.
This chapter is organised into sections explaining the process of creating a mosaic,
the tools available to the user, and also exporting an image or saving the project.
Note
Load Project
allows a previously created chart, collection of tiles
and markers to be loaded for further editing or for selecting an area to be
exported as a bitmap.
16.1. Overview of Process
Prior to starting the mosaic process it is necessary to obtain the following:


