33
OSD Operation
(continued)
User Management
(continued)
3. The group information screen that appears is similar to the user
information screen, except that the
Status
section is not displayed.
Edit the group information the same as with a user account.
4. When your selections have been made click
Save
.
5. When the Operation Succeeded popup appears, click
OK
.
6. Click
Group
in the List panel to return to the main screen. The new
group appears in the list and in the main panel, as well.
At this point you can do any of the following:
• Assign users to the group by selecting the
Members
tab in the
group’s notebook. (See
Assigning Users to a Group from the
Group’s Notebook
section under
User Management
for details.)
• Assign port access rights for a group by selecting the
Devices
tab.
(See
Device Assignment
section for details.)
• Add more groups and/or users and finish configuring the group
account later.
Groups – Modifying Groups
To modify a group, do the following:
1. Click the group’s name in the Group list or select the group’s name
in the Main Panel and click
Modify
.
2. Make any necessary changes to the group account and click
Save
.
Groups – Deleting Groups
To delete a group do the following:
1. Select the group’s name in the main panel and click
Delete
.
2. A confirmation dialog box will appear asking if you are sure you
want to delete the selected group account. Click
OK
.
Assigning Users to Groups
There are two ways to assign users to a group and remove them from a
group; via the User’s notebook or Group’s notebook.
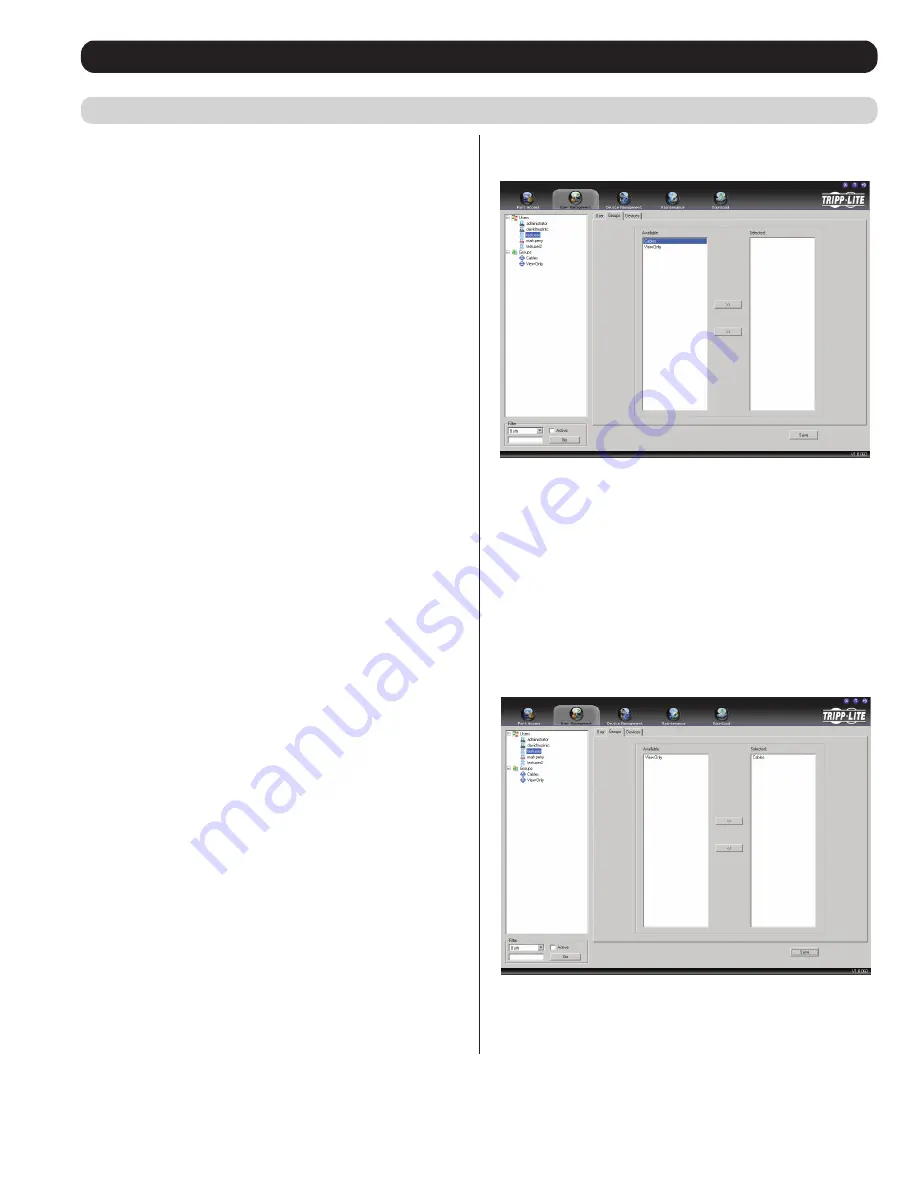
Assigning Users to a Group via the User’s Notebook
To assign a user to a group from the User’s notebook, do the
following:
1. Select the user’s name from the User List or select the user’s name
from the Main Panel and click
Modify
.
Note:
Super Administrators
can not be assigned to a group, as they
already have access to the entire installation.
Removing Users From a Group via the User’s Notebook
To remove a user from a group from the User’s notebook, do the
following:
1. Select the user’s name from the User List or select the user’s name
from the Main Panel and click
Modify
.
2. When the user’s notebook appears, select the
Groups
tab. A screen
similar to the one below appears:
3. In the
Selected
column, select the group that you want to remove
the user from.
4. Click the Left Arrow to remove the group’s name from the
Selected
column and put it back into the
Available
column. Click
Save
.
2. When the user’s notebook appears, select the
Groups
tab. A screen
similar to the one below appears:
3. In the
Available
column, select the group that you want the user to
be in.
4. Click the Right Arrow to put the group’s name into the
Selected
column and click
Save
.


