


30
OSD Operation
(continued)
Blade Configuration
(continued)
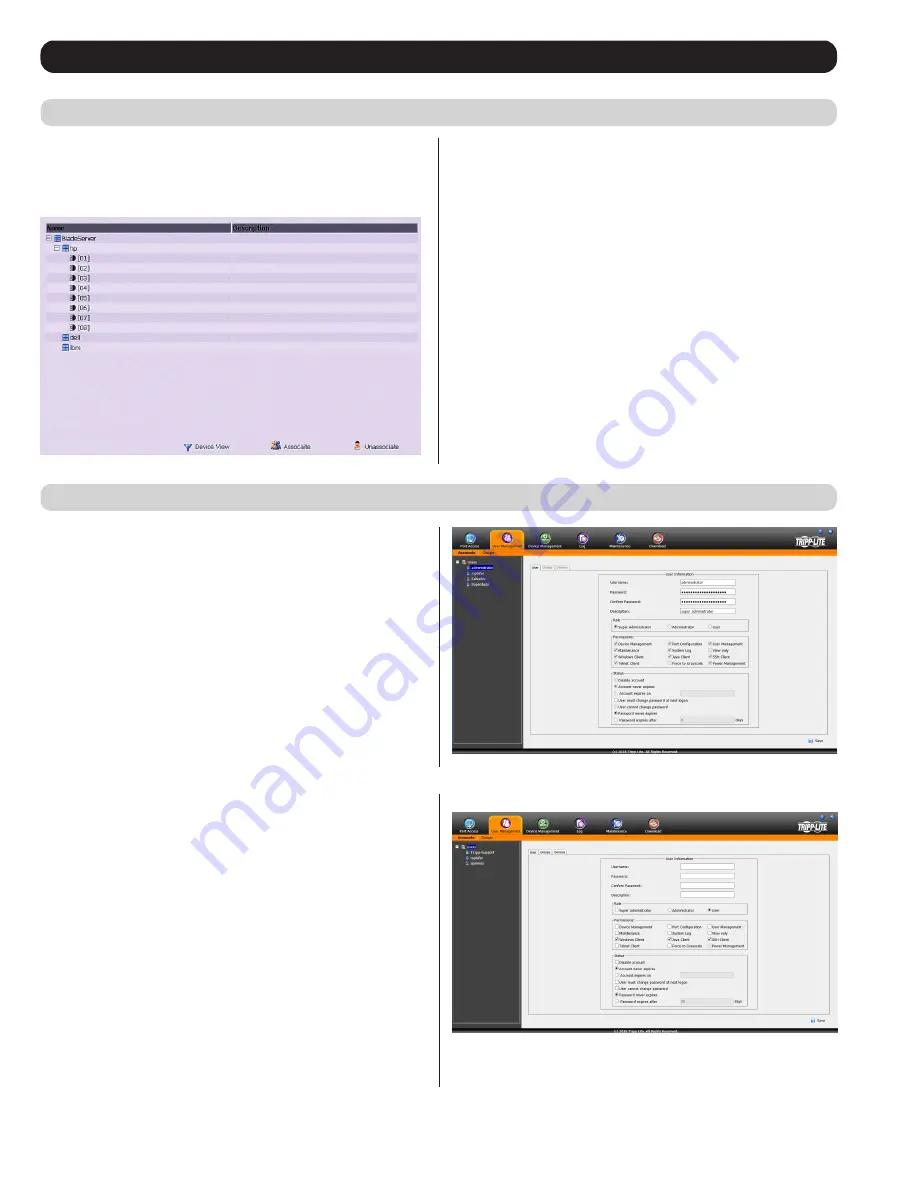
Blade View
At the bottom of the main panel is a button labeled
Blade View
, which
toggles between
Device view
and
Blade view
. Click on it to bring up
the
Blade View
.
Blade View
lists all of the blade servers (IBM and Dell servers) and
individual blades (HP servers) that are installed on the system, and
the ports (if any) that they are associated with. To make an association
from the blade view, you first select a blade server or blade, then select
a KVM port to associate it with as follows.
1. Select the blade server or blade in the main panel.
2. Click
Associate
.
3. In the screen that appears, select the port that you want to associate
it with.
4. Click
Save
.
After the association completes successfully, the blade icon appears
next to the associated port in the Sidebar tree. To access the device
running on the blade, click on its entry in the Sidebar tree.
Disassociating Ports
To break the association between a port and a blade or blade server,
simply select the association in the main panel, and then click
Unassociate
.
The
User Management
section allows Super Administrators, and
Administrators and Users who have been given
User Management
permission, to add/edit accounts on the KVM switch. If an account
has not been given
User Management
permission, the
User
Management
icon will not show up in the OSD when they log in. The
User Management
section is displayed differently when accessing
the OSD via web browser or one of the non-browser clients. The web
browser version contains two sub-sections, one for
Accounts
and one
for
Groups
. The non-browser version contains one section, in which
both User accounts and
Group
accounts are displayed in the list on the
left side of the screen. The non-browser version also includes filtering
options below the User/Group list.
Note
: Administrators with User
Management permission can only add/edit Administrator and User
accounts. Users with User Management permission can only add/edit
User accounts. Super Administrators can add/edit all account types.
Adding User Accounts
There is a default Super Administrator account on the KVM switch
that can be used to set up the KVM switch. The default Super
Administrator username is
administrator
, and the default password
is
password
. It is strongly recommended that you update this default
accounts username and password to something unique. To add a new
user account, do the following:
1. Highlight
Users
from the list on the left side of the page, and
then click the
Add
button at the bottom of the screen. The user
information page opens.
2. Enter in the appropriate information for the account you are
creating, and click the
Save
button when you are done. The contents
of the user information screen and their meanings are described in
the table below.
3. Upon clicking
Save
, a prompt appears to inform you that the
operation succeeded. Click the OK button to exit.
User Management


