


76
7
ESSENTIAL TOOLS AND SETTINGS
This chapter provides important information you need to know before you proceed with the setup
procedure and the calibration process.
7.1
AUDIO CLOCK SETTINGS
At various times during the setup procedure, you may need to check the status of the audio clock or to manually change
its settings
By default, the audio clock automatically switches to Slave mode when you select a digital source, or to Master mode
when you select an analog source. However, during the calibration procedure, you will select the microphone inputs, and
you will later switch to the Blu-ray player source to verify the sound of the system. At some point, the Altitude
32
may be
set to slave mode but may not be receiving any clock information if the digital source is not connected. In this situation,
the system is not able to produce sound, like pink noise or sine. If this happens to you, please set the clock to Master
more, or simply switch to an analog input.
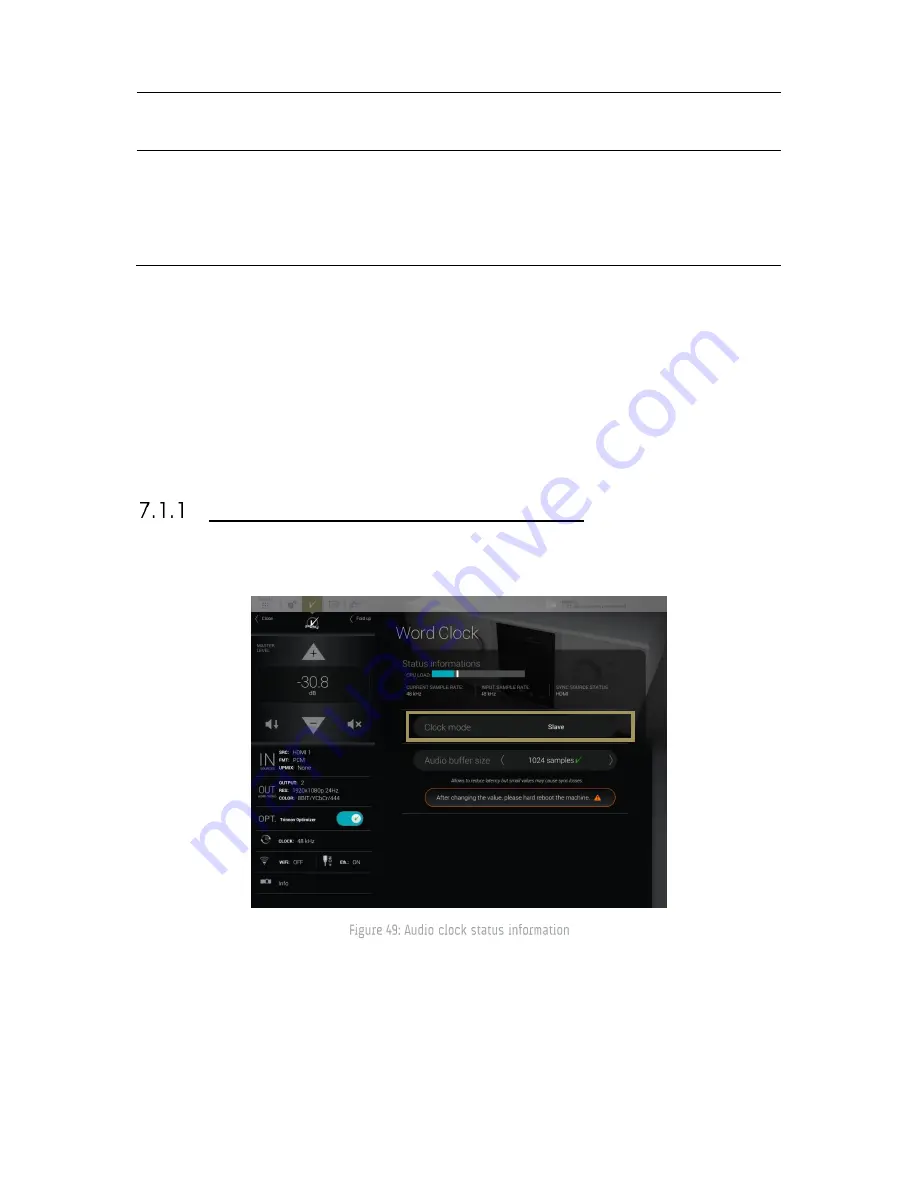
AUDIO CLOCK STATUS INFORMATION
The Word Clock page in the main window provides information about the status of the audio clock:
The information about the status of the audio clock includes:
the clock mode: slave or master. This setting can be changed in the Setup/Clock page of the Advanced Settings
interface (see below).
the current sample rate: the sample rate currently used by the Altitude
32
. If the clock is in slave mode it
corresponds to the input sample rate. If the clock is in master mode, it corresponds to the sample rate selected
in the Setup/Clock page of the Advanced Settings interface.
the input sample rate: the detected sample rate of the currently selected input.
the current sync source: may be internal, if the clock mode is set to master, or related to the currently selected
source.
Summary of Contents for Altitude 32
Page 1: ...1...
Page 2: ...2...
Page 3: ...3 ALTITUDE32 USER GUIDE Software version v4 1 Last update February 1 2017...
Page 4: ...4...
Page 14: ...14...
Page 20: ...20 1 5 UNPACKING THE ALTITUDE32 You will find in the Altitude32 packaging...
Page 85: ...85...
Page 122: ...122 Point the front red LED to the center of the speakers set...
Page 165: ...165 CONNECTION ORDER...
Page 166: ...166...
Page 167: ...167...


