


Seeker D User’s Guide
Document Num., Rev. 4
May 2018
Page 45
Selecting a Preset Frequency
The Preset Frequencies display is used to select the RF signal level measurement
frequency presets used by the Seeker D. The preset frequencies are numbered from 0 to 9
and can be configured using the Seeker Setup software.
The Seeker D is programmed at the factory with the following preset frequencies:
FREQ # Default Enabled Primary Frequency Secondary Frequency
Tag
1
YES
YES
612.0000
None
1
2
NO
YES
138.0000
None
1
3
NO
NO
<empty>
None
N/A
4
NO
NO
<empty>
None
N/A
5
NO
NO
<empty>
None
N/A
6
NO
NO
<empty>
None
N/A
7
NO
NO
<empty>
None
N/A
8
NO
NO
<empty>
None
N/A
9
NO
NO
<empty>
None
N/A
0
NO
NO
<empty>
None
N/A
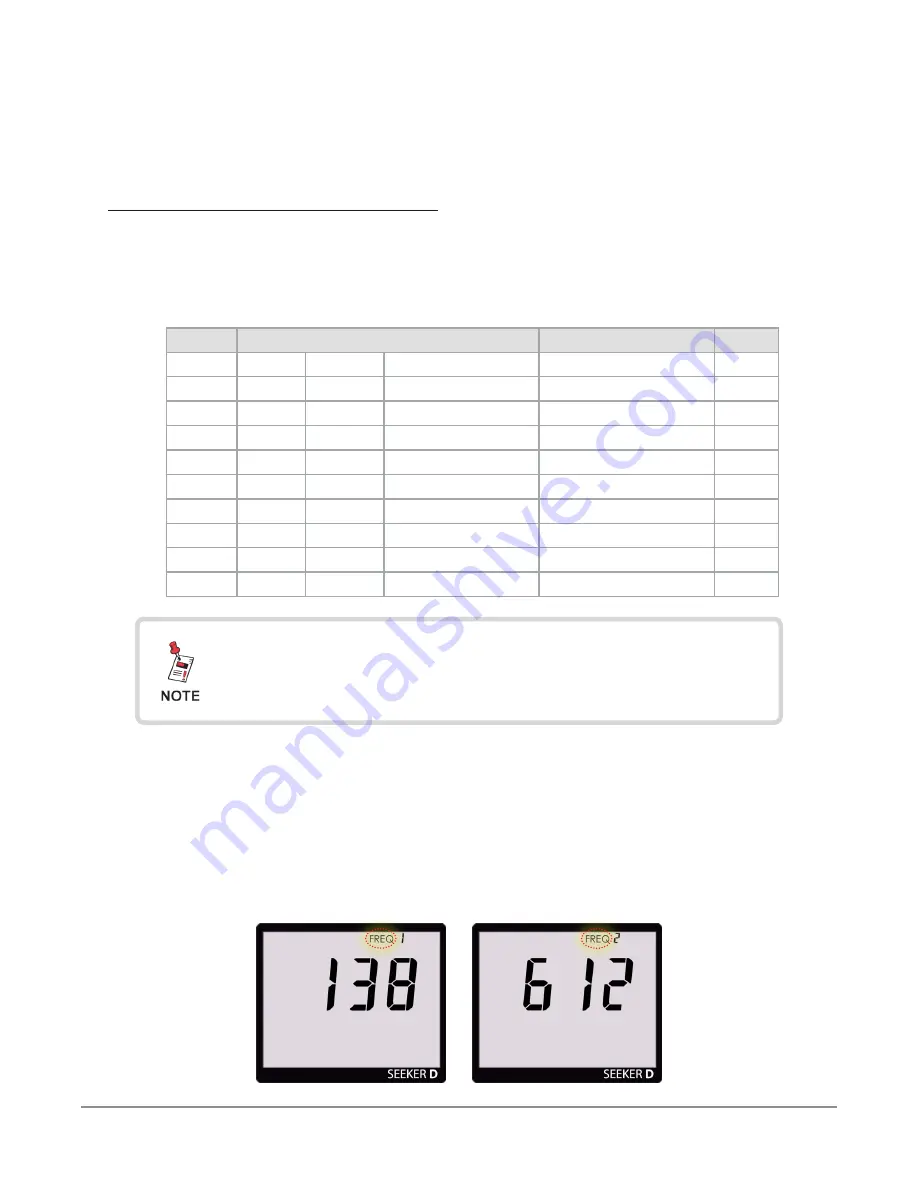
To select a preset frequency, turn your Seeker D on and press the
SELECT
button
repeatedly until the FREQ icon flashes at the top of the display, as indicated in the below
images.
• When the Preset Frequency display is selected, the FREQ icon at the top of the
display will flash as indicated by the red circle in the following images.
• When the Preset Frequencies display is selected, pressing the
CHANGE
button
will
step through the enabled presets in numerical order starting at 1 and ending at 0.
Preset #1
Preset #2
For detailed instructions on how to set the primary and
secondary frequency presets and their associated tag
settings, see the Seeker Setup Software Operation Manual.


