27
Chapter 7
USB Application
4. Enable
Authentication
to apply the account you just set.
•
If you leave
Share All
enabled, click the button to enable
Authentication
for all folders.
•
If
Share All
is disabled, enable
Authentication
for specific folders.
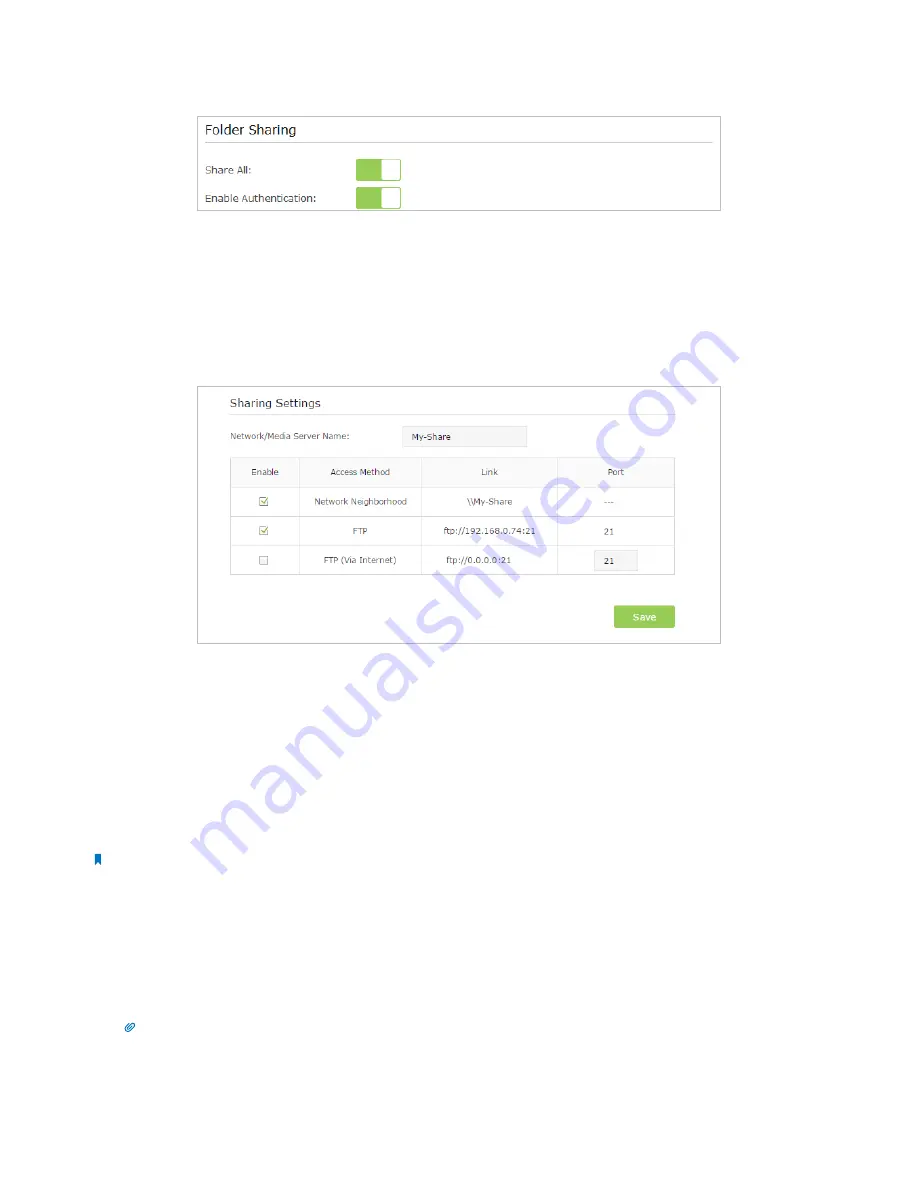
To Customize the Address of the USB Disk
You can customize the server name and use the name to access your USB disk.
1. Visit
http://tplinkwifi.net
, then log in with the username and password you set for the router.
2. Go to
Advanced
>
USB Settings
>
Sharing Access
. Focus on the
Sharing Settings
section
3. Make sure
Network Neighborhood
is ticked, and enter a Network/Media Server Name as you like, such as
My-Share
, then
click
Save
.
4. Now you can access the USB disk with
\\My-Share
(
smb://My-Share
for Mac).
7. 2.
Remote Access via FTP Server
You can access your USB disk outside the local area network.
For example:
•
Share photos and other large files with your friends without logging in to (and paying for) a photo-sharing site or email system.
•
Get a safe backup for the materials for a presentation.
•
Remove the files on your camera’s memory card from time to time during the journey.
Note:
If your ISP assigns a private WAN IP address (such as 192.168.x.x or 10.x.x.x), you cannot use this feature because private addresses are not
routed on the Internet.
7 2 1 Access the USB disk
1.
Connect Your USB Disk
Insert your USB storage device into the router’s USB port directly or using a USB cable. Wait several seconds until the USB
LED becomes solid on.
Tips:
•
If you use USB hubs, make sure no more than four devices are connected to the router.
•
If the USB storage device requires using bundled external power, make sure the external power has been connected.
•
If you use a USB hard drive, make sure its file system is FAT32 or NTFS.


