


68
Chapter 12
Customize Your Network Settings
2 ) Click
Save
.
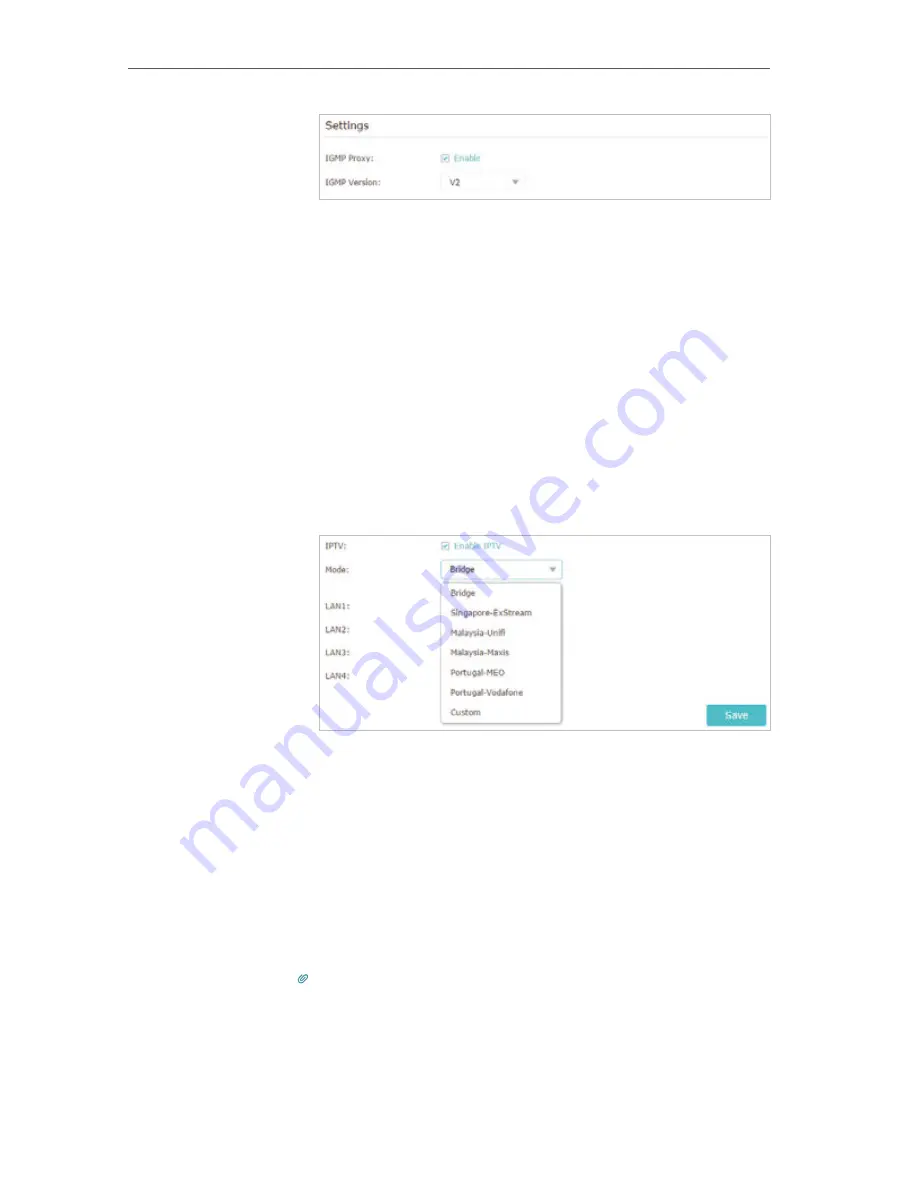
3 ) After configuring IGMP proxy, IPTV can work behind your
router now. You can connect your set-top box to any of
the router’s Ethernet port.
If IGMP is not the technology your ISP applies to provide
IPTV service:
1 ) Tick
Enable IPTV
.
2 ) Select the appropriate
Mode
according to your ISP
.
• Select
Bridge
if your ISP is not listed and no other
parameters are required.
• Select
Custom
if your ISP is not listed but provides
necessary parameters.
3 ) After you have selected a mode, the necessary
parameters, including the LAN port for IPTV connection,
are predetermined. If not, select the LAN type to
determine which port is used to support IPTV service.
4 ) Click
Save
.
5 ) Connect the set-top box to the corresponding LAN port
which is predetermined or you have specified in Step 3.
Your IPTV setup is done now! You may need to configure your
set-top box before enjoying your TV.
Tips:
Qos and IPTV cannot be enabled at the same time.
Done!
Summary of Contents for AD7200
Page 1: ...REV2 0 0 1910012084 User Guide AD7200 Multi Band Wi Fi Router AD7200...
Page 15: ...Chapter 3 Log In to Your Router...
Page 33: ...29 Chapter 5 TP Link Cloud Service...
Page 47: ...43 Chapter 7 USB Settings Windows Mac 4 Select the printer you share then click Apply Windows...
Page 88: ...84 Chapter 13 VPN Server 7 The PPTP VPN connection is created and ready to use...