


8
Chapter 2
Connect the Hardware
2. 1. Position Your Router
• The product should not be located in a place where it will be exposed to moisture or
excessive heat.
• Place the router in a location where it can be connected to multiple devices as well as
to a power source.
• Make sure the cables and power cord are safely placed out of the way so they do not
create a tripping hazard.
• The router can be placed on a shelf or desktop.
• Keep the router away from devices with strong electromagnetic reference, such as
Bluetooth devices, cordless phones and microwaves.
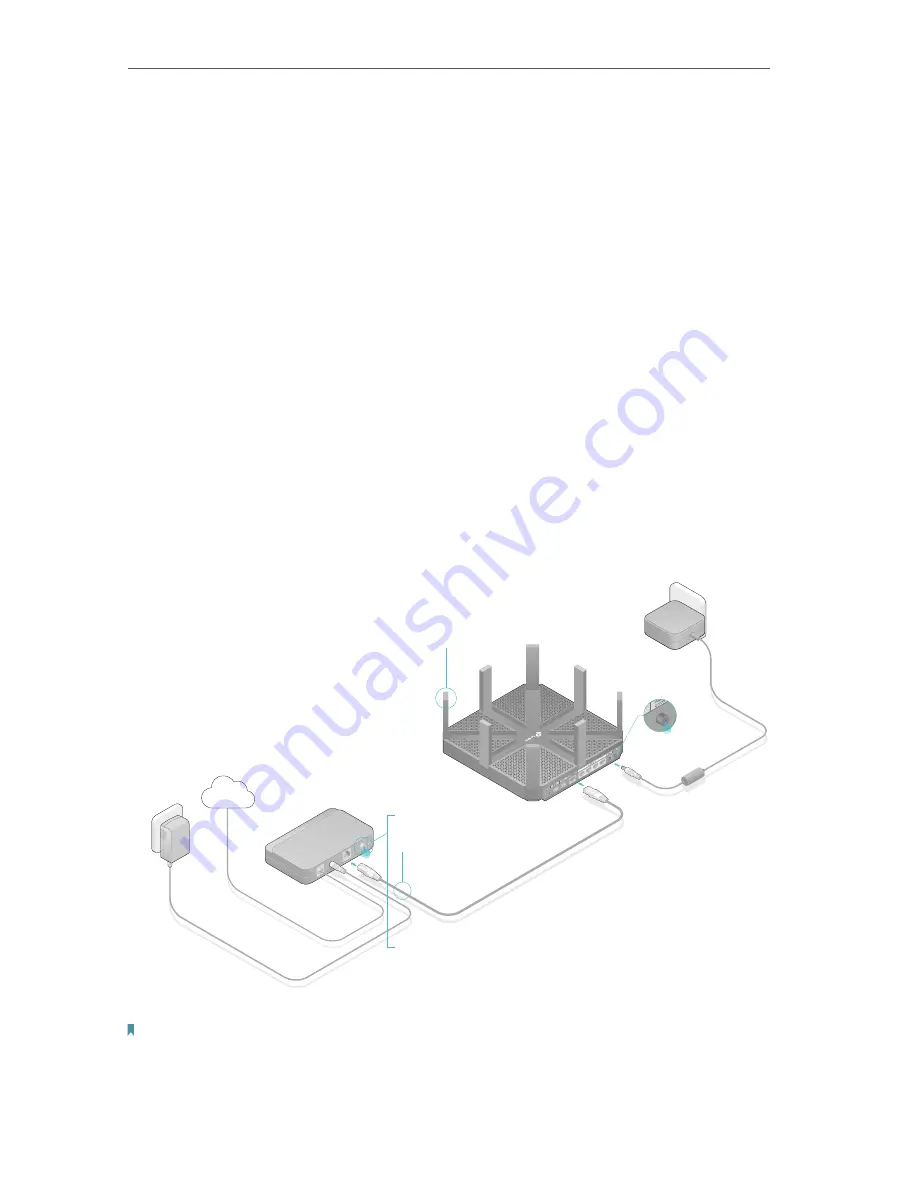
2. 2. Connect Your Router
Follow the steps below to connect your router.
If your internet connection is through an Ethernet cable directly from the wall instead
of through a DSL / Cable / Satellite modem, connect the Ethernet cable to the router’s
Internet port, and then follow Step 1, 5 and 6 to complete the hardware connection.
Router
5
Power adapter
Modem
Power adapter
2
3
4
Internet
1
1. Install the antennas.
Note: For best performance, horizontal installation is recommended. Antenna direction and position can affect
performance in vertical installation situations.
2. Turn off the modem, and remove the backup battery if it has one.
Summary of Contents for AD7200
Page 1: ...REV2 0 0 1910012084 User Guide AD7200 Multi Band Wi Fi Router AD7200...
Page 15: ...Chapter 3 Log In to Your Router...
Page 33: ...29 Chapter 5 TP Link Cloud Service...
Page 47: ...43 Chapter 7 USB Settings Windows Mac 4 Select the printer you share then click Apply Windows...
Page 88: ...84 Chapter 13 VPN Server 7 The PPTP VPN connection is created and ready to use...