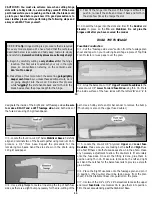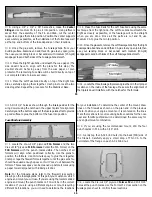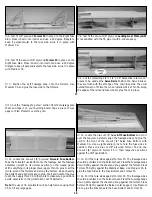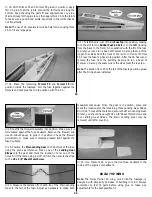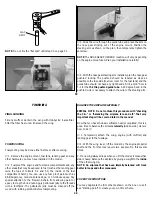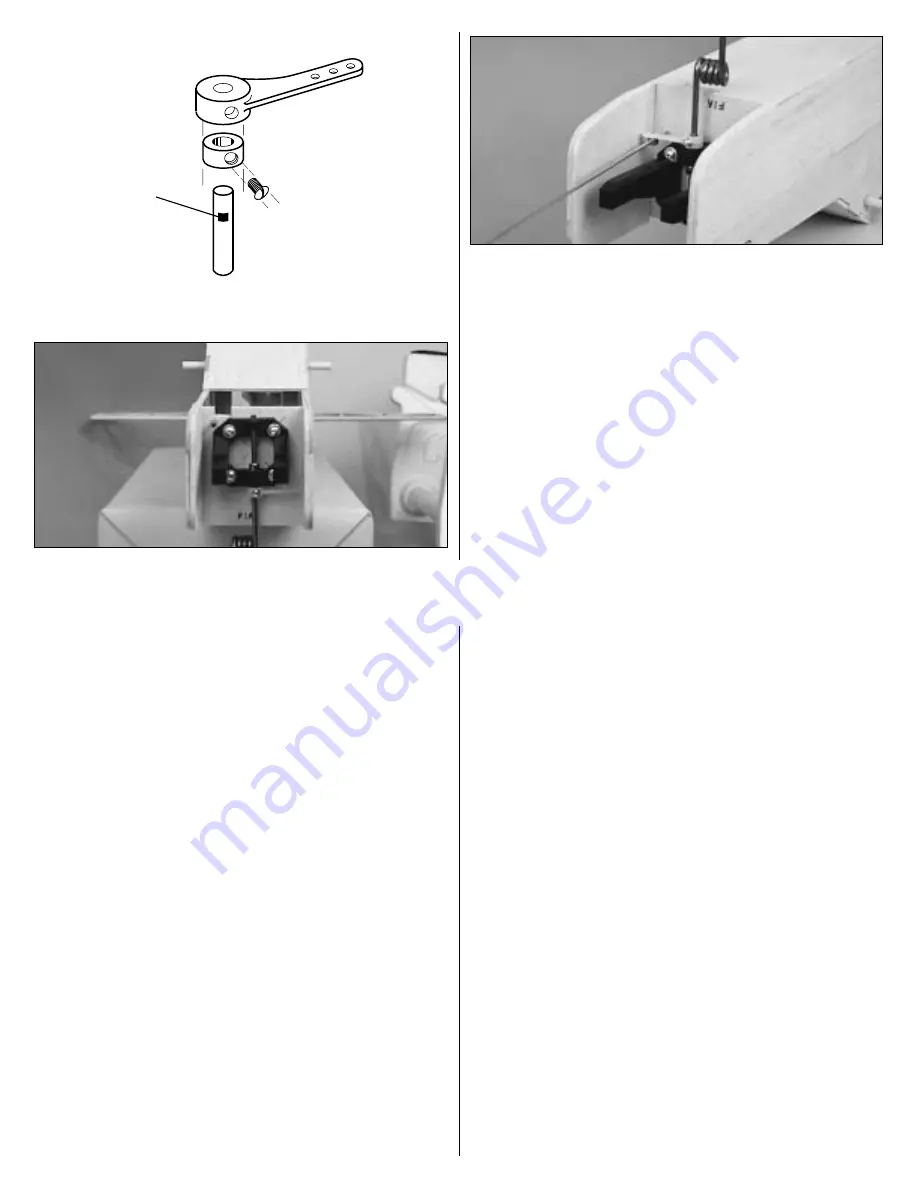
NOTE: Do not file the "flat spot" until step #3 on page 51.
❍
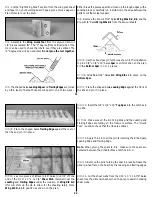
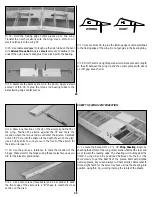
5. Slide the wire through the guide tube and place the arm on
the nose gear sticking out of the engine mount. Position the
steering arm as shown on the plan, then temporarily tighten the
set screw.
NOTE: The NOSE GEAR PUSHROD location will vary, depending
on the engine mount used. Plan your installation carefully!
❍
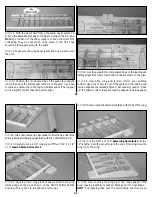
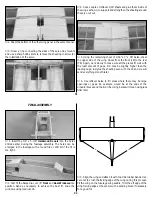
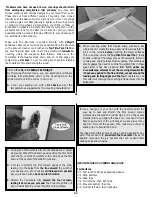
6. With the nose gear steering arm installed, plan the nose gear
pushrod routing. The pushrod should be located as close as
possible to the fuse side (to allow room for the fuel tank) and the
guide tube should not have any tight bends. Drill a 3/16" hole in
F-1 for the throttle pushrod guide tube. A 90 degree bend in the
pushrod wire is necessary to attach the wire to the steering arm.
FLAT
SPOT
39
FINISHING
FINAL SANDING
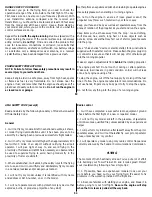
Fill any scuffs or dents in the wing with HobbyLite
™
balsa filler.
After the filler has cured, final sand the wing.
FUELPROOFING
Fuelproofing may be done either before or after covering.
❍
1. Remove the engine mount, fuel tank, landing gear and any
other hardware you may have installed in the model.
❍
2. Fuelproof the engine and fuel tank compartments and any
other areas that may be exposed to fuel (such as the landing gear
rails, the tops of formers F-2 and F-3, the inside of the fuel
compartment hatch). You can use any fuel proof paint such as
K&B Superpoxy, model airplane dope, or 30-minute epoxy. Pay
special attention to the firewall. Refrain from allowing paint or
epoxy to clog the blind nuts. Apply petroleum jelly to the threads
with a toothpick. The petroleum jelly must be cleaned off the
wood with rubbing alcohol before fuelproofing.
BALANCE THE AIRPLANE LATERALLY
SPECIAL NOTE: Do not confuse this procedure with "checking
the C.G." or "balancing the airplane fore and aft." That very
important step will be covered later in the manual.
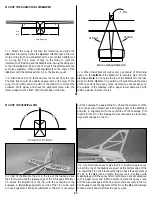
Now that you have the basic airframe nearly completed, this is a
good time to balance the airplane laterally (side-to-side). Here is
how to do it:
❍
1. Temporarily attach the wing, engine (with muffler) and
landing gear to the fuselage.
❍
2. With the wing level, lift the model by the engine propeller
shaft and the fin (this may require two people). Do this several
times.
3. If one wing always drops when you lift the model, it means that
side is heavy. Balance the airplane by gluing a weight to the inside
of the other wing tip.
NOTE: An airplane that has been laterally balanced will track
better in loops and other maneuvers.
COVER THE STRUCTURE
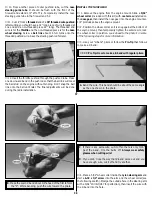
You may duplicate the trim scheme shown on the box or use it
as a "starting point" to create your own trim scheme.
40


