❍
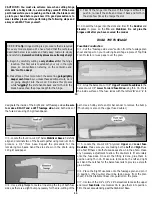
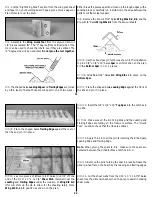
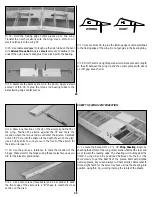
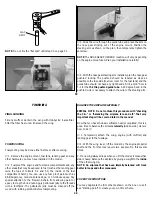
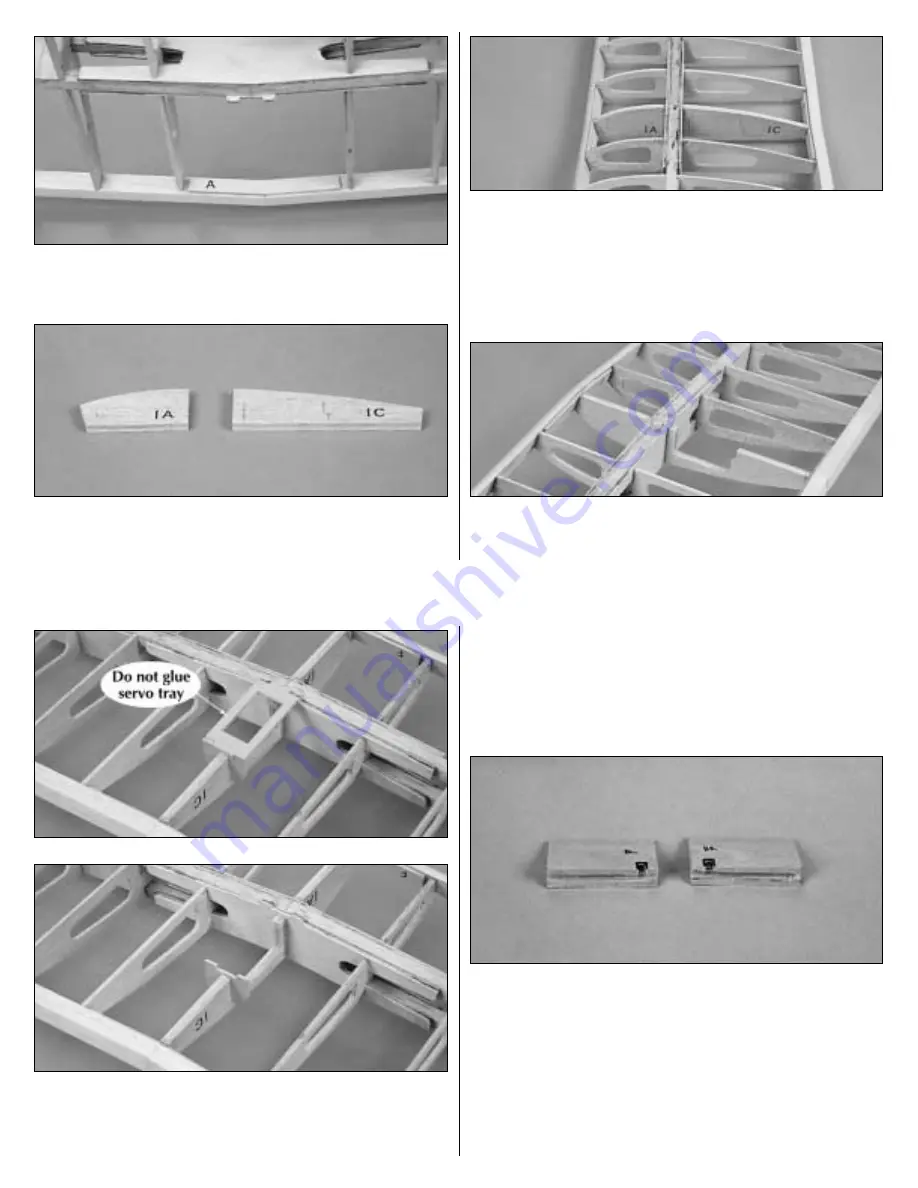
6. The plywood die-cut 1/8" Aft Center Brace (A) is centered
on the trailing edges. Align the left and right trailing edges and
glue the brace in place with CA or epoxy.
❍
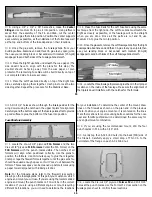
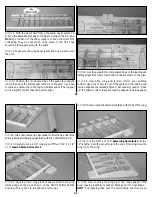
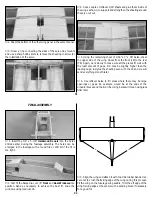
7. Glue the two balsa die-cut 1/8" Wing Rib R-1A’s (1A)
together to form a 1/4" thick part. Glue the two balsa die-cut 1/8"
Wing Rib R-1C’s (1C) together to form a 1/4" thick part.
❍
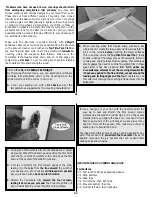
8. Use Medium CA to glue Wing Rib R-1C in place. It is centered
to allow for the top and bottom center section sheeting as shown
in the cross-section drawing beside the right wing panel.
❍
9. Put rib R-1A in place as shown in the cross section. Align the
bottom of R-1A to the forward center brace. Glue it in position with
Medium CA.
❍
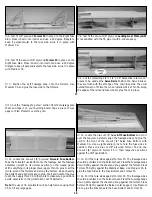
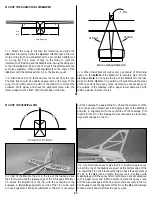
10. Cut out and remove the remaining piece of balsa from
across the servo bay in the bottom side of R-1C using a hobby
knife or razor saw.
27
❍
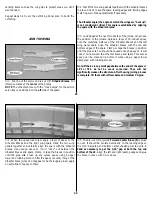
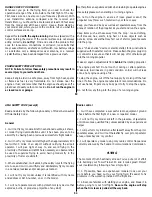
11. Snap the die-cut 1/8" plywood Aileron Servo Tray Support
in place as in the photo. Use medium CA to glue in the Servo Tray
Support while using the servo tray to hold it in position. Do not
glue the servo tray in at this time.
❍
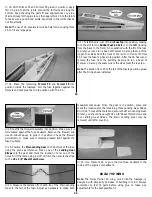
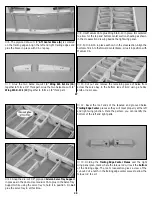
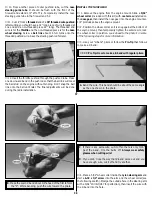
12. Bevel the root ends of the tapered and grooved balsa
Trailing Edge Center pieces so they will meet properly at the left
and right wing junction. Mark the parts so you can identify the
bottom of the left and right parts.
❍
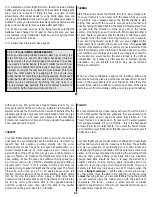
13. Holding the Trailing Edge Center Pieces over the right
wing panel plan, mark where the torque rod will exit the bottom
of the trailing edge. The root cross-section gives a view of the
cut-out. Cut a notch in the trailing edge center pieces to allow the
torque rod to exit.
28

