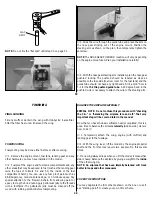
9
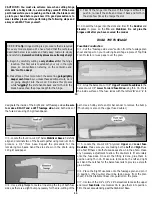
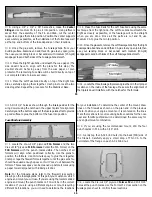
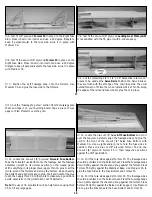
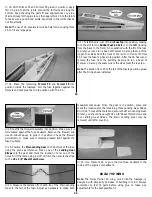
Some medium CA glues can be slow to set, especially when used to
fill gaps. A product known as CA Accelerator is available to speed
up the curing process. It is sprayed onto the joint after the glue is
applied and chemically reacts with the glue, causing it to set very
rapidly. There are a few precautions when using an accelerator...
Use it in a well-ventilated area. The rapid reaction can release
irritating fumes at a much higher rate than normal. Do not use
CA accelerators with thin CA!
Be careful when using the accelerator around plastics. Certain
accelerators will attack plastics and the vapors may fog clear
canopies. It is best to test the glue and accelerator on a leftover
piece of plastic if one is available.
Using too much accelerator may cause the CA glue to react very
rapidly and literally boil. This will result in a joint with a chalky
white color which is not nearly as strong as a normal joint.
Epoxy is used on high-stress joints requiring strength and vibration
resistance. Epoxy also works well in areas encountering fuel. The
slower cure time allows parts to be clamped, checked and
realigned if necessary before it cures. Epoxy is available in many
different formulas having different cure times. The single best type
of epoxy to have when building your Tower Trainer 40 is one
which sets up in 30 minutes, but you may also find 6-minute
epoxy handy to have around.
NOTES ON SANDING
Use a block or bar sander whenever possible. The flat block will
“ignore” glue and variations in wood hardness and give you a
true and even shape.
Always use fresh, sharp sandpaper. Sharp sandpaper will cut
through glue and hard materials easily, giving an even surface.
Older, dull sandpaper will require more pressure and may gouge
the surface. Now on to building your Tower Trainer 40!
“BUILD THE TAIL SURFACES”
Build the Stabilizer and Elevator
❍
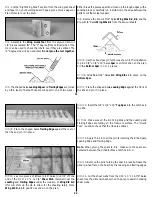
1. Cut the "Stabilizer/Elevator" section from the fuselage plan
sheet and tape it on your building board. Tape a piece of wax
paper or Plan Protector over the plan.
10
❍
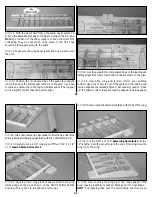
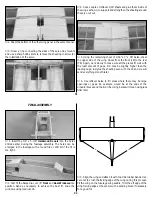
2. Place the 1/4" x 1" x 10" balsa stick over the portion of the
plan marked "Stab Forward Center," and line up the back edge of
the stick with the straight line. Draw two angled lines where you
will cut this stick. Remove the stick from the plan and cut the
stick along the lines using a hobby knife or razor saw. Straighten
and square the cut edges with a sanding block. Trim the ends
slightly to match the length shown on the plans.
❍
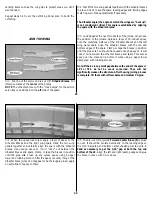
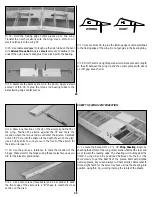
3. Pin the Stab Forward Center into position on the plans. Test
fit the balsa 1/4" x 3" x 4" Stab Center into place. There should
be no gaps between the center and forward pieces. After fitting,
glue and pin the center to the forward using Medium CA.
❍
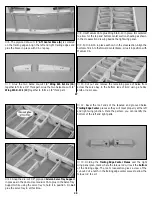
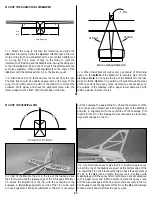
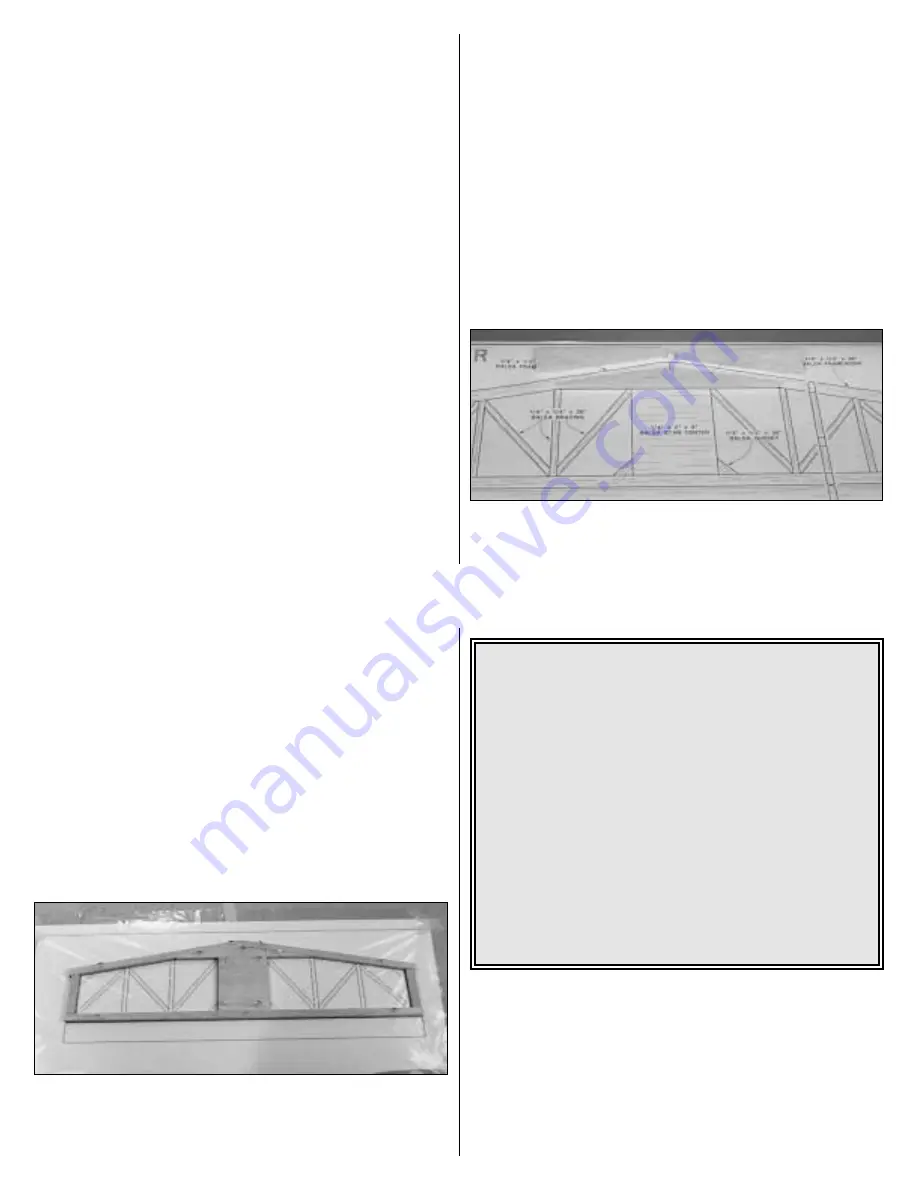
4. Use two 1/4" x 1/2" x 36" balsa sticks to build the outside
framework of the Stabilizer. Start by placing the longest piece
first, working until you are placing the shortest (end) pieces. Glue
each piece together using Medium CA as you proceed.
❍
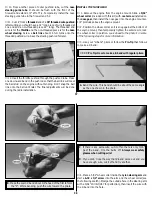
5. Cut the corner gussets from the 1/4" x 1/2" balsa stick and
glue them into position.
★★★★
Pro Tip: If you are unfamiliar with "Built-up"
construction, we have found that the following method is
very easy and accurate.
A. Position an uncut stick directly over the plan and pin it
in place.
B. Mark each side of the stick where it ends or butts with
another part.
C. Remove the stick from the building surface and flip it over.
Draw a line between the marks you made previously using
a straight edge.
D. Using a razor saw, cut as close to the line as possible. Then,
with your sanding block, true-up the ends to the line. Flip
the part over and pin back in place over the plan.

