Modelers who have not used iron-on coverings should refrain
from attempting complicated trim schemes. You may add
stripes, graphics and various designs to your Tower Trainer 40.
These are cut from different colors of covering, then ironed
directly over the base color. If you are new to iron-on coverings
try just a single color base (usually a lighter color such as white
or yellow) with perhaps a single stripe, your AMA number, or
some stick on graphics. A simple trim scheme will get you in the
air faster and look much better (not to mention give you fewer
headaches) than a model that was difficult to cover because of
too ambitious a trim scheme.
Make sure the structure is sanded smooth with 320-grit
sandpaper. Remove as much dust as possible from the structure
with a vacuum cleaner or a brush and a Top Flite
®
Tack Cloth so
the covering will stick well. Cover the aircraft with TowerKote
™
covering using the sequence that follows. Make sure the
TowerKote is thoroughly stuck down and all of the edges are
sealed. Use a Hot Sock
™
on your covering iron to avoid scratching
the TowerKote film and denting the wood.
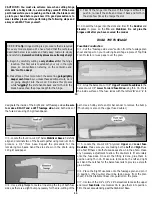
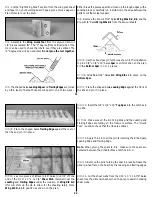
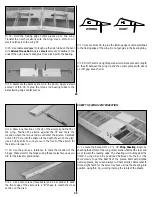
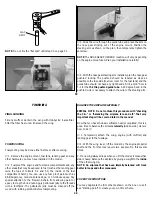
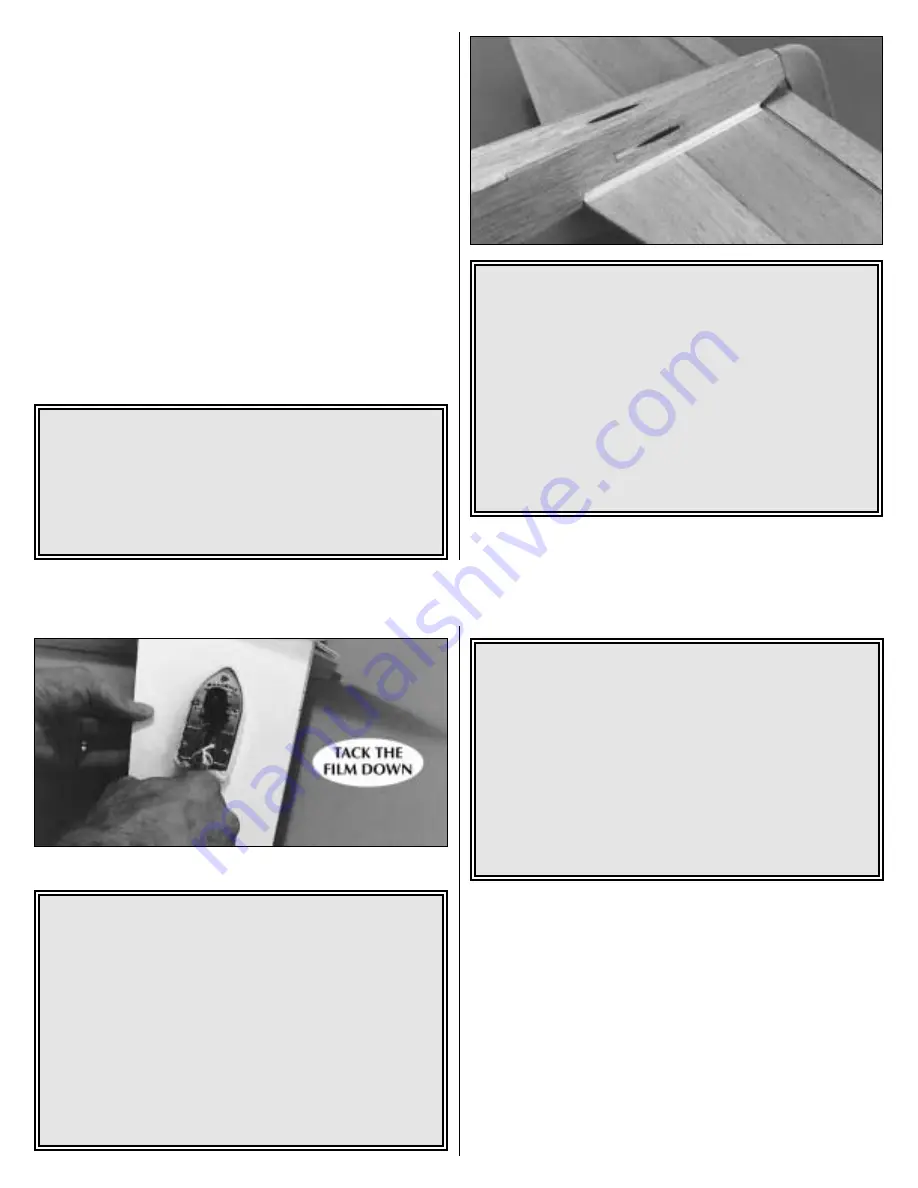
B. When covering areas that involve sharp junctions, like
where the tail meets the fuse, apply narrow strips (3/8" to
1/2") in the corners before covering the major surfaces.
This is an area where the Top Flite Trim Seal Tool
™
really
comes in handy. The larger pieces of TowerKote film will
overlap and capture these smaller pieces. This technique
also bypasses the need to cut the TowerKote film in these
areas after it has been applied. DO NOT, under any
circumstances, attempt to cut the covering material after
it has been applied to the fin and stab, except around the
leading and trailing edges and the tip. Modelers who do
this often cut through the covering and part-way into the
balsa stab.
★★★★
Pro Tip: COVERING TECHNIQUE
By following this technique, you can practically eliminate
wrinkles that sometimes occur in the covering when the
model is left out in the sun or in your car.
A. Cover your sealing iron with a Hot Sock and set the
temperature as suggested by the covering manufacturer.
41
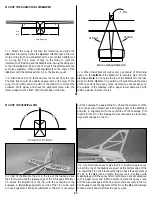
RECOMMENDED COVERING SEQUENCE
Tail Surfaces
❍
1. Tail Junction Strips as described above
❍
2. Stab bottoms
❍
3. Stab tops
❍
4. Fin left side, then right side
❍
5. Elevator bottom, then top
❍
6. Rudder left side, then right side
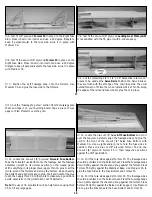
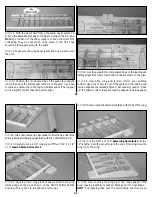
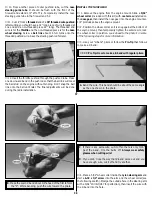
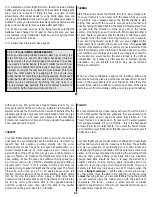
F. Use a heat gun or your iron with the heat turned all the
way up to heat and stretch the film around curved
surfaces like the stab and rudder tips. Pull on the excess
material while you apply the heat. You may need to pull
hard to get out all of the wrinkles, so wear a glove if you
need to. Trim off the excess, then follow-up with your
sealing iron to secure the bond.
The idea behind this approach (which can be applied to any
part of the model) is to pre-stretch the TowerKote film as it's
applied removing the air pockets that can expand later
causing sags and wrinkles.
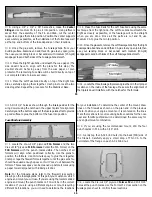
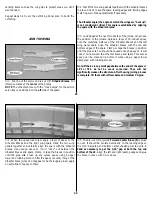
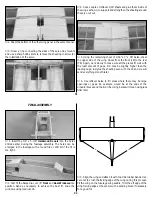
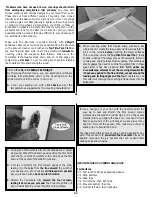
C. Cut a piece of TowerKote film for the stab about 2" larger
all around. Strip off the backing and position the film flush
with the fin, over the TowerKote corner strip. Tack the film
down at the center of the stab/fin junction.
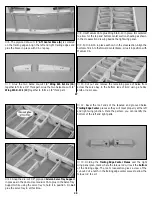
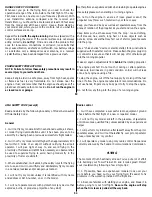
D. Pull (as in stretch) the film toward edges of the stab,
sealing it to the balsa from the fin outward, the width of
your sealing iron. Work out any wrinkles and air pockets
as you proceed with a back and forth motion.
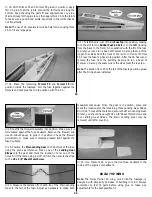
E. Stretch the TowerKote film toward the four corners,
sealing it down as you proceed. The trick is to shrink out
any wrinkles before you seal the film to the surface.
42

