60
Application
Advanced Select to configure other functions.
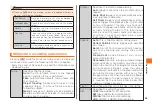
White Balance
:Adjusts colors to match the
ambient light source.
Photo Quality
:Specifies the still picture
quality. Setting a higher quality results in a
larger video file size.
View Finder
:Specifies landscape or portrait
mode, or whether auto landscape/portrait
mode switching should be performed.
Show Grid
:Select the check box to display
grid lines on the recording screen.
Auto View
:Select the check box to display a
still picture after it is saved. Clear the check
box to return to the recording screen without
displaying the still picture.
Auto Fix
:Select the check box to enable
automatic digital correction of still pictures
you shoot.
Auto Tagging
:Select the check box to enable
automatic tagging of still pictures you shoot.
GPS Location
:Select the check box to enable
automatic appending of location information to
still pictures you shoot.
Anti-Shaking
:Select the check box to reduce
the effects of camera shake.
Anti-Banding
:Reduces flickering caused by
fluorescent lighting.
Self Timer
:Select to specify the preset trigger
time for auto shutter release when shooting with
the Self Timer.
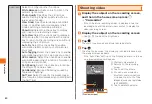
Shooting video
1
Display the subject on the recording screen,
and then in the home screen press
→ "Camcorder"
• If the still picture recording screen is displayed, tap the
recording mode (still picture/video) switch to display the
video recording screen.
2
Display the subject on the recording screen
• Use
E
/
F
to adjust the brightness.
3
Tap
The start tone sounds and movie recording starts.
4
Tap
The stop tone sounds, the movie you recorded is saved, and
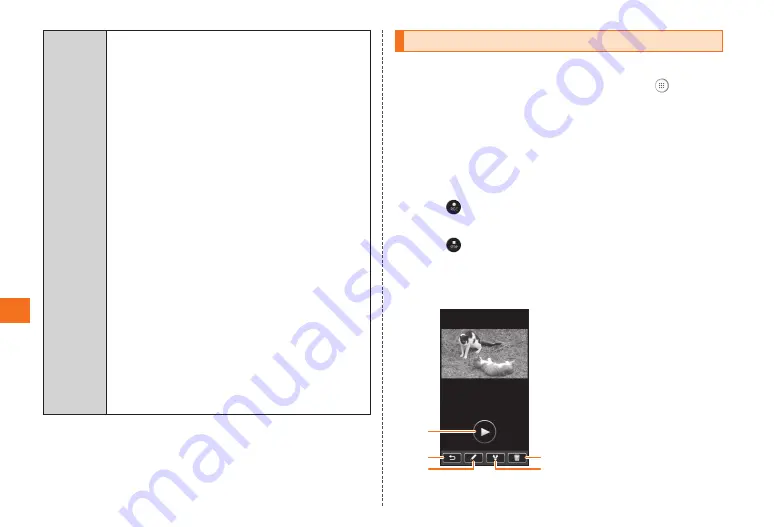
the preview screen appears.
• If the "Auto View" setting on the "Advanced" menu is turned
on, a preview screen will appear.
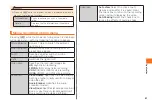
《Preview screen》
①
Starts movie playback.
②
Returns to the recording
screen.
③
Tap to edit the movie.
④
You can send movies by
Bluetooth communications
or upload them to YouTube.
Images also can be registered
to STARMEMO.
⑤
Tap to delete the movie.
①
②
⑤
④
③

