64 -
English
R
ecording
Making a Timer
Recording
Making a One Touch
Recording (OTR)
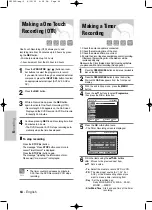
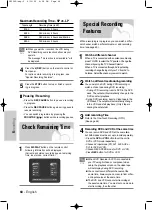
One-Touch Recording (OTR) allows you to add
recording time from 30 minutes up to 9 hours by press-
ing the
REC
button:
• 30-minute increment up to 4 hours
• 1-hour increment from the 4th hour to 9 hours
1
Press the
PROG/TRK
(
/
) buttons or num-
ber buttons to select the programme to record.
If you want to record through a connected external
component, press the
INPUT SEL.
button to select
an appropriate external input (AV1, AV2, AUX or
DV).
2
Press the
REC
button.
3
While in Record mode, press the
REC
button
again to activate One-Touch Recording (OTR).
• Record length 0:30 appears on the On-Screen
Display and the DVD Recorder & VCR will record
for exactly 30 minutes.
4
Continue pressing
REC
to add recording time from
30 minutes to 9 hours.
• The DVD Recorder & VCR stops recording auto-
matically when the time has elapsed.
❚
To stop recording
Press the
STOP
(
) button.
The message “Press
STOP
button once more to
cancel Timer Record” is displayed.
Press the
STOP
(
) button again.
The message “Updating the Information of disc.
Please wait for a moment” is displayed.
■
The timer counter decreases by minute to
0:00, then the DVD Recorder & VCR stops
recording.
Note
1. Check the antenna cable is connected.
2. Check the remaining time of the disc.
3. Check the date and time are correct.
4. Ensure the disc or tape has available space for recording.
Otherwise, the recording will not be made or will be
recorded partly only.
Make sure the Clock (Setup-Clock Set) must be set before
you proceed with a timer recording. (See page 25)
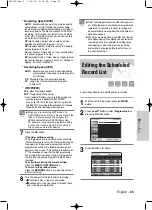
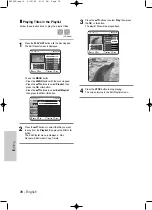
1
Press the
OPEN/CLOSE
button, and place a recordable
disc on the disc tray.
2
Press the
OPEN/CLOSE
button to close the disc tray.
Wait until
LOAD
disappears from the front panel
display.
3
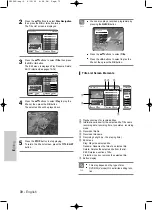
With the unit in Stop mode, press the
MENU
button.
4
Press the
…†
buttons to select
Programme
,
then press the
OK
or
√
button.
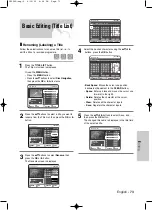
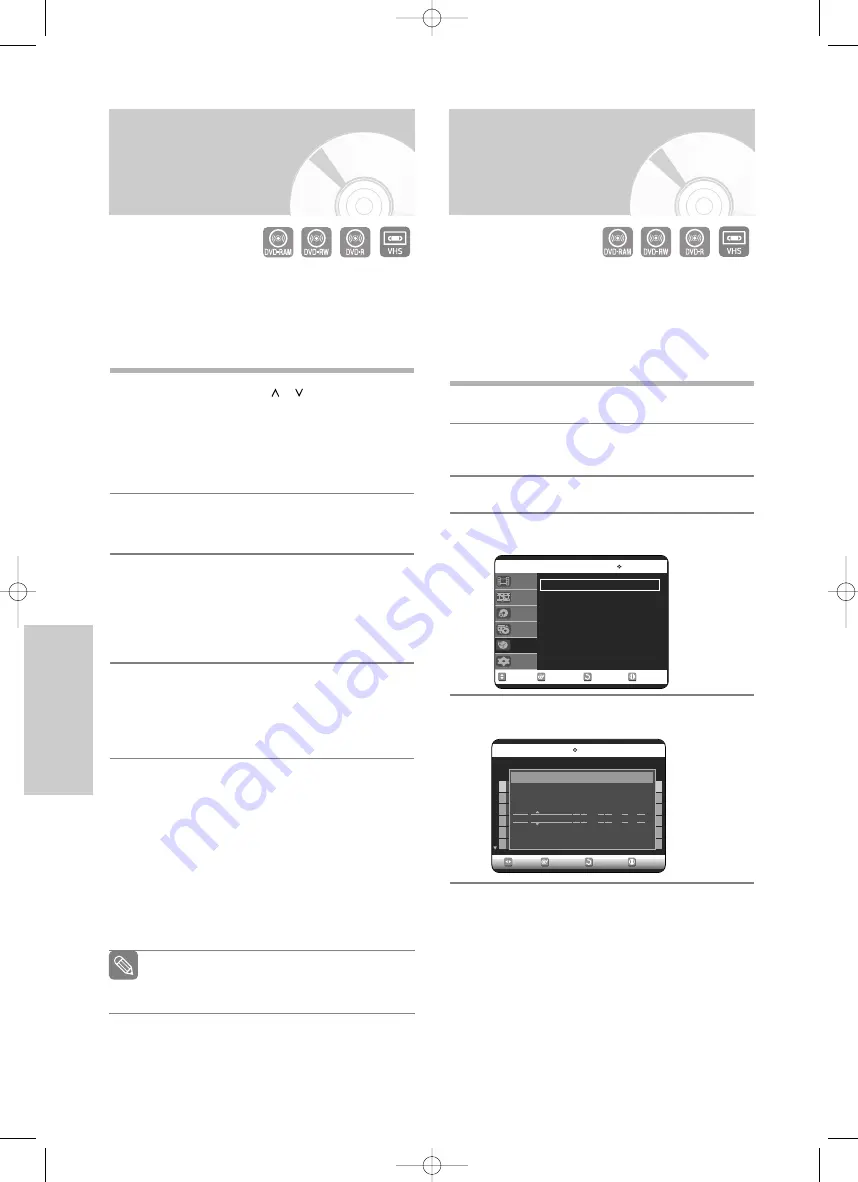
5
Press the
OK
or
√
button twice.
• The Timer Recording screen is displayed.
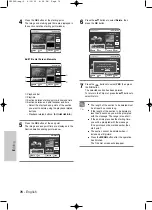
6
Fill in the items using the
…†œ √
buttons.
œ √
: Moves to the previous/next item,
…†
: Sets a value.
•
To
: Select the media to record DVD or VCR.
•
PR
: The video input source (AV 1, AV 2 or
AUX), or the broadcasting channel you
want to make a timer recording from.
•
Day
: Set the recording day.
Daily, MO-SA, MO-FR, W-SA, ...W-SU,
MON01, ...WED31
•
Start/End Time
: Start and end time of the timer
recording.
RETURN
OK
MOVE
EXIT
Programme
DVD-RAM(VR)
Standard Timer
√
√
Disc Navigation
Playlist
Disc Manager
Copy
Programme
Setup
RETURN
OK
MOVE
EXIT
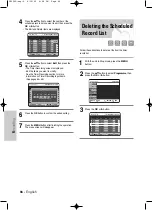
Scheduled Record List
DVD-RAM(VR)
01 DVD AV1
Daily
11:00 13:00
SP
Off
√
√
02 DVD 01 Daily
09:22 10:30
SP
Off
√
√
03 --
--- --/--
--:--
--:--
-- --
√
√
04 --
--- --/--
--:--
--:--
-- --
√
√
05 --
--- --/--
--:--
--:--
-- --
√
√
06 --
--- --/--
--:--
--:--
-- --
√
√
No. To PR Day Start End Speed V/P Edit
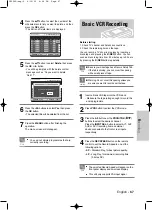
No. 01
To PR Day Start End Speed V/P
DVD AUX SAT01 11:00 13:00
SP
Off
Recordable Time 01:23 SP
VR30SG-eng-2 6/10/05 4:08 PM Page 64

