English
- 25
S
ystem Setup
4
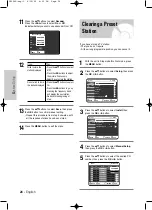
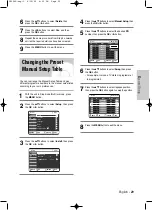
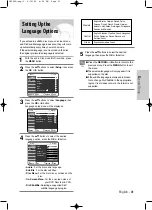
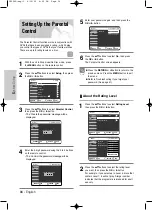
Press the
œ √
buttons to select the hour, minutes,
day, month and year.
• The option selected highlight.
5
Press the
…†
buttons to increase or decrease the
value.
• The day of the week is displayed automatically.
• You can hold the
…†
buttons down to scroll
more quickly through the values.
❚
Setting the clock Automatically
6
Press the
œ √
buttons to select
Auto Clock
.
Press the
…†
buttons to select
On
.
7
Press the
OK
button, then the date and time will
be saved. If you don’t press the
OK
button, it will
not be saved.
8
Press the
MENU
button to exit the menu.
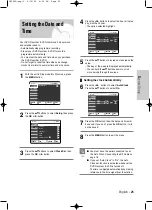
Setting the Date and
Time
Your DVD Recorder & VCR contains a 24-hour clock
and calendar used to:
• Automatically stop programme recording
• Preset your DVD Recorder & VCR to record a
programme automatically
• You must set the date and time when you purchase
the DVD Recorder & VCR
• Do not forget to reset the time when you change
clocks from winter to summer time and vice versa.
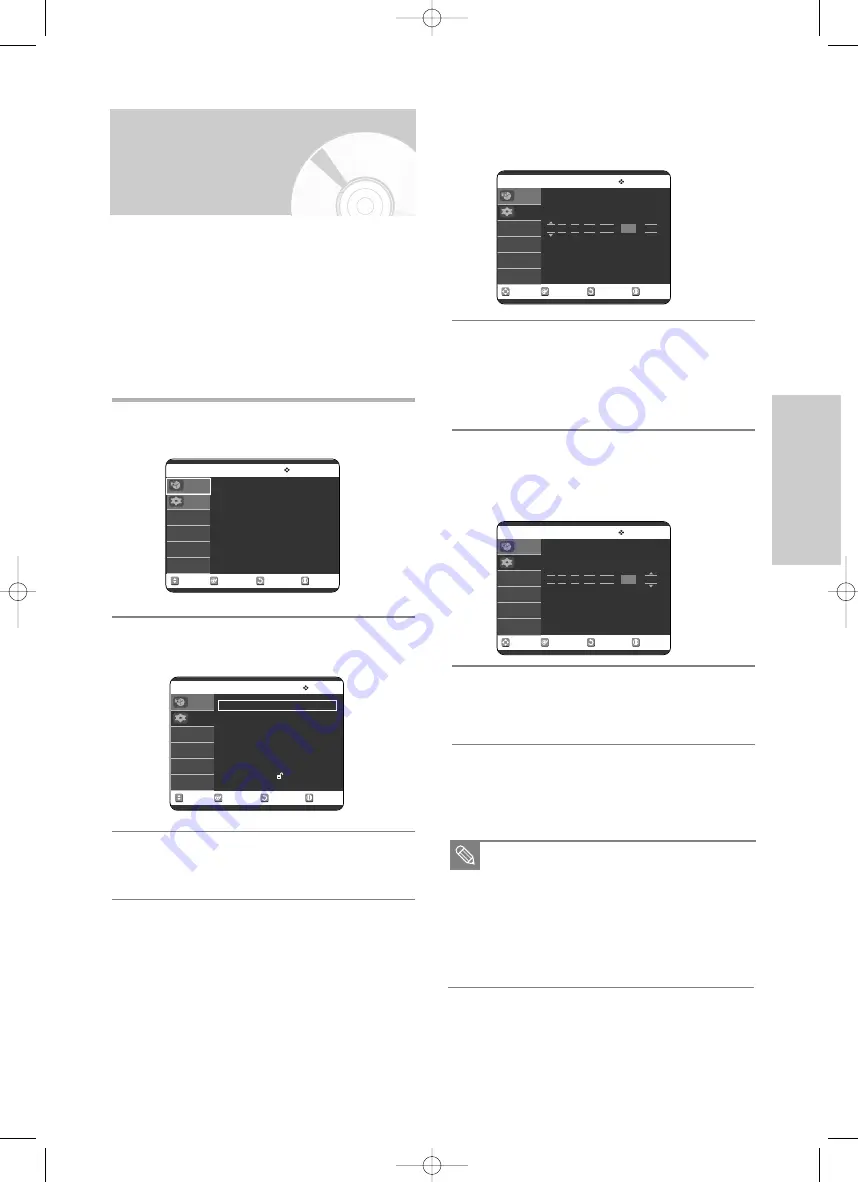
1
With the unit in Stop mode/No Disc mode, press
the
MENU
button.
2
Press the
…†
buttons to select
Setup
, then press
the
OK
or
√
button.
3
Press the
…†
buttons to select
Clock Set
, then
press the
OK
or
√
button.
No Disc Programme
Standard Timer
√
√
MOVE
OK
RETURN
EXIT
Programme
Setup
No Disc Setup
System
√
√
Clock Set
√
√
Install
√
√
Language
√
√
Audio
√
√
Video
√
√
Parental Control
√
√
MOVE
OK
RETURN
EXIT
Programme
Setup
No Disc Clock Set
MOVE
OK
RETURN
EXIT
Programme
Setup
■
You must have the aerial connected to set
the Auto Clock. Connecting the RF Cable on
page 18.
■
If you set “Auto Clock” to “On”, the Auto
Clock set function is activated whenever the
DVD Recorder & VCR is turned off.
The time is adjusted automatically by making
reference to the time signal from the station.
Note
Time
Date
Auto clcok
12 : 00 01 / JAN / 2005 SAT On
No Disc Clock Set
MOVE
OK
RETURN
EXIT
Programme
Setup
Time
Date
Auto clcok
12 : 00 01 / JAN / 2005 SAT On
VR30SG-eng-1 6/10/05 4:05 PM Page 25

