80
81
Deutsch
English
Deutsch
English
4. Then, choose whether the battery status shall be displayed in percent or in volts.
5. The next step is to supply the on-board computer with information about the batteries.
Start with entering whether the motor is connected with lithium batteries from the
Torqeedo power series or with lead-gel or AGM batteries. Select “Li” for lithium or
“Pb” for lead-gel or AGM batteries. Confirm your selection by pressing “setup” again.
6. Enter the size of the battery bank with which the motor is connected. For this enter
ampere-hours (Ah) for the battery bank. Please use the throttle lever to select the correct
number of ampere-hours. Pushing the ”setup“ button will confirm your selection and
exit the setup-menu. Please note that for instance a battery bank consisting of two seri-
ally connected batteries of 12 volt and 200 Ah each has a total capacity of 200 Ah with 24
volt (not 400 Ah)
The capacity in percent and the remaining range can only be displayed after completing
the setup and after the first calibration (entering the charge level, see capter 5.3.3.2).
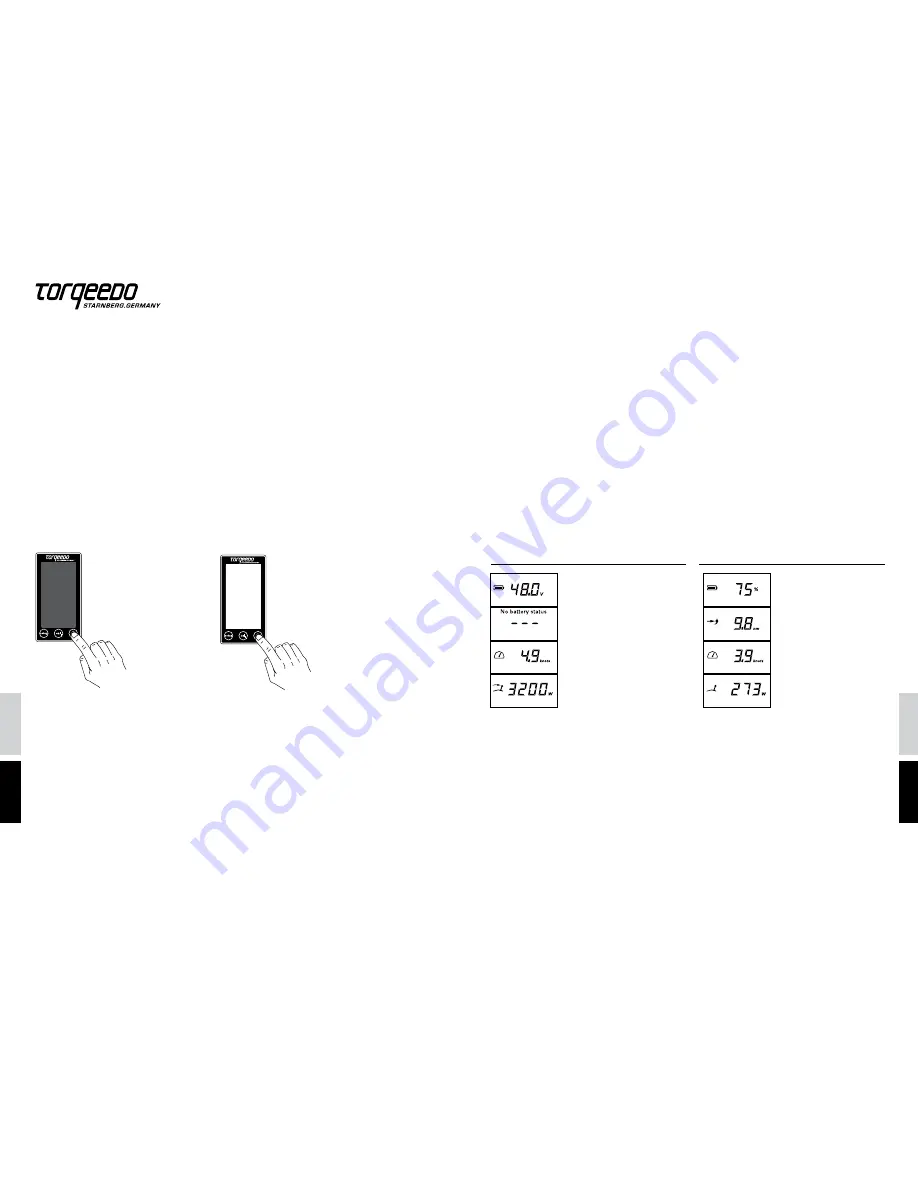
Display example in normal operation
when setup has not been completed:
Display example in normal operation
Battery voltage
Can not be represented
Speed
Input power consumption
Battery charge status
Remaining range at
current speed
Speed
Input power consumption
5.3.2.2 Usage and calibration of battery charge display
Having entered the battery information in the setup-menu, the on-board computer now
knows the capacity of the battery bank. When the motor is in use, the on-board com-
puter measures the consumed power and determines the remaining battery charge in
percent and the remaining range based on the current speed.
The calculation of the remaining range takes into account the fact that lead-based
batteries do not provide their full capacity at higher electrical currents. Depending on
the battery used this effect may result in the battery charge indicator showing a relatively
high charge level in percent but the remaining range at full throttle is very low. By mo-
ving slower you can still use the available battery charge.
5.3.1.2 Setup menu for display options
1. To enter the setup menu press the “setup” button.
2. Select the units in which the remaining range is displayed. Push the button in the
center of the display to select between kilometers, miles, nautical miles, and hours. You
confirm your selection by pressing “setup” again.
3. Now, enter the speed indicator setting. You can choose between kilometers per hour,
miles per hour, and knots. Again you select the units with central button. Confirm your
selection by pressing “setup” again.
4. Then, choose whether the battery status shall be displayed in percent or in volts.
5.3.1.3 How to switch on/off the battery
Turning on: To switch on the Power 26-104, shortly press ON/OFF switch on remote
throttle or tiller display.
5.3.2 Use of battery charge display when operating with other batteries
5.3.2.1 Set-up of battery charge
The following set up steps are necessary before first commissioning:
1. To enter the setup menu press the “setup” button.
2. Select the units in which the remaining range is displayed. Push the button in the center
of the display to select between kilometers, miles, nautical miles, and hours. You con-
firm your selection by pressing “setup” again.
3. Now, enter the speed indicator setting. You can choose between kilometers per hour,
miles per hour, and knots. Again you select the units with central button. Confirm your
selection by pressing “setup” again.
OFF
Switch off the motor and
battery(ies): In order to also
switch off the battery, keep
the ON/OFF button on the
remote throttle or tiller display
pressed for 5 seconds until
„Off“ icon is displayed.
Switching off only the
motor: To switch off the
motor, press ON/OFF
switch until blackscreen
of the display: motor is
switched off, batteries
still run.


