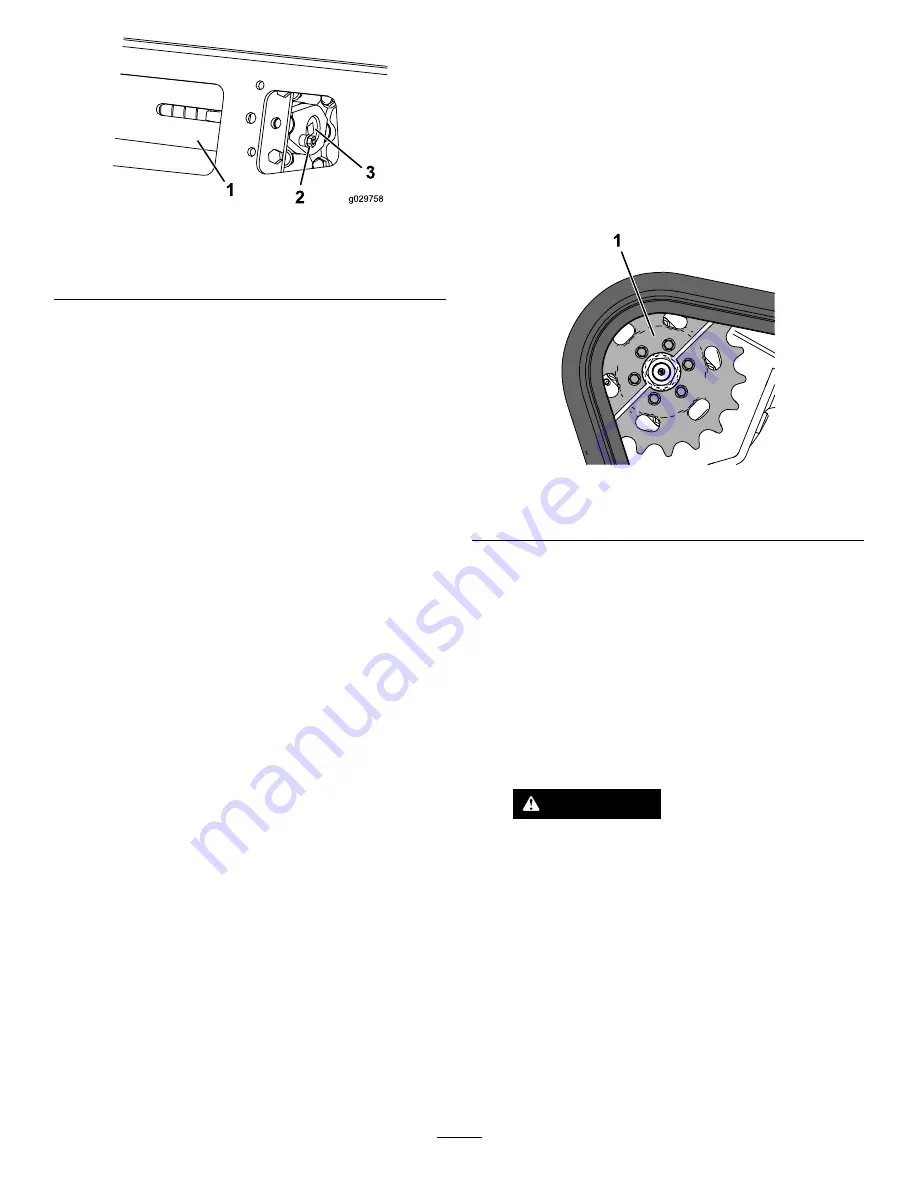
g029758
Figure 59
1.
Tension tube
3.
Tensioning screw
2.
Locking bolt
4.
Using a 1/2 inch drive ratchet, turn the tensioning
screw until the tension block aligns with the
green guide on the decal or is 1.3 cm (1/2 inch)
away from the rear of the tension tube slot
(
).
Note:
Turning the screw counter-clockwise
tightens the track; turning the screw clockwise
loosens the track.
5.
Align the closest notch in the tension screw to
the locking-bolt hole and secure the screw with
the locking bolt and nut (
6.
Repeat the procedure for the other track.
7.
Drive the machine, then park the machine on a
level surface, engage the parking brake, shut off
the engine, and remove the key.
8.
Verify that the tension block aligns with the
green guide of the decal or is 1.3 cm (1/2 inch)
away from the rear of the tension tube for both
tracks (
). Adjust if necessary.
Replacing the Tracks
Machines with Narrow-Width Tracks
Replace the tracks when they are badly worn.
1.
Remove any attachments.
2.
Park the machine on a level surface, ensuring
that only 1 sprocket half is engaged with the
track (
g259714
Figure 60
1.
Sprocket half
3.
Engage the parking brake.
4.
Lower the loader arms so that they are
approximately 20 to 25 cm (8 to 10 inches)
above the frame.
5.
Shut off the engine and remove the key.
6.
Raise the machine off the ground until you
can access the inside of the track beneath
the machine. Support the machine using jack
stands.
Note:
Use jack stands rated for your machine.
WARNING
Mechanical or hydraulic jacks may fail to
support the machine and cause serious
injury.
Use jack stands when supporting the
machine.
7.
Remove the locking bolt, spacer, and nut (
8.
Using a 1/2-inch drive ratchet, release the
drive tension by turning the tensioning screw
clockwise (
and
).
40
Summary of Contents for TX 1000 Compact Tool Carrier
Page 54: ...Schematics g240932 Electrical Schematic Rev B 54 ...
Page 55: ...g260360 Hydraulic Schematic Rev D 55 ...
Page 56: ...Notes ...
Page 57: ...Notes ...
Page 58: ...Notes ...


