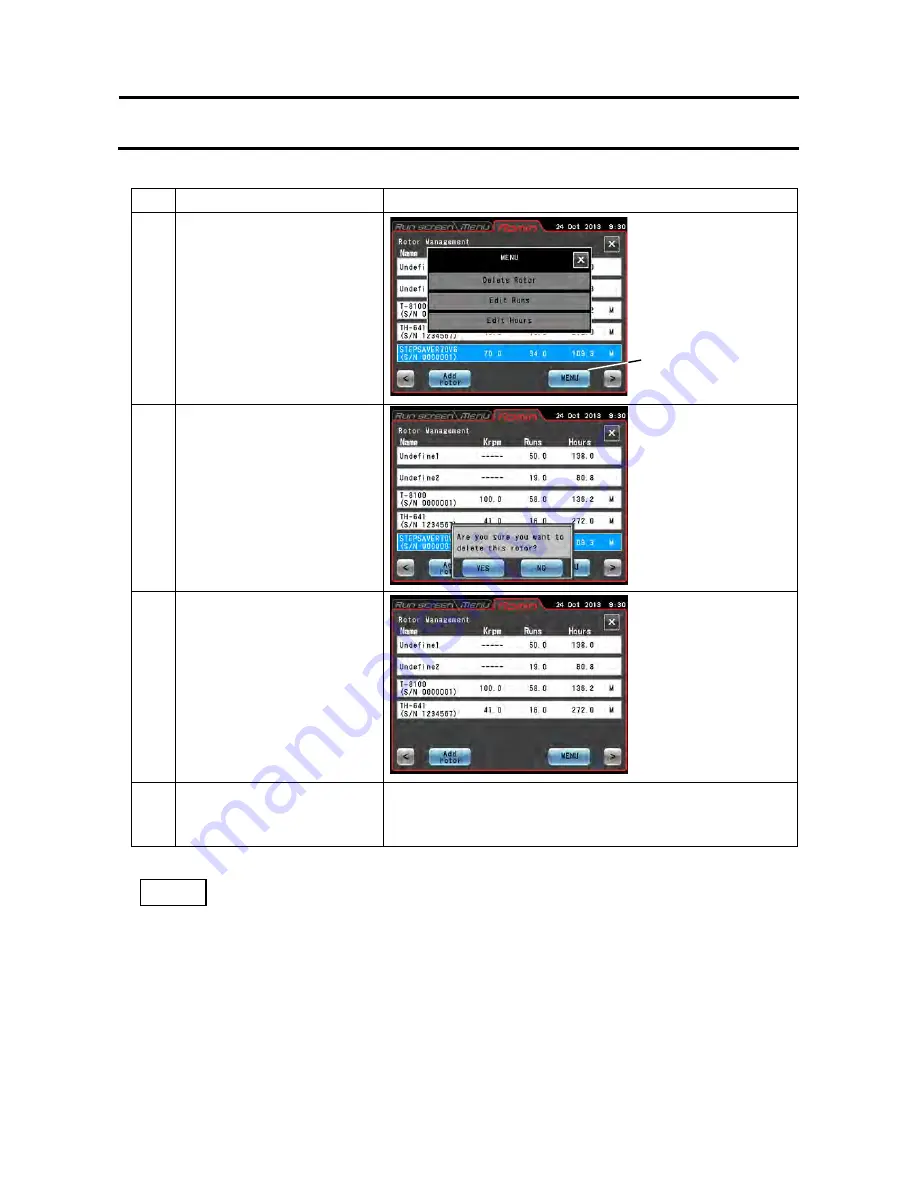
(3) Procedure for deleting a registered rotor
Step
Touchscreen operation
Screen displays and notes
1
Press the Rotor management
button, select the rotor to
delete and press the
[MENU]
button.
2
Press the
[Delete Rotor]
button in the menu box.
3
Press the
[YES]
button in the
delete confirmation box.
4
Press the Run screen tab to
return to the Run screen.
The display again shows the Run screen.
1) Undefined 1 is the default selection that is automatically made when a rotor is installed without
selecting Undefined 2 or another rotor from the rotor list. It records the run history of all rotors
that are installed in the same way.
2) Select Undefined 2 rotor for a specific rotor whose run history you want to record without
registering it.
3) Undefined 1 rotor and undefined 2 rotor cannot be deleted.
●
The selected rotor is
deleted from the
Rotor management
screen.
●
The MENU box
appears in the Rotor
management screen.
●
A delete confirmation
message appears.
NOTE
3-4-6 Admin Function
[MENU]
button
3-97


