26
TK 56430-18-IP-EN
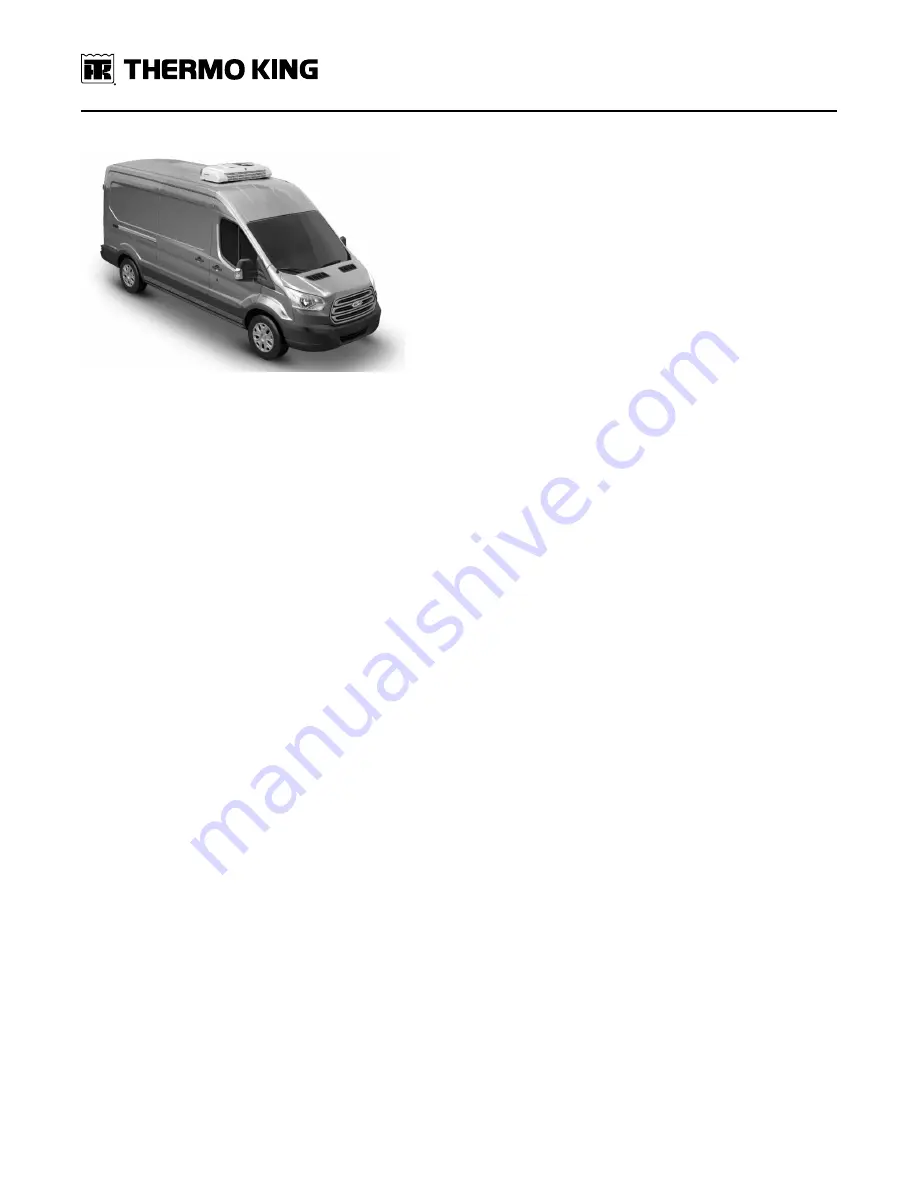
Figure 9.
Typical V-Series Rooftop Mounted Unit Shown.
Nosemount and Rooftop Mount Similarities
Both nosemount and rooftop units are referred to as “Split Systems”, meaning individually installed components make
up the completed refrigeration system. Installing and connecting each component correctly is critical to a successful
installation.
While each unit may be different, they all require:
•
A separate compressor be installed onto the vehicle’s engine.
•
A condenser be mounted either on the nose or roof of the box truck, or on the roof of the vehicle.
•
Remote evaporator(s) be installed inside the cargo area.
•
Refrigeration hoses be fabricated, routed, and connected to the individual components.
•
Electrical harnesses be routed and connected to the individual components.
•
12 Vdc power be integrated into the vehicle’s electrical system.
•
In-cab controller be installed inside the vehicle’s cab.
•
Remote standby receptacle box be installed onto the exterior of the vehicle ( Electric Standby SmartPower models
only).
•
The system be evacuated, leak checked and charged with proper refrigerant per your specific application.
•
Final operation setup, software programming and refrigeration system adjustments.
•
Adjustments to the Suction Pressure Regulator (SPR) or Compressor Pressure Regulator (CPR) valve (if equipped)
for maximum performance.
•
Completion of the Commissioning Form.
Installation Sequence
Thermo King has determined the best installation sequence for vehicle powered units to help minimize the installation
time. It is recommended the sequence shown below be followed for either nosemount or roof mount units:
1. Unpack and inspect all components.
2. Determine which unit configuration is being installed (nosemounted or rooftop mounted) and review vehicle for
component locations, along with refrigerant hose and electrical routing.
3. Prepare for the installation by gathering required tools.
4. Provide protection to vehicle’s finish to prevent damage during installation process.
5. Install engine driven compressor per your specific kit instructions.
6. Install condenser.
7. Install remote evaporator(s).
8. Fabricate and attach refrigeration hoses to all condenser connections.
9. Fabricate and attach refrigeration hoses to all evaporator connections.
10. Fabricate and attach refrigeration hoses to the engine driven compressor.


