


RES-12XR3-S for X8DAL-3/i Installation Manual
Version 1.0
2-18
Themis Computer
2.
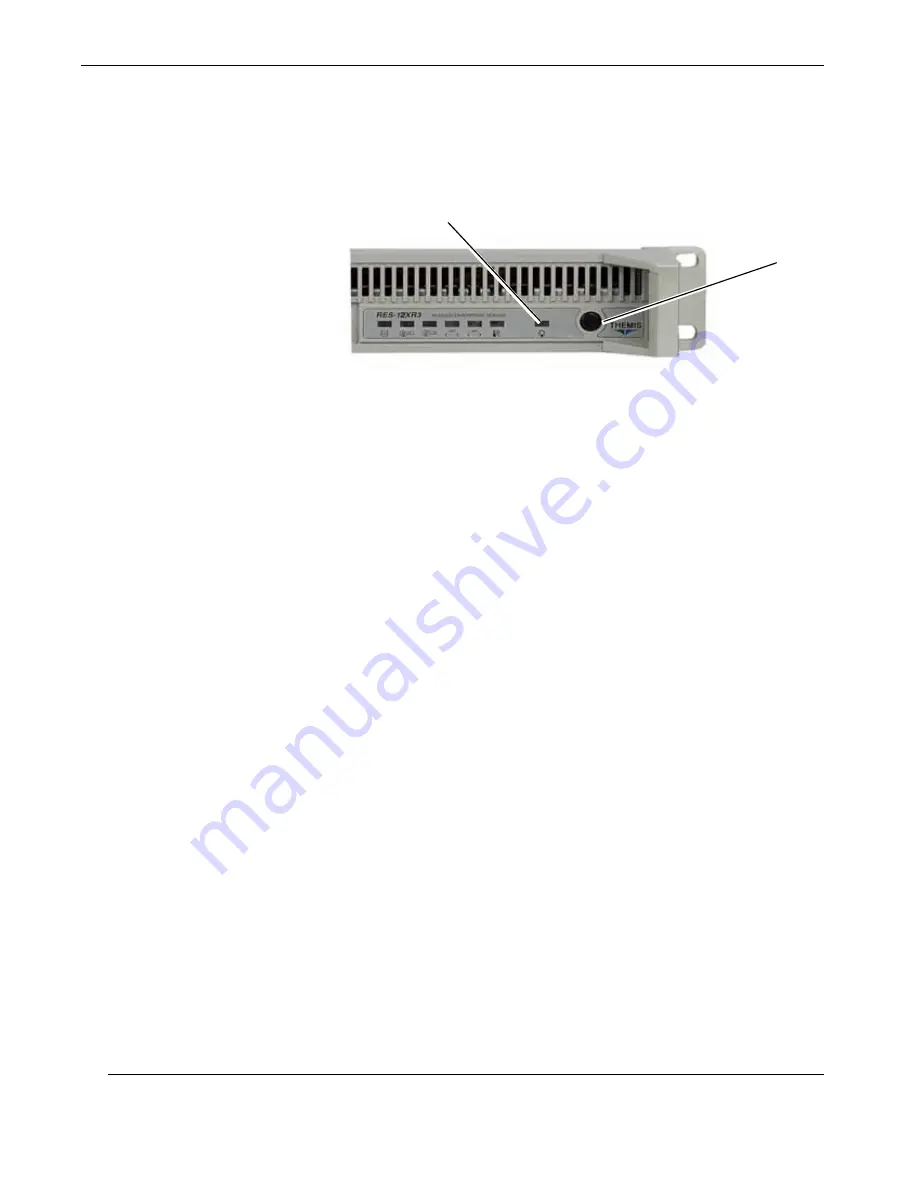
On the front of the RES-12XR3-S push the system power on/off button (see
Figure 2-15
). This will cause the system
POWER
LED to light (green).
2.3.3
Getting Started
2.3.3.1 Configuration
1.
Make sure all SAS/SATA drives are installed (see “SAS/SATA Storage Drive”
on page 2-9). Drive ID numbers are shown in
Figure 2-8
on page 2-10, Chap-
ter 2. Changes may be made through the BIOS.
2.
Make sure that a graphics card is installed in a PCI slot and connect a multi-
scan monitor to the VGA or DVI connector.
3.
Attach a PS/2 keyboard and mouse to the appropriate connectors on the rear
I/O panel of the RES-12XR3-S (see
Figure 1-5
on page 1-6)
4.
Turn the system on (see previous section).
2.3.3.2 Linux Installation
The subject of installing the Linux operating system onto the RES-12XR3-S is
detailed in Appendix C, “Red Hat Enterprise Linux 5 Installation”.
Figure 2-15.
System Power Button and LED on the RES-12XR3-S for X8DAL-3/i
Front
System Power
On/Off Button
Power LED
Summary of Contents for RES-12XR3-S
Page 5: ...iii Themis Computer VersionRevisionHistory Version 1 0 November 2010...
Page 16: ...RES 12XR3 S for X8DAL 3 i Installation Manual Version 1 0 xiv Themis Computer...
Page 20: ...RES 12XR3 S for X8DAL 3 i Installation Manual Version 1 0 xviii Themis Computer...
Page 64: ...RES 12XR3 S for X8DAL 3 i Installation Manual Version 1 0 2 20 Themis Computer...
Page 99: ...BIOS Setup Utility BIOS Error Beep Codes 3 35 Themis Computer...
Page 100: ...3 36 Themis Computer RES 12XR3 S for X8DAL 3 i Installation Manual Version 1 0...
Page 108: ...Themis Computer RES 12XR3 S for X8DAL 3 i Installation Manual Version 1 0 B 4...
Page 132: ...E 4 Themis Computer RES 12XR3 S for X8DAL 3 i Installation Manual Version 1 0...


