RES-12XR3-S for X8DAL-3/i Installation Manual
Version 1.0
2-16
Themis Computer
3.
Squeeze the locking lever toward the extraction handle and firmly pull the
power supply from the chassis.
2.1.7.2 Installing a Power Supply
Perform the following steps to install a power supply:
1.
Insert the replacement power supply into an empty slot with the power LED
at the top (see
Figure 2-12
on page 2-15).
2.
Push the power supply carefully into its slot until it is firmly seated (a click
will be heard when the locking lever is securely fastened to the chassis).
3.
Replace and tighten the two captive screws to hold the power supply locking
lever to the chassis (see
Figure 2-12
) to secure both power supplies.
2.2
Rack Mounts
2.2.1
Mounting Brackets
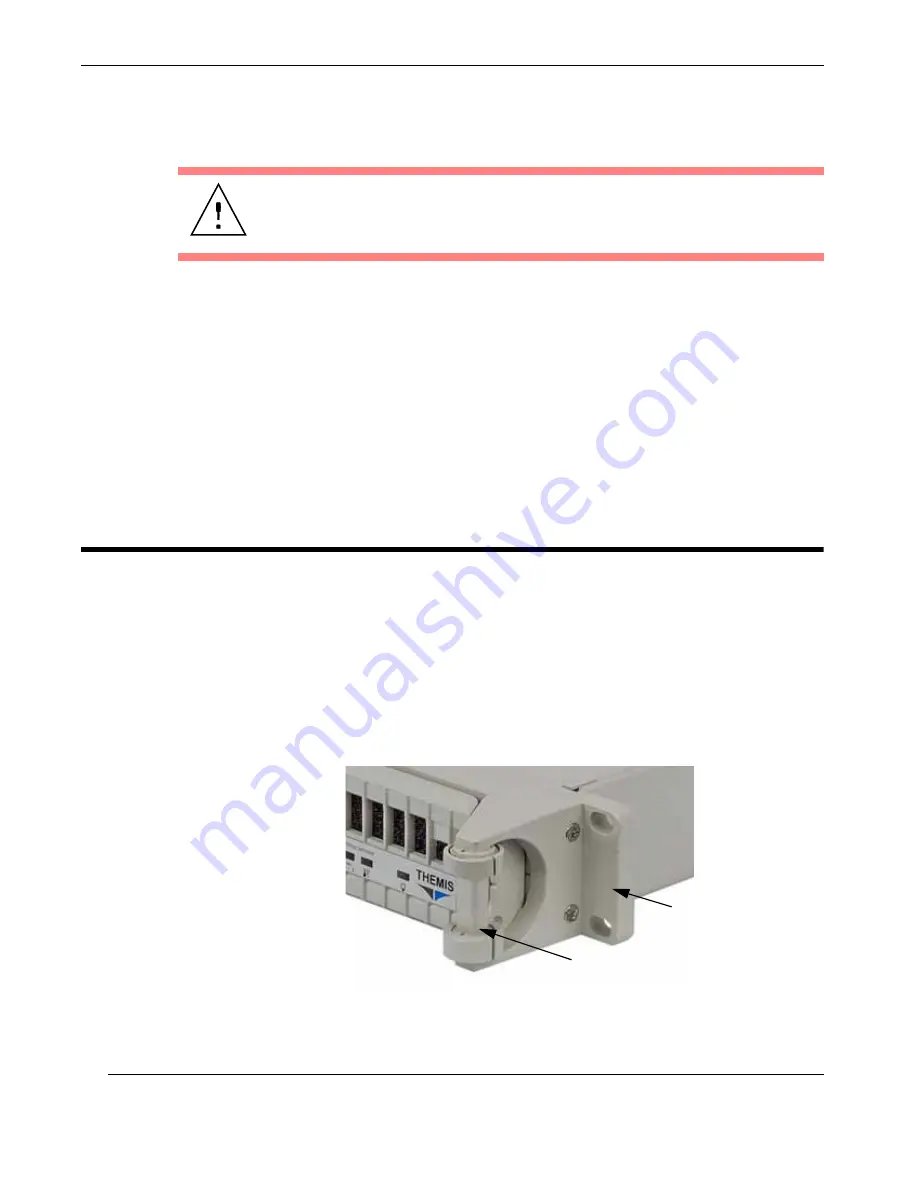
The rack-mount brackets (flanges) are used to secure the chassis to the 19” rack (see
Figure 2-13
). Handles are used to pull the RES-12XR3-S from the rack when rack-
mount slides have been installed on the sides of the chassis (see following section).
Caution:
When pulling the power supply from the chassis, hold it at the bot-
tom to prevent it from falling and damaging the unit.
Figure 2-13.
Right Rack-Mount Bracket
Right Mounting
Bracket
Right Handle
Summary of Contents for RES-12XR3-S
Page 5: ...iii Themis Computer VersionRevisionHistory Version 1 0 November 2010...
Page 16: ...RES 12XR3 S for X8DAL 3 i Installation Manual Version 1 0 xiv Themis Computer...
Page 20: ...RES 12XR3 S for X8DAL 3 i Installation Manual Version 1 0 xviii Themis Computer...
Page 64: ...RES 12XR3 S for X8DAL 3 i Installation Manual Version 1 0 2 20 Themis Computer...
Page 99: ...BIOS Setup Utility BIOS Error Beep Codes 3 35 Themis Computer...
Page 100: ...3 36 Themis Computer RES 12XR3 S for X8DAL 3 i Installation Manual Version 1 0...
Page 108: ...Themis Computer RES 12XR3 S for X8DAL 3 i Installation Manual Version 1 0 B 4...
Page 132: ...E 4 Themis Computer RES 12XR3 S for X8DAL 3 i Installation Manual Version 1 0...


