Commissioning and Troubleshooting
Premier 24
Installation Manual
26
INS248
RP9 Radio-Pad
Before connecting the
Radio-Pad
, isolate ALL power from
the control panel (AC mains and battery), do not continue
if there is still power present on the control panel.
To install the
Radio-Pad
onto the control panel:
•
Connect the 7-Way connector of the
RPD-Com
lead to
Com2 on the control panel
•
Connect the 25-Way D-Type connector of the
RPD-
Com
to the Radio-Pad
•
Locate the power lead connector into the socket at the
bottom of the Radio-Pad
•
Connect the Black lead to the DC- terminal on the
control panel
•
Connect the lead with the White stripe to the DC+
terminal on the control panel
•
Follow the procedure for
Registering the Radio-Pad
Registering the Radio-Pad
Whenever a Paknet Radio-Pad is installed or moved, it
must be
registered
onto the network. To do this:
•
Press and hold the test button on the front of the
Paknet Radio-Pad
•
With the test button still pressed, connect power to the
control panel and wait for the yellow service light on
the Radio-Pad to flash
•
Release the test button
Within 2 minutes the yellow service light should stop
flashing and remain steady. This means that the Paknet
Radio-Pad has now selected and locked on to the Base
Station with the strongest signal.
The Paknet Radio-Pad should be re-registered on every
site visit, this is to ensure that any new Vodafone Packet
Radio Service Base Stations in the vicinity are recorded by
the Paknet Radio-Pad.
Programming the
Radio-Pad
•
Program Com 2 for
Radio-Pad
operation (see page 67
for details)
•
Refer to the
Radio-Pad
installation guide for full
programming details.
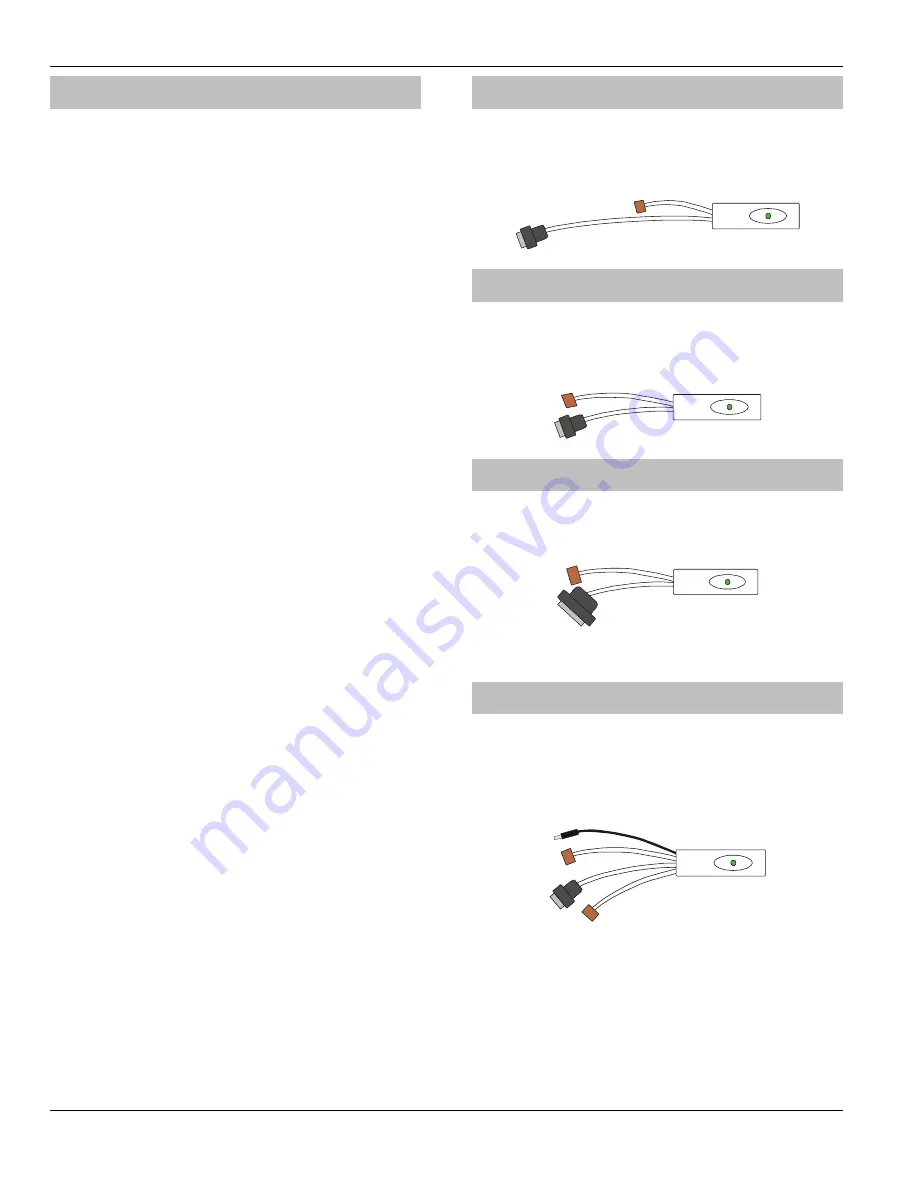
PC-Com
The
PC-Com
has two connectors. The 9-way D-type
connector is for connection to a serial port on a computer and
the 5-way Molex connector plugs onto Com 1 on the control
panel.
UNI-Com
The
UNI-Com
has two connectors. The 9-way D-type
connector connects to any supported serial device, the 5-
way Molex connector plugs onto Com 1 on the control
panel.
PRINT-Com
The PRINT
-Com
has two connectors. The 25-way D-type
connector connects to a Serial Printer and the 5-way Molex
connector plugs onto Com 1 on the control panel.
GSM-Com
The
GSM-Com
has four connectors. The RJ45 connector
connects to the GSM Module, the 7-way Molex connector
plugs onto Com 2 on the control panel, the 5-way Molex
connector plugs onto the Audio connector on a Com300 or
Com2400 and the jack plug connects to the power connector
on the GSM Module to provide power (5V).


