Chapter 2 - Installing Software
Installing the Terason DICOM Utility
Terason t3000 / Echo Ultrasound System User Guide
49
4.
Configure the
Print Settings tab
(settings apply to a printer that will print DICOM
files):
a.
Click the
Print Settings
tab to bring it to the front.
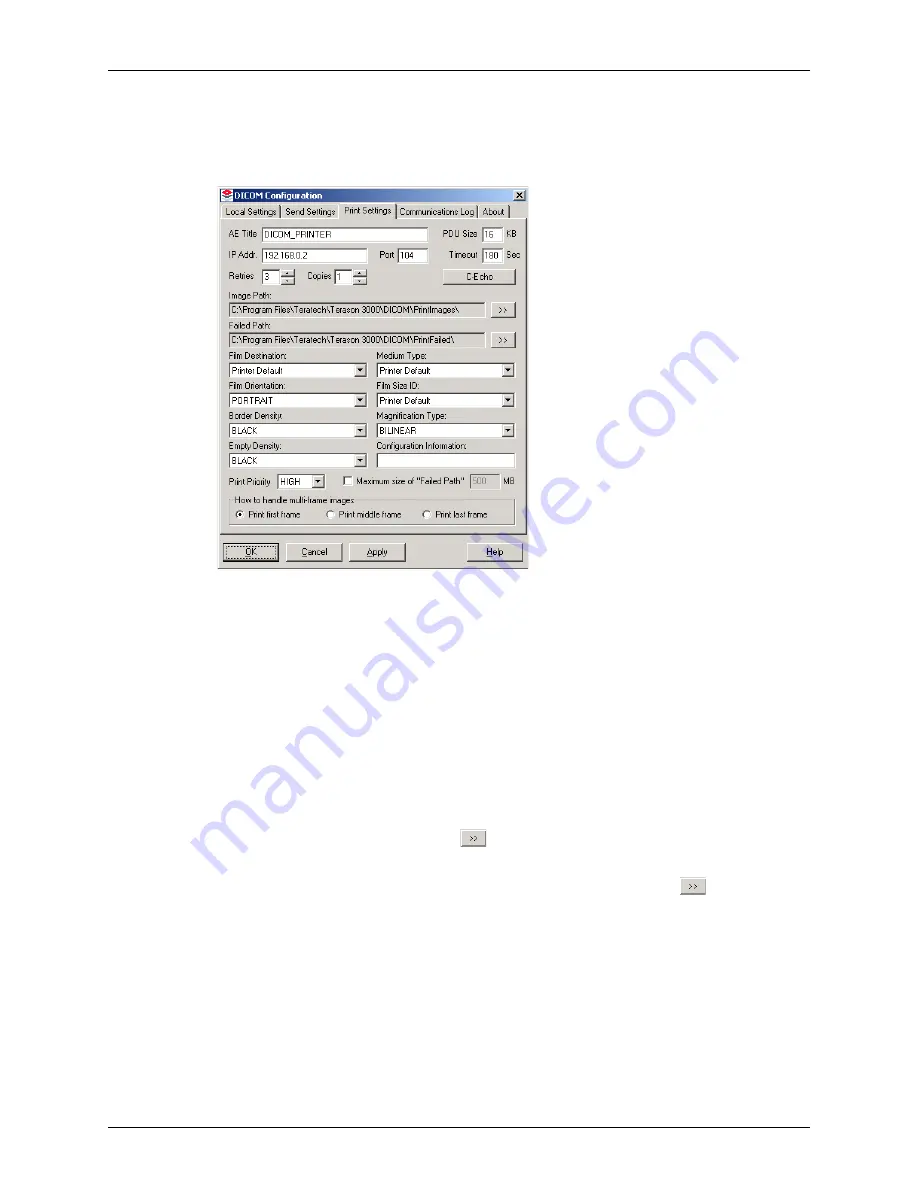
DICOM Configuration Window / Print Settings Tab
b.
Enter the name of your DICOM printer in the
AE Title
text box.
c.
Enter the IP address or DNS node name of the DICOM printer in the
IP Address
text box.
d.
Enter the DICOM printer’s port number in the
Port
field.
e.
If your DICOM printer requires different values, edit the PDU size, Timeout, and
Number of Retries boxes as necessary.
f.
Click the
C-Echo button
to test whether or not the printer is active on the network.
g.
If necessary, edit the number of copies to print (default value is 1).
h.
If necessary, change the image path (where the computer temporarily stores
DICOM files) by clicking the
button and browsing to a different location.
i.
If necessary, change the failed path (where DICOM files are moved if they cannot
be successfully sent after the number of retries) by clicking the
button and
browsing to a different location.
j.
To limit the disk space consumed by DICOM files in the Failed Path, select the
check box and enter a MB value. If you do, the system overwrites oldest files first
when the maximum size is reached.
k.
Change the default values for the Film Destination, Medium Type, Film
Orientation, File Size ID, Border Density, Empty Density, Magnification Type,
Configuration Information, and Print Priority to meet your requirements or if
needed by the DICOM printer.


