Installation
Falcon GC
14
Teledyne Analytical Instruments
3.
Now, in the Run screen with the yellow background, you must
first claim the instrument by clicking the Claim button
underneath the column labeled Control. This should cause the
empty cells to the left of the Claim button to auto-fill.
You can also change the data directory from this screen by
clicking on the “…” icon under the Data Directory column. The
data directory pathname determines where the Chromperfect-
created chromatograms will be stored.
3.6 The Chromperfect Status Tab
Now that the instrument has been claimed you should be ready to
download a method file to the instrument. This download can be made
in the Status Tab in the Run or Data Acquisition window. As shown
previously, the method file can have several other file types linked to it.
The most important of those linked files is the setpoint file.
Downloading the method file to the GC is how the Falcon gets its
setpoint information.
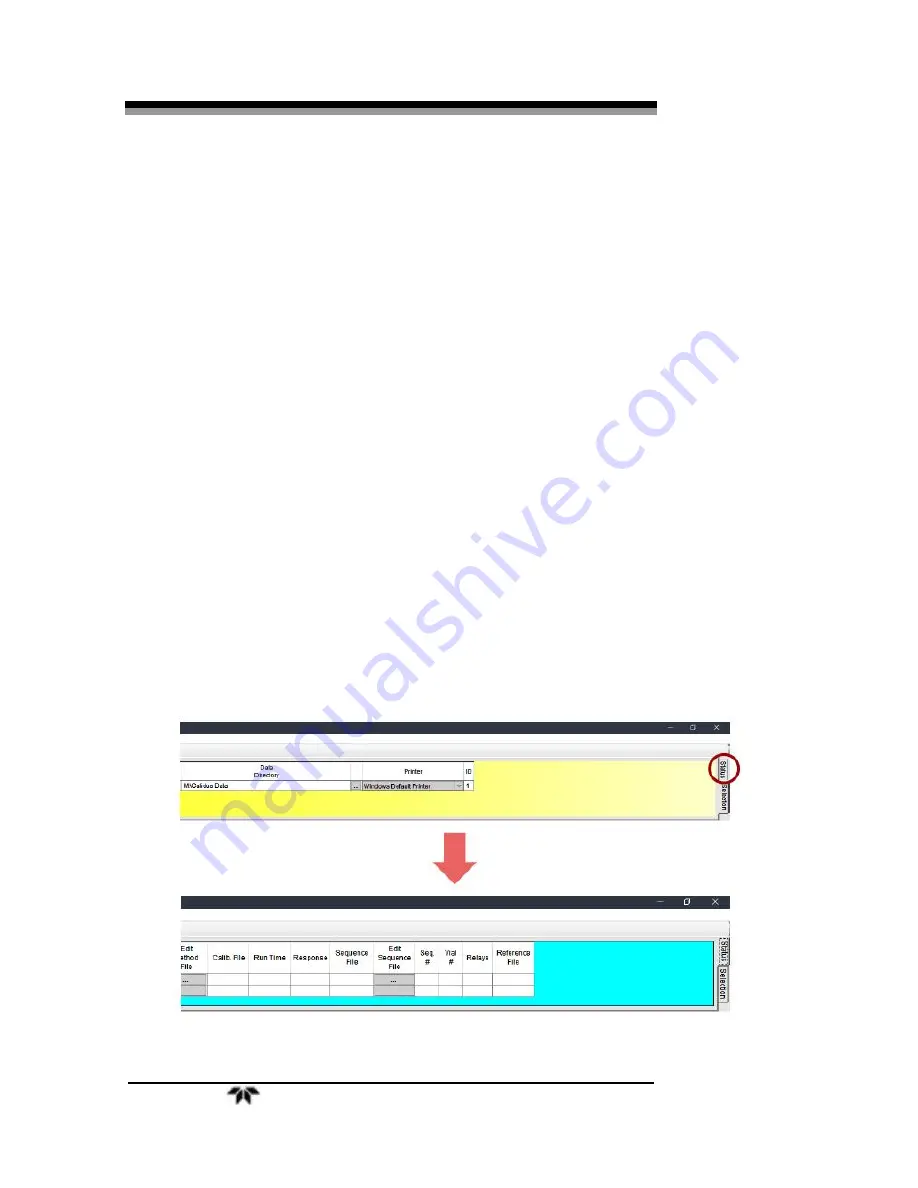
You can get to the Status Tab from the Run window opened in the
previous step. Simply click on the Status tab on the right-hand side of
the screen after you’ve claimed the instrument. You should notice that
the background changes from yellow to cyan.
Summary of Contents for FALCON GC
Page 10: ...Falcon GC x Teledyne Analytical Instruments Blank Page ...
Page 15: ...Falcon GC Preparatio n Teledyne Analytical Instruments 5 3 Click on Report ...
Page 16: ...Preparation Falcon GC 6 Teledyne Analytical Instruments Blank Page ...
Page 42: ...Maintenance Troubleshooting Falcon GC 32 Teledyne Analytical Instruments ...
Page 62: ...Appendix Falcon GC 52 Teledyne Analytical Instruments A 3 Drawings ...
Page 63: ...Falcon GC Appendix Teledyne Analytical Instruments 53 ...
Page 64: ...Appendix Falcon GC 54 Teledyne Analytical Instruments ...
Page 65: ...Falcon GC Appendix Teledyne Analytical Instruments 55 ...
Page 66: ...Appendix Falcon GC 56 Teledyne Analytical Instruments ...
Page 67: ...Falcon GC Appendix Teledyne Analytical Instruments 57 ...


