12
TS1001 Touch Screen Arming Station Installation Manual
If the resistance is 10 Ω or greater, then you need to either connect the fixture
to the building electrical earth, or connect the RAS’s earth point to the
Challenger LAN data cable shield in the same manner as in Case 1 (above).
Note:
Regardless of whether you are connecting the Touch Screen RAS to a
Challenger10 panel or a Challenger V8 panel, earth the RAS according to the
Challenger10 Installation and Quick Programming Manual
R04 (or later).
Adjusting LCD and button brightness
The LCD screen and the physical keys are backlit when active, and are either off
or dimmed when inactive. After using the RAS, the state reverts to inactive after
the inactivity time expires (see “Inactivity Period” on page 13). If the display is off,
touch the screen or a key to activate the display.
Note:
Adjust the active mode brightness of the
RAS’s LCD screen and the
physical keys to suit the ambient lighting of the environment.
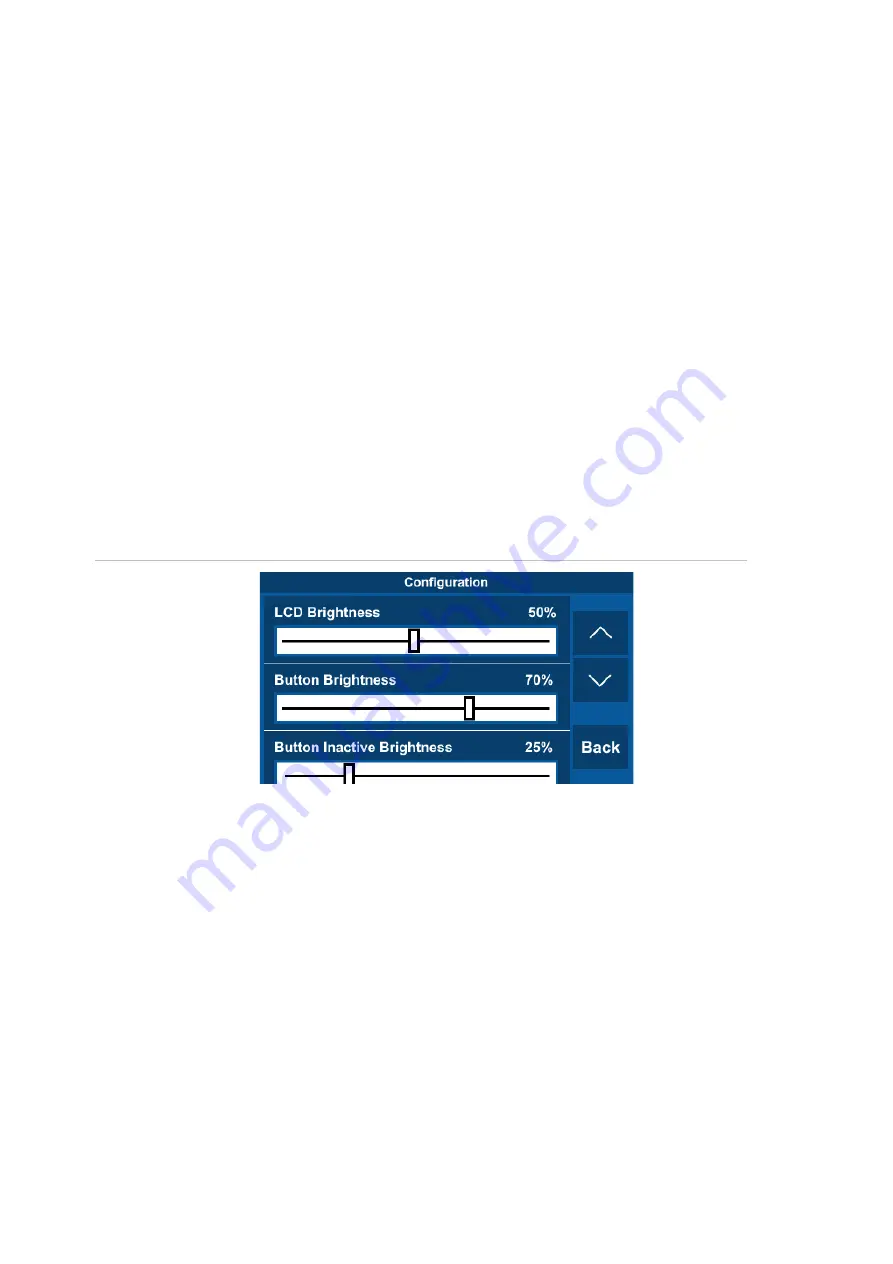
You can dynamically configure the touch screen
RAS’s LCD display and physical
buttons via the Install menu option “This RAS Configuration” (not available in
classic mode).
Figure 7: Configuration screen
Use the Enter # key and * Menu key or the Up and Down arrows to navigate the
list. The configuration options are described in the following sections.
Note:
LCD and button brightness can also be adjusted remotely via Install menu
option 28
–Remote Controllers. See “Programming RAS menu options” on page
13.
LCD Brightness
Tap the slider bar to adjust the LCD screen brightness during activity (when
either the LCD screen or a button is pressed). The brightness changes
dynamically as you change the settings.
Note:
We recommend using smaller values in order to minimise power use in
mains fail conditions.


