The Menu
User guide
56
Menu configurations
Every printer is shipped with factory default settings. Basic settings
such as emulation, character size, form length etc., which many ap-
plications make use of, are set. At the end of this chapter you will find
a
menu printout
(
page 90
)
which shows you the printer’s default set-
tings.
Your printer allows you to set and use five independent menu con-
figurations. If one of your applications for example requires an IBM
printer while another program works better with an EPSON printer,
you can set an IBM emulation configuration with the desired set-
tings, and set the second configuration as an EPSON emulation.
The active menu is always the one you used last. When you switch
on the printer for the very first time, menu no. 1 is loaded. Menu no.
1 only remains active until you load another menu. The last active
menu is stored even after the printer is switched off and is reloaded
automatically when the printer is switched on again.
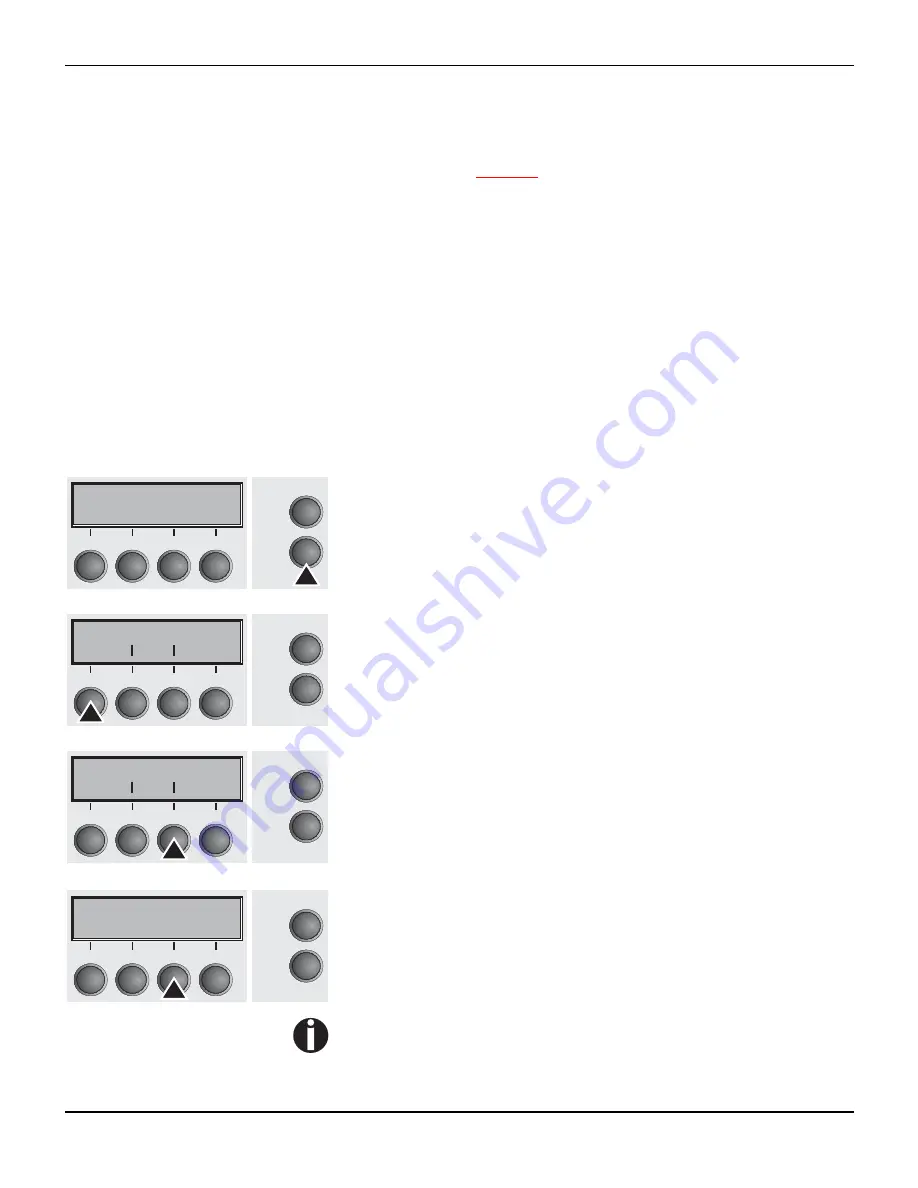
For example, to change from menu no. 1 to menu no. 3:
Press
Setup
key.
Press
Menu
(1) key.
Press
Menu
(3) key.
Now the following message appears in the LC display:
Now press the
<
(2) or
>
(3) key repeatedly until
Load Menu=3
ap-
pears.
Then select menu no. 3 as the current setting using the
Set
key (1).
The currently active setting is marked with an asterisk (
*
).
If changing menues it is possible that the printer initializes due
to different emulation settings.
Online
Trac1
Tear
Online
Setup
2
1
3
4
Adjust
Paperway
Menu
Char
Online
Setup
2
1
3
4
Print Menu
Back
Next
Online
Setup
2
1
3
4
Load Menu=1
*
Set
<
>
Exit
Online
Setup
2
1
3
4


