64
TalkSwitch User Manual
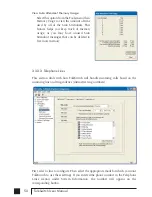
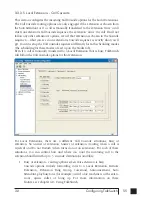
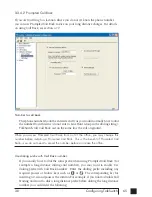
The Announced Message can be recorded locally using an extension handset or
remotely by accessing Call Back from the Auto Attendant. The Record message
button gives the instructions as follows:
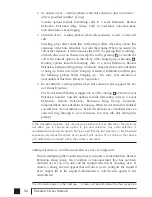
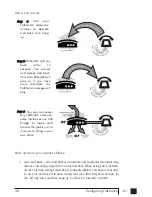
Pick up a telephone handset connected to the TalkSwitch and use the
following keypad commands to record the specific Auto Call Back
Announced Message:
1) Press
to enter command mode. If required, enter the
password.
2) Next, enter the appropriate command as listed below. After each
command, press
to confirm the entry.
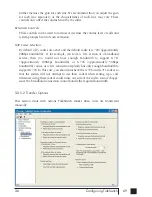
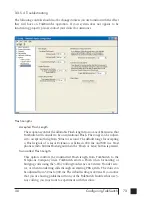
Auto Call Back
Recording
Playback
1
61 71
2
62 72
3
63 73
4
64 74
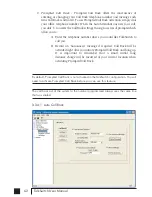
There are 4 Auto Call Back accounts per TalkSwitch unit. If you need to record an
Announced Message for a particular Auto Call Back account, it must be on the same
TalkSwitch unit as the account.
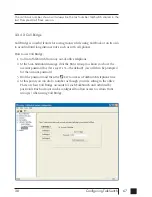
If you need to configure and/or record an Announced Message from a remote location
and do not have the Auto Attendant set to answer this Call Back line, you can call your
Call Back number and let it ring 15 times. A generic Auto Attendant will answer and
you can configure Call Back by pressing 6.
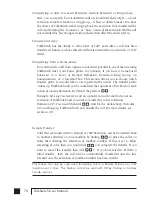
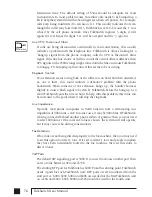
Allow Call Bridge:
To allow Call Bridge after a Call Back has been accepted, check the Allow Call
Bridge box. You may also restrict the Call Bridge line access by choosing the
Hunt Group Access button. By default, Call Bridge is enabled when Call Back is
activated. You will not be prompted for another password when you choose a
Hunt Group at the Auto Attendant.
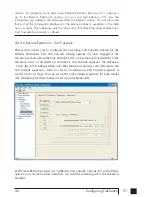
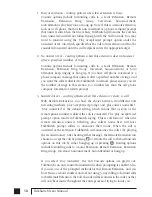
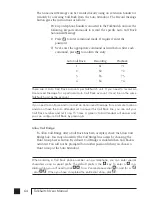
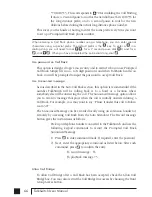
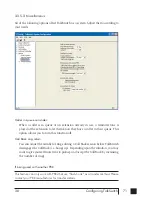
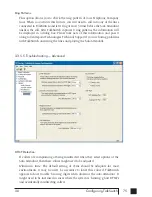
When entering a Call Back phone number using a telephone, you can enter special
characters using a special prefix. The default prefix is the
key. To enter a
in a
dialing string you will need to dial
, for a 2 second pause dial
0, and for a
, dial
. When you have completed the entire dial string, dial
.
TS manual 11th ED_CVA_v11_CD_Release.qxd 7/13/2004 3:36 PM Page 64
Summary of Contents for TALKSWITCH 48-CVA
Page 1: ...Installation and User Guide DESKTOP PHONE SYSTEM TalkSwitch 48 CVA v3 10...
Page 109: ...101 4 0 Using TalkSwitch...
Page 111: ......
Page 145: ......

