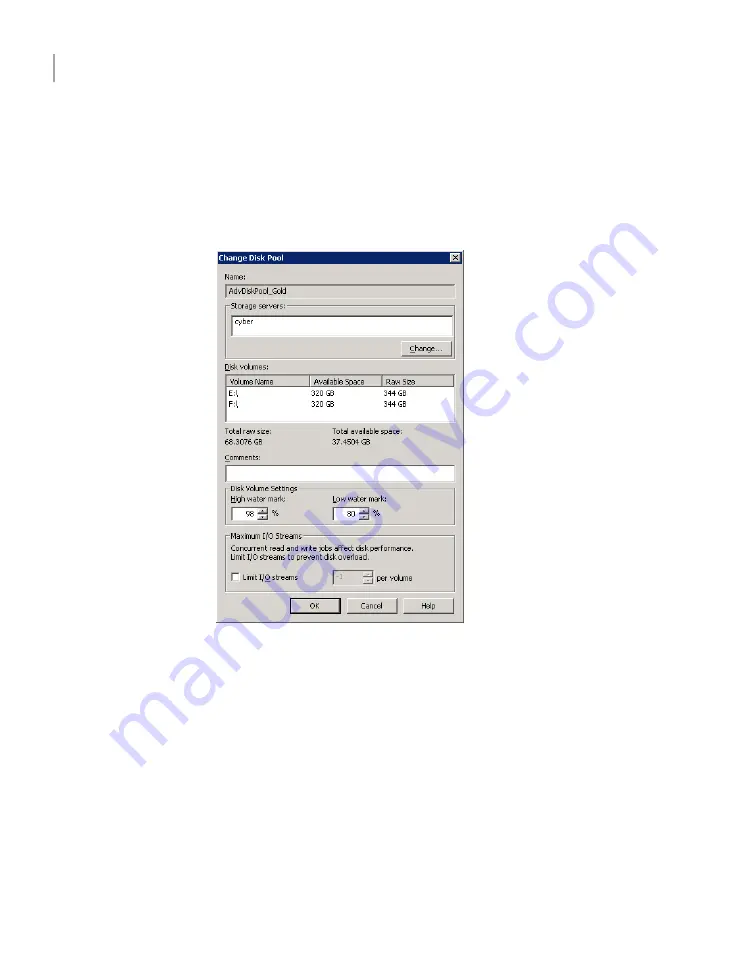
To change disk pool properties
1
In the NetBackup Administration Console, in the left pane, expand Media
and Device Management > Devices > Disk Pools.
2
In the right pane, select the disk pool you want to change.
3
Click Edit > Change.
4
In the Change Disk Pool dialog box, change properties.
See
“AdvancedDisk disk pool properties”
on page 30.
5
Click OK.
Changing AdvancedDisk disk pool state
Disk pool state is UP or DOWN.
To change the state to DOWN, the disk pool must not be busy. If backup jobs are
assigned to the disk pool, the state change fails. Cancel the backup jobs or wait
until the jobs complete.
Managing AdvancedDisk
Managing AdvancedDisk disk pools
42
Summary of Contents for NetBackup
Page 1: ...Symantec NetBackup Shared Storage Guide UNIX Windows Linux Release 7 1 21159731 ...
Page 16: ...16 ...
Page 50: ...Managing AdvancedDisk Viewing disk reports 50 ...
Page 54: ...Toubleshooting AdvancedDisk Resolving an incorrect storage type problem 54 ...
Page 56: ...56 ...
Page 104: ...Configuring OpenStorage Setting NetBackup configuration options by using bpsetconfig 104 ...
Page 124: ...Managing OpenStorage About restoring from backup copies 124 ...
Page 131: ...SharedDisk option Chapter 14 Introducing SharedDisk 3 Section ...
Page 132: ...132 ...
Page 136: ...136 ...
Page 144: ...Introducing the Shared Storage Option Shared Storage Option terms and concepts 144 ...
Page 162: ...Using the Shared Storage Option About adding SSO configuration options 162 ...


