


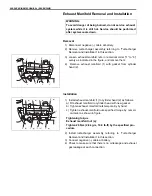


6A2-30 ENGINE MECHANICAL (K9K ENGINE)
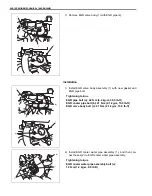
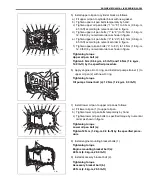
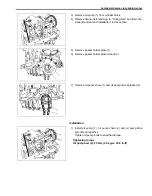
10) Install engine to vehicle as follows.
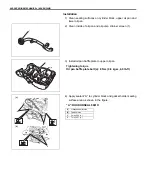
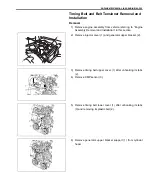
a) Install engine left mounting (1).
b) Lower engine.
c) Tighten engine mounting nuts (2) to specified torque.
Tightening torque
Engine mounting nut (a):
55 N·m (5.5 kg-m, 40.0 lb-ft)
d) Remove lifting device (3).
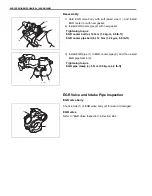
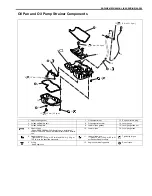
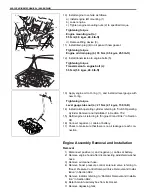
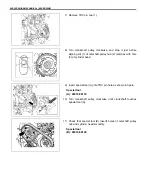
11) Install drain plug (4) to oil pan with new gasket.
Tightening torque
Engine oil drain plug (b): 35 N·m (3.5 kg-m, 25.5 lb-ft)
12) Install transmission to engine bolts (5).
Tightening torque
Transmission to engine bolt (c):
55 N·m (5.5 kg-m, 40.0 lb-ft)
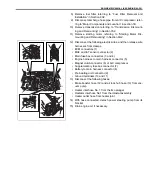
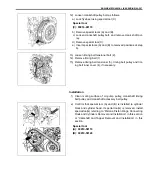
13) Apply engine oil to O-ring (1), and install oil level gauge with
new O-ring.
Tightening torque
Level gauge tube nut (a): 21 N·m (2.1 kg-m, 15.5 lb-ft)
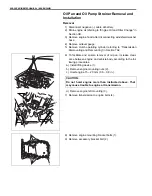
14) Install clutch operating cylinder referring to “Clutch Operating
Cylinder Removal and Installation” in Section 7C2.
15) Refill engine oil referring to “Engine Oil and Filter” in Section
0B.
16) Connect negative (–) cable at battery.
17) Check to make sure that there is no oil leakage at each con-
nection.
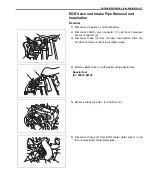
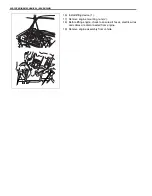
Engine Assembly Removal and Installation
Removal
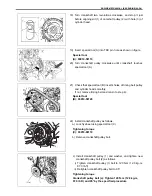
1) Disconnect positive (+) and negative (–) cables at battery.
2) Remove engine hood after disconnecting windshield washer
hose.
3) Remove air cleaner hose.
4) Remove boost pressure control solenoid valve referring to
“Boost Pressure Control Solenoid Valve Removal and Instal-
lation” in Section 6E2.
5) Remove radiator referring to “Radiator Removal and Installa-
tion” in Section 6B2.
6) Detach main fuse/relay box from its bracket.
7) Remove degassing tank.
3
4, (b)
2, (a)
2, (a)
1
2, (a)
5, (c)
5, (c)
(a)
1