SureCall | 48346 Milmont Drive, Fremont CA 94538 | 1-888-365-6283 | [email protected]
SureCall | 48346 Milmont Drive, Fremont CA 94538 | 1-888-365-6283 | [email protected]
29
28
Sentry Configuration & Monitoring
CHAPTER 7: SENTRY CONFIGURATION & MONITORING
7.1 Sentry Software Introduction
SureCall’s Sentry is a revolutionary advancement in signal-booster management. It aids in the installation, optimization,
and ongoing management of your Guardian2 QR BDA. It provides installers with tools for seamless system
configurations, and it helps pinpoint malfunctions due to unforeseen changes in the amplifier landscape, such as new
towers or repeater systems. Sentry also notifies installers or end users about various parameters via email. Features
include:
• Quick notification about booster changes and over-power situations.
• Allows offsite monitoring and adjustments related to booster performance, such as uplink, downlink or bands
.
• Helps optimize installations by monitoring and identifying the strongest signal strength available.
7.2 Software Installation
To install and configure the server, follow these steps:
• Get the SureCall Sentry software from your device supplier, or download the software here:
http://www.surecall.com/product/Sentry.html.
• Install the software using the steps outlined below.
• Configure the server to a static IP or public IP address.
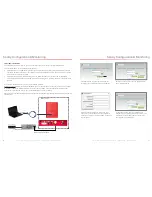
• In order to function on the network correctly, the server and the Guardian2 QR device must be (a) on the
same Local Area Network, or (b) the server must be the front end to the device.
• Use appropriate security software for safe and reliable operation when connected to a network.
• All device and user information will be stored on the computer.
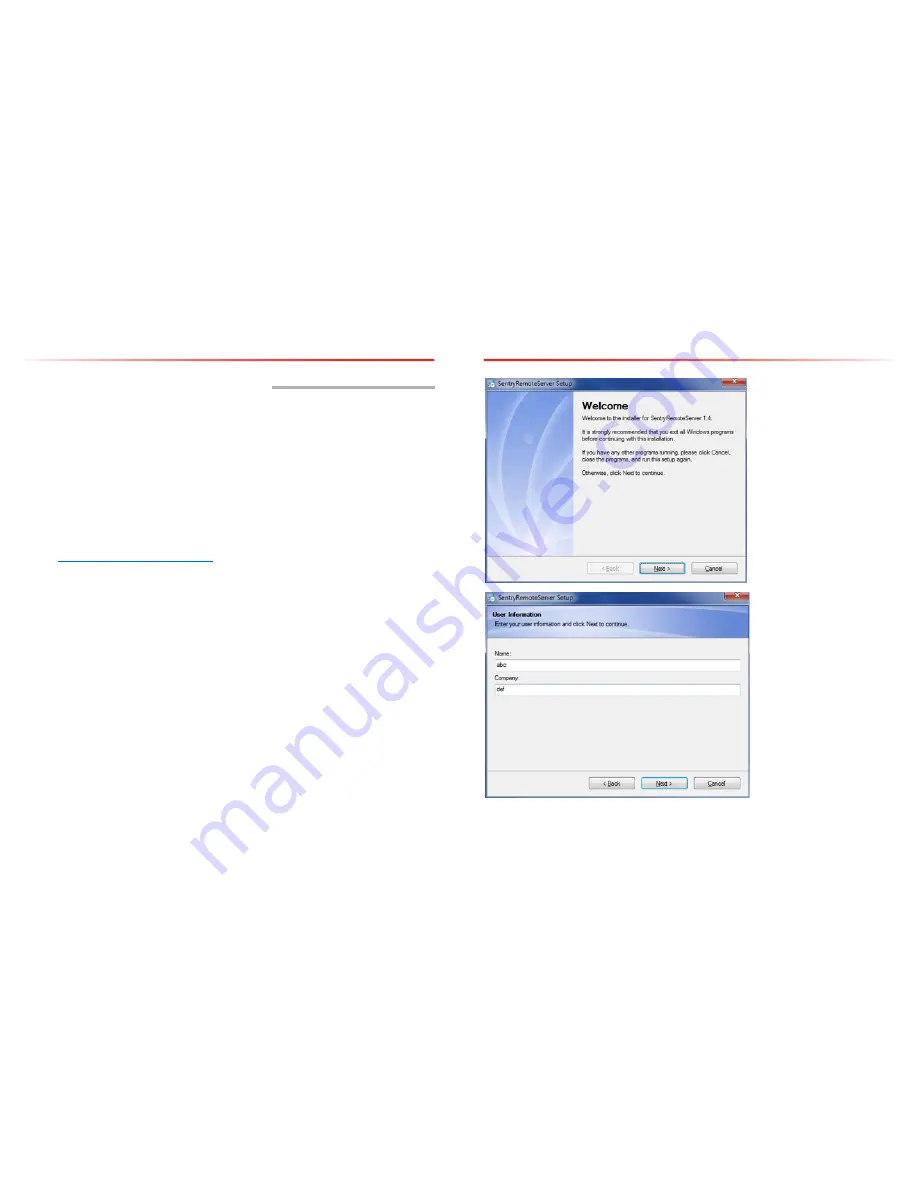
Double-click
ServerSentrySetup(V1.5).exe
to start the installation, which takes you to Welcome screen shown below.
Note: To avoid install glitches, we recommend you close all other Windows programs running on
your computer before proceeding.
After you have shut down other programs, click Next, which will take you to the User Information screen shown below.
This is where you’ll enter user information. It may be you as the installer, or you may be setting this up for someone
else who will be monitoring the system on an ongoing basis.
Sentry Configuration & Monitoring
When you have completed the fields, click Next to proceed to the Installation Folder screen as shown below. In most
situations, the default choices and information provided here work fine. Click Next to continue.


