Vista 9 Digital Mixing System
Introduction 1-11
Date printed: 26.10.10
SW V4.5
Which DSP channel is shown where is defined in the ‘strip setup’ dialog in
the Graphical Controller (refer to
chapter 4.4.7
).
Desk Navigation Example
Let’s assume a desk with 30 faders (between 20 and 70 possible in steps of
10). Since the desk can jump to six sections, this user can operate up to 6 × 30
DSP channels.
Please note that it is possible to have the same DSP channel
visible in multiple places within the six sections.
Step 1
The user defines the order of the 180 DSP channels in the strip setup dialog
box in the GC. There he will find six empty sections with 30 placeholders,
each for a channel assignment.
The definition will most likely be made in such a way that the user starts with
a new section when he starts with new channel type (as shown below).
Section
1
(30 Channel Strips
to Occupy)
Section
2
Section
3
Section
4
Section
5
Section
6
(30 Channel Strips
to Occupy)
(30 Channel Strips
to Occupy)
(30 Channel Strips
to Occupy)
(30 Channel Strips
to Occupy)
(30 Channel Strips
to Occupy)
User occupies 70 Placeholders
with DSP Channels
‘Input Mono 1...70’
User occupies 48 Placeholders
with DSP Channels
‘Track Return 1...48’
42 Places with
DSP Channels
‘AUX Send’, ‘CGM’,
‘Master Outputs’
Step 2
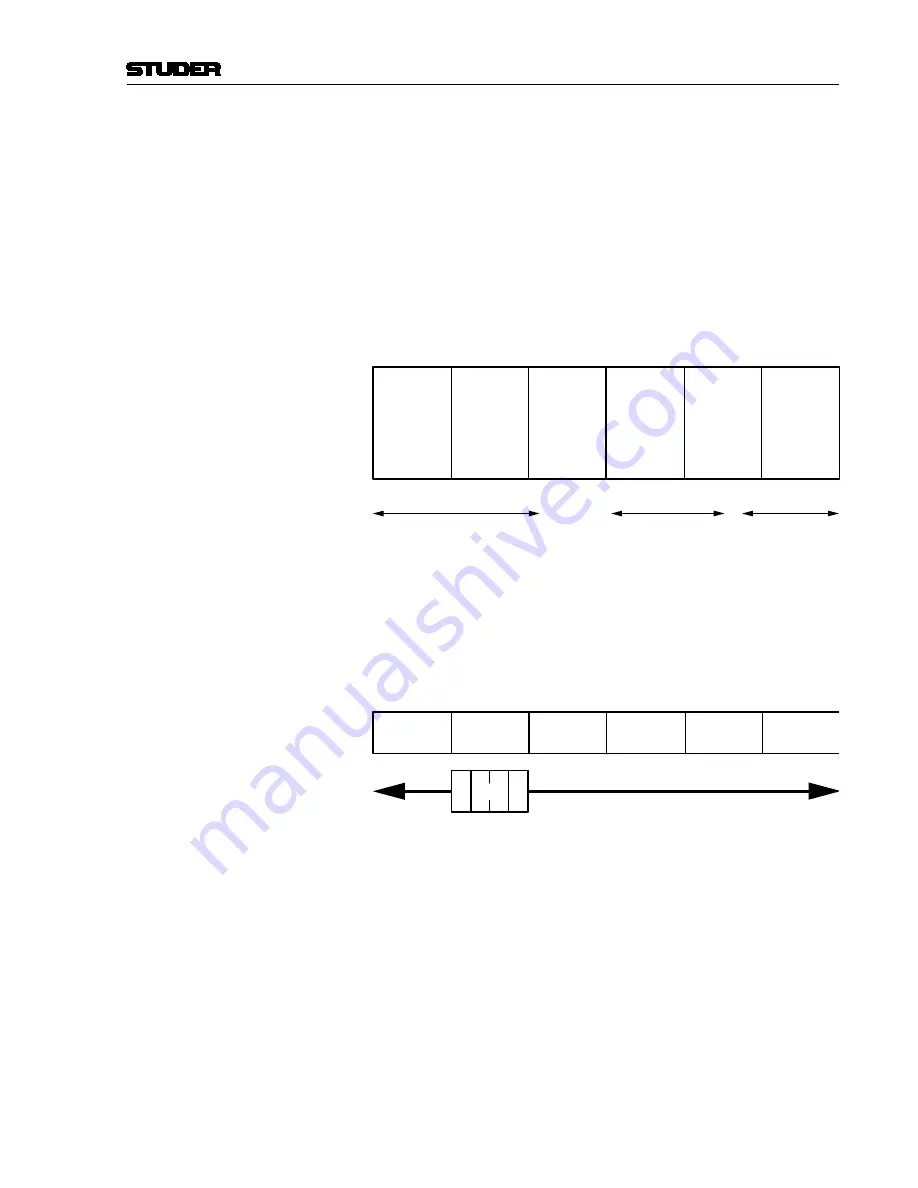
The user can now navigate through the ‘virtual surface’ (6 sections wide) in
two ways: Either he jumps to a specific section by pressing the corresponding
key in the control bay, or he scrolls from the present position to the destination
by pressing one of the arrow keys (< and >) in any of the bays. Pressing one
of these arrow keys will virtually move the physical surface in front of the
total console (6 sections) by one bay (10 faders) at a time in the corresponding
direction (like moving a chair in front of a huge console).
Section
1
Section
2
Section
3
Section
4
Section
5
Section
6
Desk
The arrow keys are located in every bay, and they all have the same function-
ality. This prevents the user from having to move to the center of the console
for navigation.
Locking a Bay
It is possible to prevent one or more bays from scrolling by switching the
ScroLL: LocK BAY
key on the corresponding bay ON. This will make that
bay isolated from the remaining sections. It doesn’t only lock from scroll-
ing, but also all global view changes on the surface will not influence locked
bays. However, it is possible to change views on a locked bay by operating its
gLoBAL vIEW
keys. These will now only influence the locked bay. A locked
bay is strictly isolated from view changes and will operate independently.
Please note that it is also possible to scroll a locked bay independently by
using the arrow keys on that specific bay.
It is possible as well to lock multiple bays at a time by pressing and holding
the first
ScroLL: LocK BAY
key and pressing a second
ScroLL: LocK BAY
Summary of Contents for Vista 9
Page 18: ...Vista 9 Digital Mixing System 1 Introduction Date printed 26 10 10 SW V4 5...
Page 42: ...2 Desk Operation Vista 9 Digital Mixing System Date printed 27 10 10 SW V4 5...
Page 90: ...Vista 9 Digital Mixing System 3 Parameters Date printed 27 10 10 SW V4 5...
Page 140: ...Vista 9 Digital Mixing System 3 52 Parameters Date printed 27 10 10 SW V4 5...
Page 298: ...Vista 9 Digital Mixing System 5 AutoTouch Date printed 28 10 10 SW V4 5...
Page 460: ...Vista 9 Digital Mixing System 6 Session Configuration Date printed 28 10 10 SW V4 5...
Page 506: ...Vista 9 Digital Mixing System 7 DAW Control Date printed 29 10 10 SW V4 5...
Page 513: ...Vista 9 Digital Mixing System DAW Control 7 Date printed 29 10 10 SW V4 5...
Page 517: ...Vista 9 Digital Mixing System DAW Control 7 13 Date printed 29 10 10 SW V4 5...
Page 524: ...Vista 9 Digital Mixing System 8 RELINK Date printed 29 10 10 SW V4 5...
Page 542: ...Vista 9 Digital Mixing System 8 20 RELINK Date printed 29 10 10 SW V4 5...
Page 546: ...SCore Live SCore Live Date printed 28 10 10...
Page 568: ...SCore Live 24 SCore Live Date printed 28 10 10...
Page 570: ...Vista Digital Mixing System 10 Application Notes Update Date printed 28 10 10 SW V4 5...


