


33
Using the Display Monitor Menu
Press and briefly hold the Menu button to open a series of menus on the
display monitor with image settings and device control options.
1
The menus
are described below.
1
English must be selected as the language in the Advanced Settings.
While the Menu feature is open, the camera head buttons will change
function to navigate the menus and lists on the display monitor.
•
The
up and down buttons
scroll up and down the list of options.
•
The
Menu button
selects the highlighted option.
•
The
Camera button
returns to the previous menu. At the top-level
menu, pressing the Camera button again exits the Menu feature.
Some menu options will not be available if the console is not connected to
the L11 LED Light Source. The options that are not available appear in grey.
When the console is connected to the Devices input on the Connected OR
Hub, more options for device control will appear in the menus. Refer to the
Connected OR Hub user manual for information about the additional options.
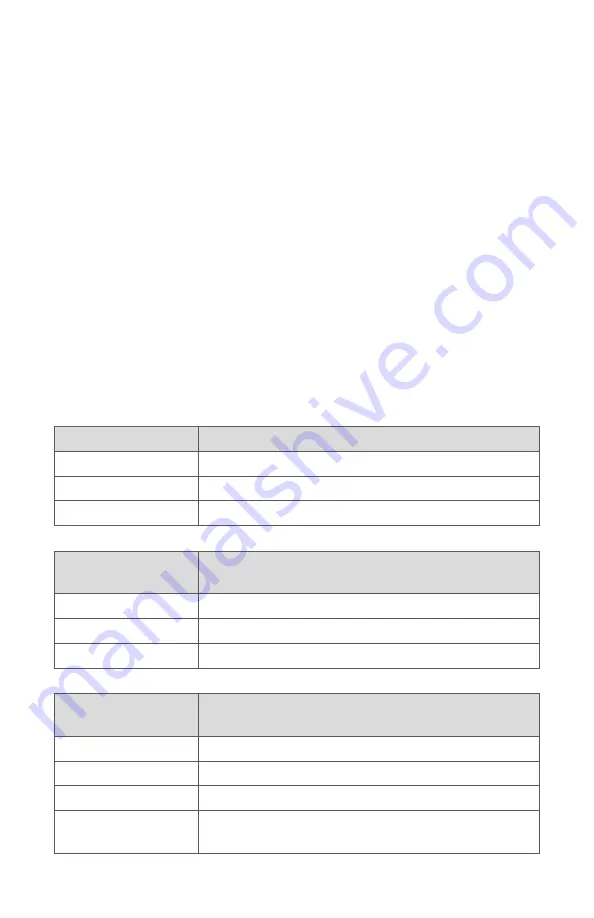
Top-Level Menu
Description
IMAGING MODES
Navigate to Imaging Modes menu
CAMERA SETTINGS
Navigate to Camera Settings menu
WHITE BALANCE
Start White Balance test
Imaging Modes
Menu
Description
SPY
Navigate to SPY menu
AUTOLIGHT
Navigate to Auto Light menu
IRIS
Navigate to IRIS menu
Camera Settings
Menu
Description
LIGHT SOURCE
Navigate to Light Source menu
ZOOM IN
Increase zoom level
ZOOM OUT
Decrease zoom level
SHUTTER AUTO
Sets the shutter to automatically adjust to the
desired brightness without overexposing the image
Summary of Contents for 1688 Series
Page 2: ......
Page 22: ...18 Wiring Diagram 0240200100 1688010000 0220230300 0240 031 050 3 4 2 6 1 5 ...
Page 67: ......