0703-001-700 Rev-C
EN
www.stryker.com
31
8.1.4 To Adjust the Rover Settings
1. Make sure the supplied power cord is connected
between the rover and facility power.
2. Make sure the power switch is ON and the safety
information on the main display has been read and
understood (CONFIRM button).
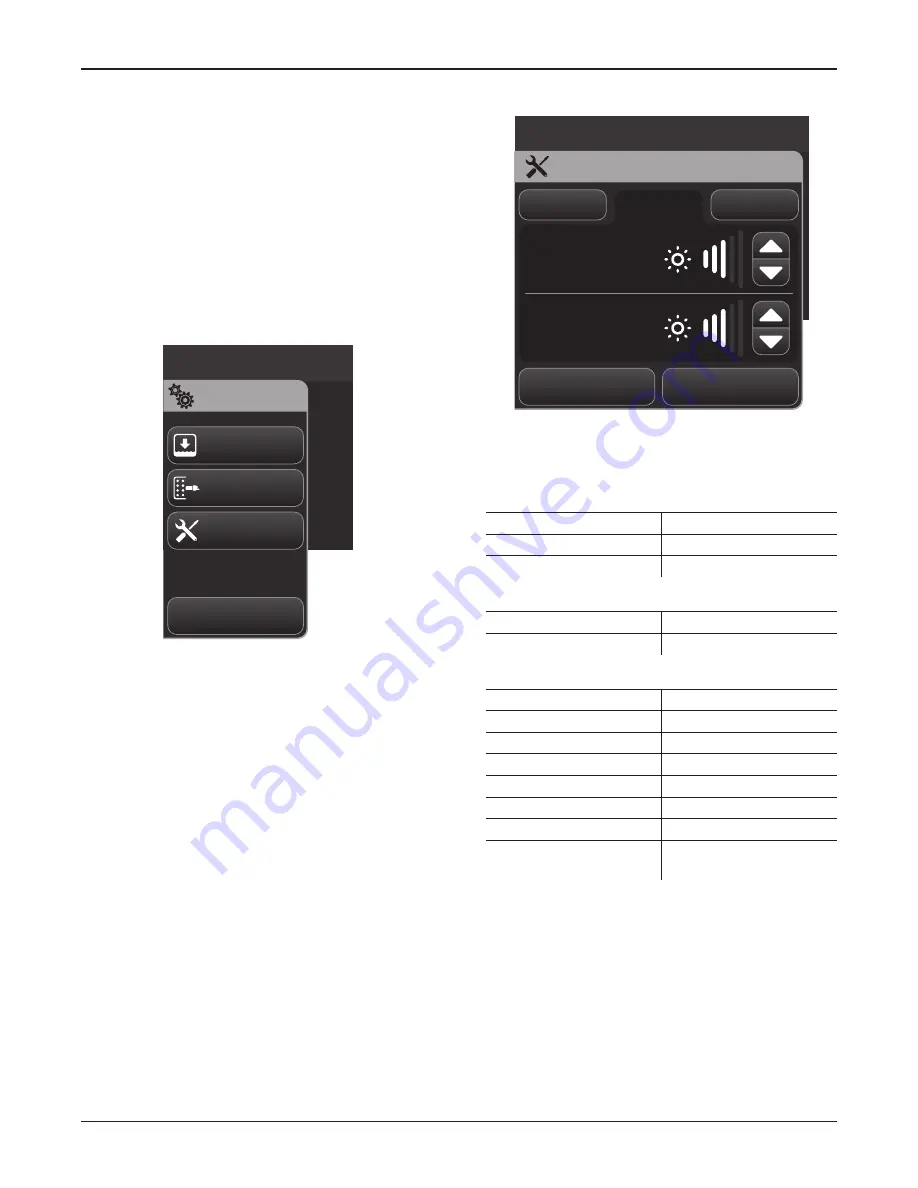
3. From the control screen menu, touch the SETTINGS
button. The SETTINGS dialog menu will appear (Figure
23).
4. From the SETTINGS dialog menu, touch the desired
settings option button.
Set up system
Close
Docking
Preferences
Accessories
Settings
Figure 23 – Settings Menu Dialog
5. From a typical SETTINGS dialog, such as the
PREFERENCES dialog, touch the appropriate tab to
select or adjust an option (Figure 24). See
Table 15
Rover Settings Options
.
6. Touch the CLOSE button to accept any selection or
adjustment and exit the dialog. Touch the BACK button
to cancel any selection or adjustment and exit the
dialog.
Set up system
Back
Close
Preferences
Display
Lights
Top Display
Brightness
Main Display
Brightness
Sounds
Figure 24 – Preferences Dialog
Table 15 – Rover Settings Options
DOCKING
OPTIONS
Quick Wash
Set As Default
Normal Wash
Set As Default
Extended Wash
Set As Default
ACCESSORIES
OPTIONS
Filters
Reset Hours
Manifolds
Not Applicable
PREFERENCES
OPTIONS
Sounds (Loudness)
Audible Indicators 1 - 5
Display (Brightness)
Top Display 1 - 5
Main Display 1 - 5
Lights (Brightness)
4L Canister Light 1 - 5
Manifold Lights (Suction
Range Indicators)
1 - 5
NOTE:
After adjusting the rover settings, push power
switch to OFF, disconnect the rover from facility power,
and wrap the power cord around the power cord bracket.
The rover is now ready for use.
0000160552, Rev. C Effective Date: Nov 25, 2015 1:43:15 PM
Print Date: Nov 25, 2015 02:19:13 PM


