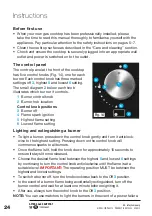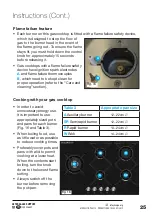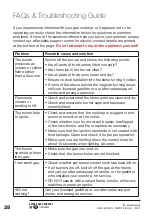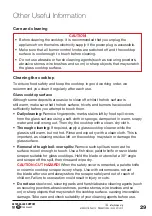
14
AFTER SALES SUPPORT
1300 886 649
AUS
MODEL: STR-PGGC75 PRODUCT CODE: 10288 09/2019
Benchtop preparation
• Make sure the kitchen area is dry and there is sufficient ventilation and
easy access to all control elements.
• Do not install the cooktop near curtains or other flammable materials.
• The cooktop can be fitted to any benchtop with a thickness of 40–50mm.
• If you have (or plan to have)
a rangehood fitted above the
cooktop, check in the rangehood
instructions that you will have the
required clearance before starting
with the installation.
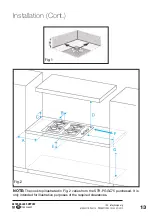
• The required clearances for the
cooktop are illustrated on page 13.
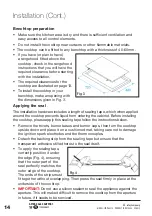
• To install the cooktop in your
benchtop, make an opening with
the dimensions given in Fig. 3.
Installation (Cont.)
Fig. 3
Applying the seal
The installation hardware includes a length of sealing tape, which when applied
around the cooktop prevents liquid from entering the cabinet. Before installing
the cooktop, please apply this sealing tape follow the instructions below.
• Remove the trivets, burner bases and burner caps, then turn the cooktop
upside down and place it on a cushioned mat, taking care not to damage
the ignition spark electrodes and the thermocouples.
• Detach the backing strip from the sealing tape but ensure that the
transparent adhesive still adheres to the seal itself.
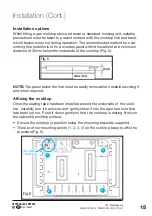
• To apply the sealing tape,
correctly position it under
the edge (Fig. 4), ensuring
that the outer part of the
seal perfectly matches the
outer edge of the cooktop.
The ends of the strips must
fit together without overlapping. Then press the seal firmly in place at the
underside of the cooktop.
•
IMPORTANT:
Do not use a silicon sealant to seal the appliance against the
aperture. This will make it difficult to remove the cooktop from the aperture
in future, if it needs to be serviced.
Fig. 4


