88
RoomWizard
| SYSTEM MANAGER MANUAL
89
LOTUS DOMINO |
RoomWizard
RESERVATION OPTIONS
You may not see all the options described below, or they may be set
as required on your system.
PURPOSE AND HOST
Enter one or two words in the “Purpose” field to explain what the
meeting is about. For example, “Project Meeting,” “Sales Lunch” or
“Training Session.”
Enter the key person you want to be associated with the reservation
in the “Host” field. This may be you or the person for whom you are
making the reservation.
NOTE
Purpose and Host appear on the RoomWizard outside the room
while the meeting is in progress.
If RoomWizard is integrated with your company email database,
you can type a partial name or email address and RoomWizard will
complete and validate the address when you click “Check Names,”
click “Add,” or save the reservation.
RoomWizard automatically checks the name you enter in the Host
field and enters the host’s email address in the “Host email” field.
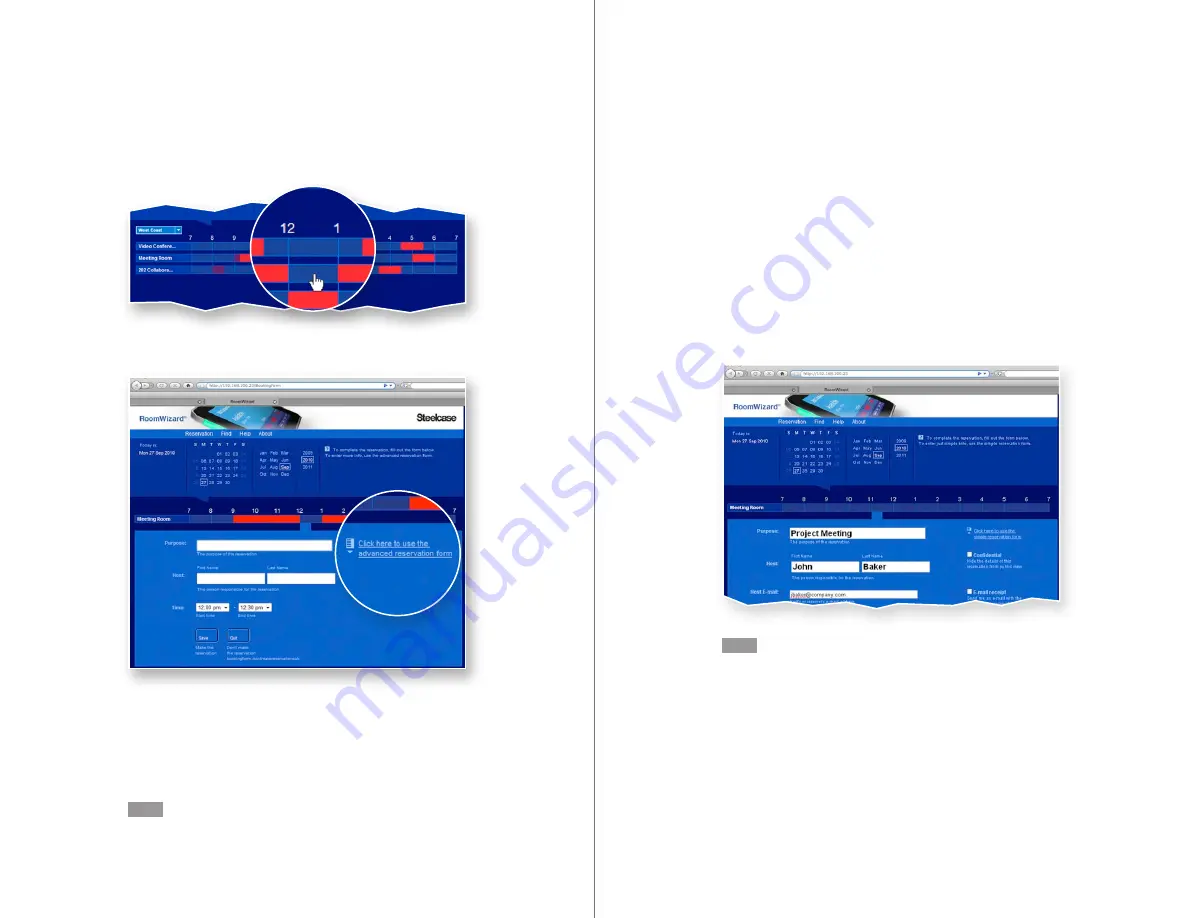
To use the advanced reservation form:
1
Click an available (dark blue) time in the room’s timeline.
2
If the simple reservation form appears, click the advanced
reservation link.
3
Enter the information and select the options you want to include in
your reservation. You can enter as much or as little information as
you choose. Some fields may be required by your system.
4
Click “Save the reservation” to save the reservation or “Quit” to
cancel the reservation.
NOTE
The reservation is not made until you click “Save.”


