CP190i and CPF190i
Page 77
9.6
GOTO A ROUTE
By having created some Routes, you can choose one of them to place a GOTO on.
9.6.0 Using [GOTO] to select Route
1. Move the ShuttlePoint knob to an open position (no buoy, warning etc. under the cursor)
on the Chart Page.
2. Press
[GOTO]
to show the GOTO popup window.
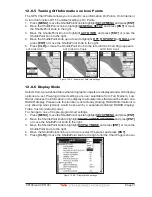
3. Move the ShuttlePoint knob to highlight
ROUTE
and press
[ENT]
.
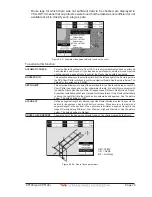
4. The SELECT ROUTE popup window will be shown.
Figure 9.6.0 - GOTO ROUTE procedure (1)
5. Move the ShuttlePoint knob to the highlight the desired Route and press
[ENT]
.
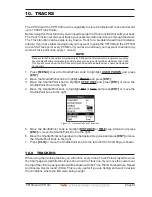
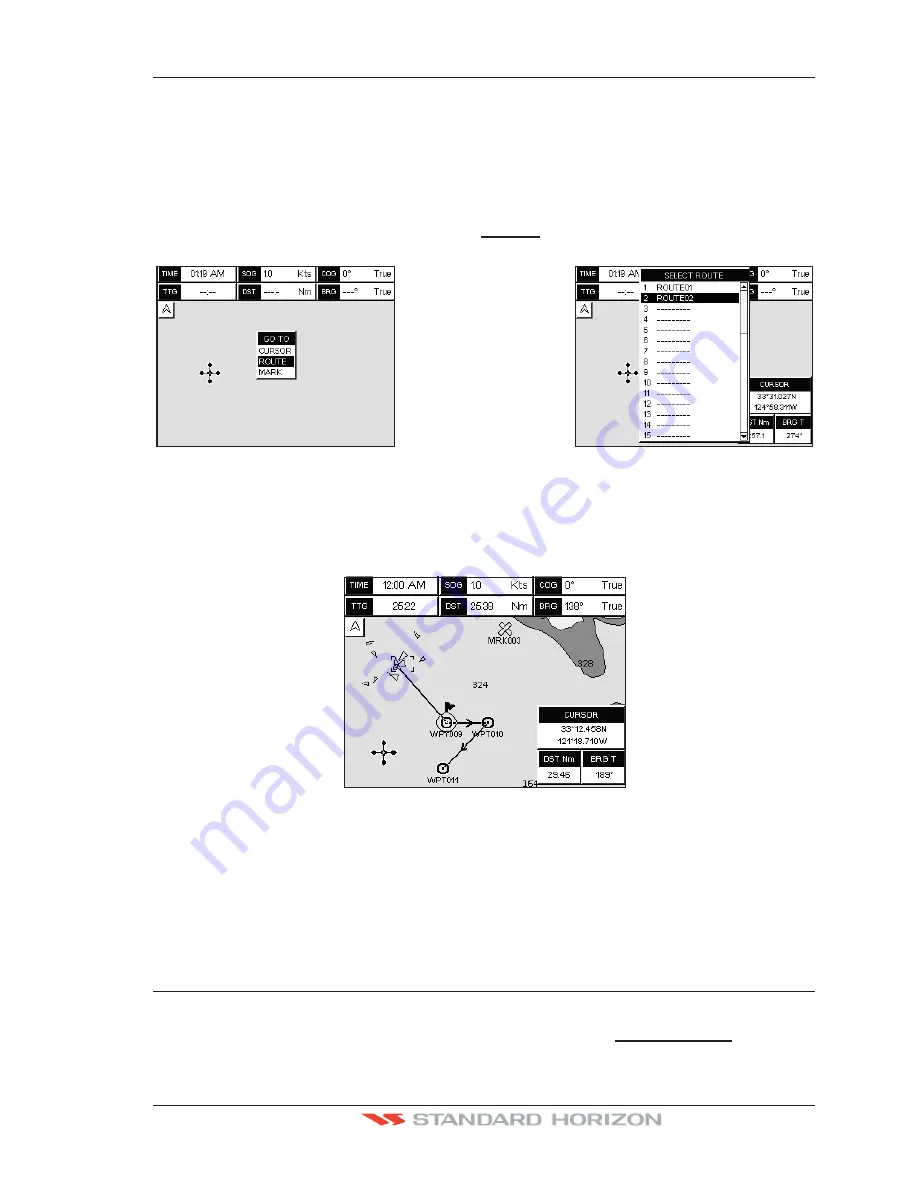
6. On the Chart page a circle with a flag is shown on the first leg of the Route and a navigation
line is shown, indicating the GPS Chart Plotter is navigating to the first Waypoint in the
Route.
Figure 9.6.0a - GOTO ROUTE procedure (2)
9.6.1 Using the ShuttlePoint knob
1. On the Chart page move the ShuttlePoint knob until the cursor reaches the starting point
of the Route.
2. Press
[GOTO]
to start following the Route.
3. Press
[CLR]
twice to revert to Home mode.
9.7
DELETING A ROUTE
To delete a Route follow the procedure below:
1. Press
[MENU]
, move the ShuttlePoint knob to highlight
USER POINTS
and press
[ENT]
.
Summary of Contents for CP190i
Page 1: ......
Page 5: ...Page 6 CP190i and CPF190i ...
Page 11: ...Page 12 CP190i and CPF190i 21 APPENDIX TERMS 147 ANALYTICALINDEX 151 ...
Page 15: ...Page 16 CP190i and CPF190i ...
Page 49: ...Page 50 CP190i and CPF190i ...
Page 63: ...Page 64 CP190i and CPF190i ...
Page 71: ...Page 72 CP190i and CPF190i ...
Page 83: ...Page 84 CP190i and CPF190i ...
Page 103: ...Page 104 CP190i and CPF190i ...
Page 109: ...Page 110 CP190i and CPF190i ...
Page 137: ...Page 138 CP190i and CPF190i ...
Page 139: ...Page 140 CP190i and CPF190i ...
Page 145: ...Page 146 CP190i and CPF190i ...
Page 149: ...Page 150 CP190i and CPF190i ...
Page 160: ......

