23
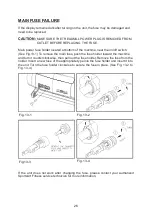
Fig.11-1
ADJUSTING THE WALK BELT
For optimum performance, the walk belt must track in the center of the deck. Failure
to align the belt properly could cause the belt to tear or fray, which is not covered
under the warranty.
To avoid injury, special care must be taken when adjusting the walk belt. Be
careful to keep your fingers, clothes and other objects clear of the belt and
rollers. The treadmill will not stop immediately if objects become caught in
the belt or rollers. Do not allow anyone to stand on the walk belt during this
procedure.
Please follow the belt adjustment procedure listed below:
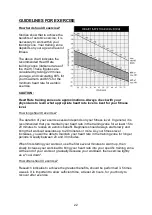
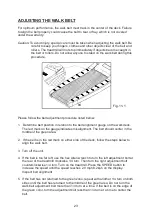
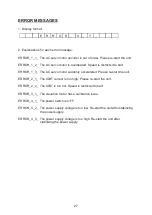
1. Determine belt position in relation to the belt alignment gauge on the walk deck.
The red mark on the gauge indicates misalignment. The belt should center in the
middle of the green area.
2. If the belt is in the red mark on either side of the deck, follow the steps below to
align the walk belt.
3. Turn off the unit.
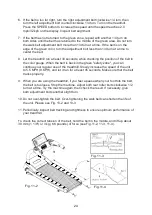
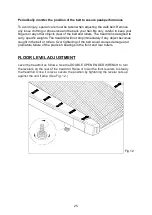
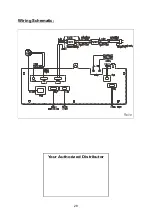
4. If the belt is too far left, use the hex Allen wrench to turn the left adjustment bolt at
the rear of the treadmill clockwise 1/4 turn. Then turn the right adjustment bolt
counterclockwise 1/4 turn. Turn on the treadmill. Press the SPEED button to
increase the speed until the speed reaches 2.0 mph/3.2kph on the display.
Inspect belt alignment
5. If the belt has not returned to the green zone, repeat with another 1/4 turn on both
sides until the belt has returned to the middle of the green area. Do not turn the
walk belt adjustment bolt more than 1/4 turn at a time. If the belt is on the edge of
the green color, turn the adjustment bolt less than 1/4 turn at a time to center the
belt.
Caution:

