23
SPEKTRUM DX18t • TRANSMITTER INSTRUCTION MANUAL
EN
Calibrating the Transmitter
1. Carefully move the gimbal sticks in a + shape moving from left
to right, then up and down. Press gently on the gimbals at the
stops to achieve an accurate calibration. Return both gimbal
sticks to the center position.
2. Move the Left and Right Side Levers to the top and bottom
positions, then move the side levers to the center position.
IMPORTANT:
Only move one side lever at a time
during calibration.
3. Move the Knob to the full clockwise and counterclockwise
positions, then return the Knob to the center position.
4. Select SAVE to store the calibration.
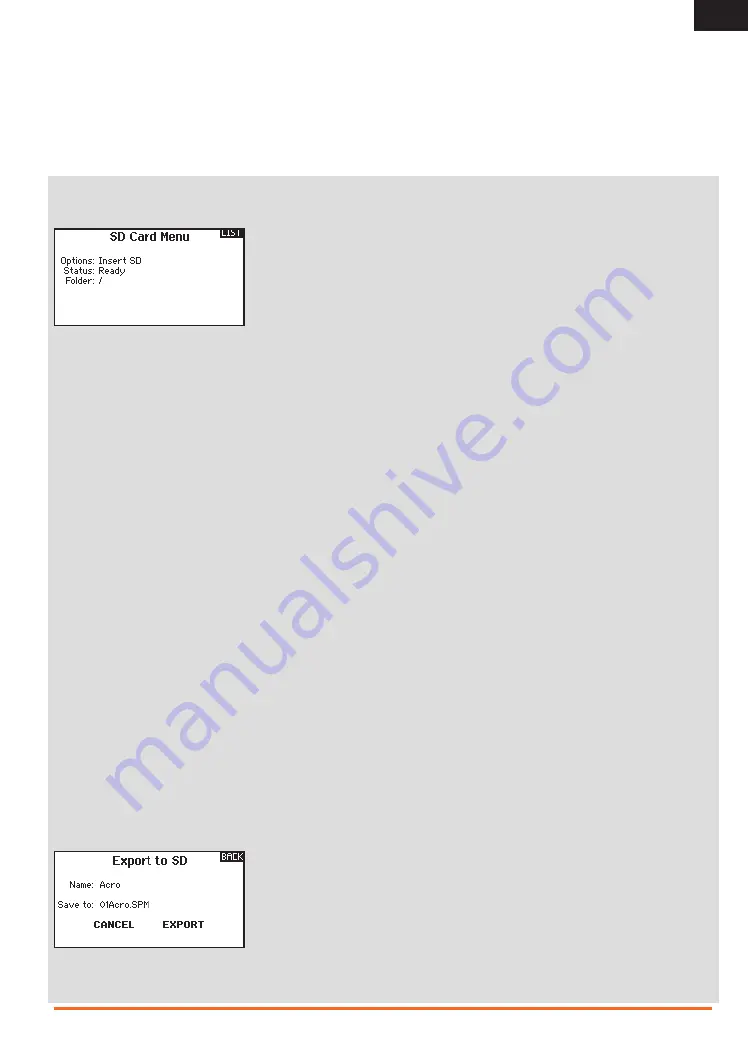
Transfer SD Card
Import Model
This function overwrites all model memories. Ensure that the
models currently in your transmitter are saved on an SD card
separate from the transmitter before performing this function.
To import an individual model file from the SD Card
1. Save the model file to the SD Card.
2. In the SD Card menu, scroll to Select Option and press
the scroll button once.
3. Scroll to Import Model and press the scroll button again
to save the selection. The Select File screen appears.
4. Select the model file you wish to import. The Overwrite
screen appears.
IMPORTANT:
When you select Import, the transmitter
leaves the System Setup List.
A Preflight Checklist may appear prior to the Main Screen
if the checklist was active during the model file export. Select
MAIN to exit the Preflight Checklist. See “Preflight Setup”
for more information.
Import All Models
The transmitter can import approximately 70 models at one
time. If you want to import more than 70 models, you will need
to create additional folders on the SD Card. Once you have
inserted the SD Card in the transmitter, you can select
the folder you wish to import.
To import all models from the SD Card
1. Select Import All Models.
2. Confirm by selecting IMPORT.
IMPORTANT:
After importing a model, you must rebind the
transmitter and receiver. The Main Screen must show DSM2
or DSMX in the upper left corner.
Export Model
You can use the Export Model option to export a single model file
to the SD Card.
1. Make sure the active model file is the one you wish to Export.
2. Scroll to Select Option and press the scroll button once.
3. Scroll to Export Model and press the scroll button again to
save the selection. The Export to SD screen appears. The first
three characters of the file name correspond to the Model List
number (001, for example).
4. (Optional) If you wish to rename the model file before
exporting it to the SD Card:
a. Scroll to “Save to:” and press the scroll wheel.
The File Name screen appears.
b. Assign a new file name. The file name can contain
up to 25 characters including the .SPM file extension.
c. When you are done assigning the new file name, press
the Back button to return to the Export to SD screen.
5. Select Export to save the file to the SD Card. When the export is
complete, the transmitter returns to the SD Card Menu screen.
Export All Models
To export all models to the SD Card
1. Select Export All Models in the SD Card Menu options.
The Export All Models screen appears.
IMPORTANT:
Export All Models will overwrite any model
files that:
• Are already saved on the SD Card.
• Have the same name. Always save model files
to a different SD Card if you are not sure.
2. Select Export to overwrite files on the SD Card or Cancel
to return to the SD Card Menu.
Update AirWare Software
IMPORTANT:
The orange LED Spektrum bars flash and a status
bar appears on the screen when AirWare software updates are
installing. Never power off the transmitter when updates are
installing. Doing so may damage the system files.
Before installing any AirWare files, always Export All Models to
an SD Card separate from the SD Card containing the update.
The update may erase all model files.
For more information on AirWare software updates,
visit spektrumrc.com
Automatically Installing AirWare Software Updates
1. Download the update from spektrumrc.com and
save it to the SD Card.
2. Power off the transmitter and install the SD Card
in the transmitter.
3. Power on the transmitter and the update automatically
installs in the transmitter.


