43
The Record screen being displayed, press the down-arrow key
to access the following parameters:
•
Memory
: Describes the memory used (memory size,
amount of free space, number of G-files stored in the
memory).
If you press
OK
, you access a new menu from which you
can delete files from the memory, or format the memory:
–
Delete all G-Files?
–
Delete all files?
–
Format?
Whatever the choice you make in this menu, you will have
to confirm it before the corresponding action actually
takes place.
•
Site Name
: Enter a name for the location where data
recording will take place.
•
Session #1
: Press
OK
to access the sessions menu. This
menu allows you to enable (
ON
) or disable (
OFF
) the
execution of sessions batch #1.
Once you have enabled the sessions batch, the menu
offers an additional choice:
Stop <Session ID>
to suspend
the running session, or if the session has already been
suspended,
Start <Session ID>
to resume data recording
within this session.
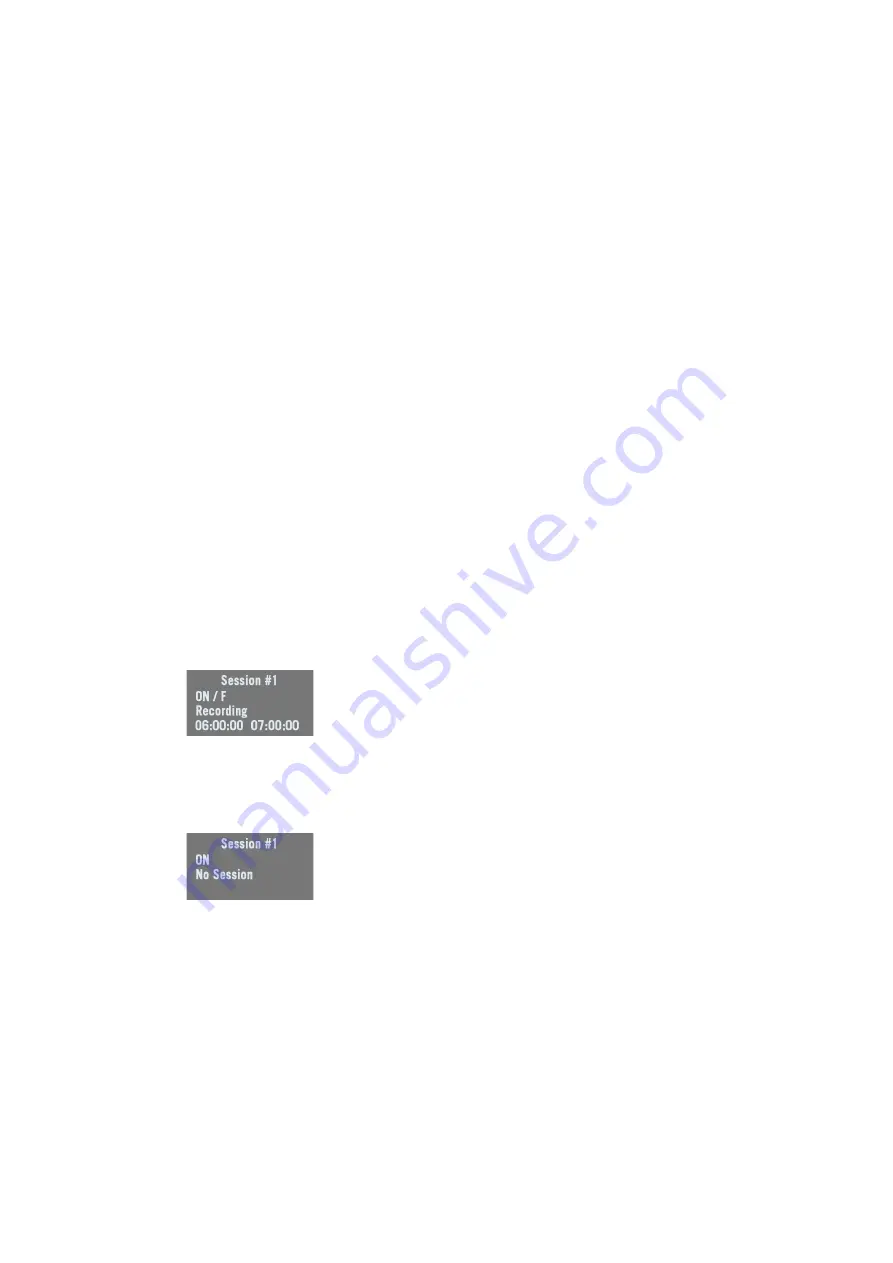
When session batch #1 is running, the screen then shows:
–
2nd line:
ON
status followed by the ID of the running
session.
–
3rd line:
Recording
displayed, meaning raw data are
being recorded.
–
4th line: Start time and end time of the running
session.
If you enable session batch #1 and there has been no
session programmed in the batch, or there is no session in
the batch that coincides with the current time, then the
screen will display the following:
–
2nd line:
ON
status
–
3rd line:
No Session
displayed
–
4th line: Blank.
•
Session #2
: same as session #1.


