3-4.
Error Code List
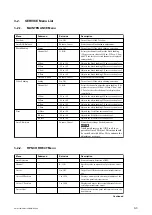
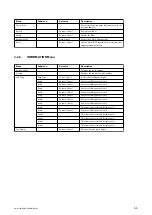
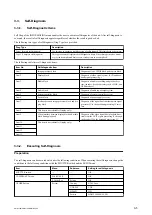
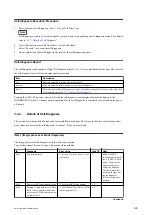
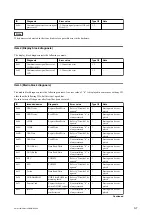
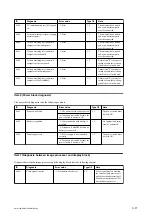
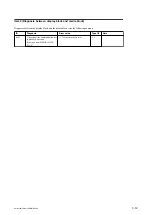
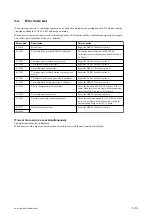
When warning, caution, or checking of operation is needed, the unit indicates a message on the LCD monitor and the
viewfinder, blinks the TALLY LED, and beeps a warning.
When an error is detected, the error code is displayed on the LCD monitor and the viewfinder and operation is stopped.
Error codes are displayed as E-xxxxx (x: number).
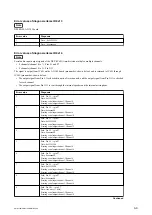
Error code
Description
Service action
E-15030
System error
Repair the DPR-343 board or replace it.
E-17001
The media ID data in the EEPROM is abnormal
Rewrite the media ID data in the EEPROM.
For details, contact your local Sony Sales Office/Serv-
ice Center.
E-17002
The image processor block does not start
Repair the DCP-61 board or replace it.
E-17003
The display block does not start
Repair the DCP-61 board or replace it.
E-17004
The media block does not start
Repair the DPR-343 board or replace it.
E-17005
The image processor block startup processing is ab-
normal
Repair the DCP-61 board or replace it.
E-17006
The display block startup processing is abnormal
Repair the DCP-61 board or replace it.
E-17007
The media block startup processing is abnormal
Repair the DPR-343 board or replace it.
E-17014
The lens communication is abnormal
Check the connection of the DCP-61 board or IFC-13
board. When there is no problem with the connection,
replace the DCP-61 board or IFC-13 board.
E-17015
The media block is abnormal
Repair the DPR-343 board or replace it.
E-17016
The lens switch status cannot be acquired
Check the connection around the IFC-13 board. When
there is no problem with the connection, replace the
relevant switch board or the IFC-13 board.
E-17017
Media block internal error
Repair the DPR-343 board or replace it.
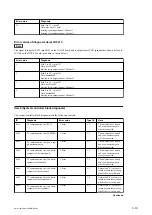
E-4xxxx
If two or more errors occur simultaneously
The highest-priority error is displayed.
When an error with a higher priority has been cleared, the one with the next priority is displayed.
PMW-160/PMW-150/PMW-EX260
3-13
Summary of Contents for XDCAM PMW-160
Page 1: ...SOLID STATE MEMORY CAMCORDER PMW 160 PMW 150 PMW EX260 SERVICE MANUAL 1st Edition ...
Page 4: ......
Page 8: ......
Page 10: ......
Page 30: ......
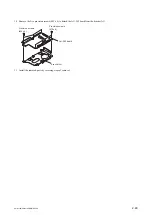
Page 38: ...3 Install the removed parts by reversing steps of removal PMW 160 PMW 150 PMW EX260 2 8 ...
Page 92: ......
Page 128: ......
Page 130: ......
Page 131: ......


