4-3.
RPN CORRECT Menu
The RPN CORRECT menu enables various operations such as manual registration, manual deletion, and automatic
detection of RPN point to be corrected.
4-3-1.
Executing Auto Detection
• The Auto Detection menu enables automatic detection of RPN point.
• When the Auto Detection menu is selected, the Execute and Cancel choices appear. In addition, selecting Execute
starts RPN Auto Detection.
• The RPN point detected by Auto Detection is added to the RPN correction point.
Note
Auto Detection cannot be executed under the following settings.
• When Video Format other than HD422 50/1080/59.94i is selected
• When the electronic shutter is operating in the SLS mode
• When EX Slow Shutter is set to ON
Change the settings to execute Auto Detection.
4-3-2.
Channel Setting
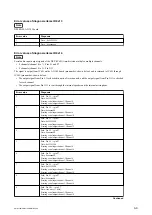
• The Channel menu enables specifying color components of pixels on the cursor.
• When the RPN correction point is moved to an already-registered correction point by the Cursor Next or Cursor
Prev operation, the channel of the registered correction point is displayed automatically.
4-3-3.
Cursor Setting
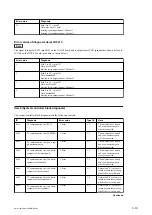
• The Cursor menu enables the crosshair cursor indicating the RPN correction point to be displayed or hidden when
registering RPN manually.
• When Cursor is set to On, the crosshair cursor indicating the RPN correction point is displayed superimposed on
the video signal.
• The signal of the pixel located at the center of the crosshair cursor is replaced with black.
• Cursor is always set to Off when the power is turned on.
4-3-4.
Cursor H Position Setting
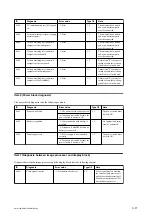
• The Cursor H Position menu enables the user to change the horizontal position of the RPN correction point within
the effective video signal range in the manual registration of the RPN point.
• When the RPN correction point is moved to an already-registered correction point by the Cursor Next or Cursor
Prev operation, the display automatically switches to the numeric value of the horizontal position of the RPN point.
4-3-5.
Cursor V Position Setting
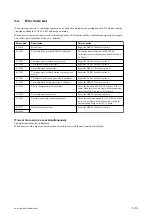
• The Cursor V Position menu enables the user to change the vertical position of the RPN correction point within the
effective video signal range in the manual registration of the RPN point.
• When the RPN correction point is moved to an already-registered correction point by the Cursor Next or Cursor
Prev operation, the display automatically switches to the numeric value of the vertical position of the RPN point.
PMW-160/PMW-150/PMW-EX260
4-8
Summary of Contents for XDCAM PMW-160
Page 1: ...SOLID STATE MEMORY CAMCORDER PMW 160 PMW 150 PMW EX260 SERVICE MANUAL 1st Edition ...
Page 4: ......
Page 8: ......
Page 10: ......
Page 30: ......
Page 38: ...3 Install the removed parts by reversing steps of removal PMW 160 PMW 150 PMW EX260 2 8 ...
Page 92: ......
Page 128: ......
Page 130: ......
Page 131: ......


