


Using PC Cards
21
To Remove a PC Card When the Notebook is on.
1
Close any application that uses the PC card, otherwise data may be lost.
2
Double-click the "Unplug or Eject Hardware" icon in the taskbar to access
the "Unplug or Eject Hardware" dialog box, and select the PC card.
3
Click Stop to access the "Stop a Hardware device" dialog box, and confirm
that the PC card is selected, then click OK.
4
The message “PC Card can now be safely removed from the system”
appears. Click OK.
5
Close the "Unplug or Eject Hardware" window.
6
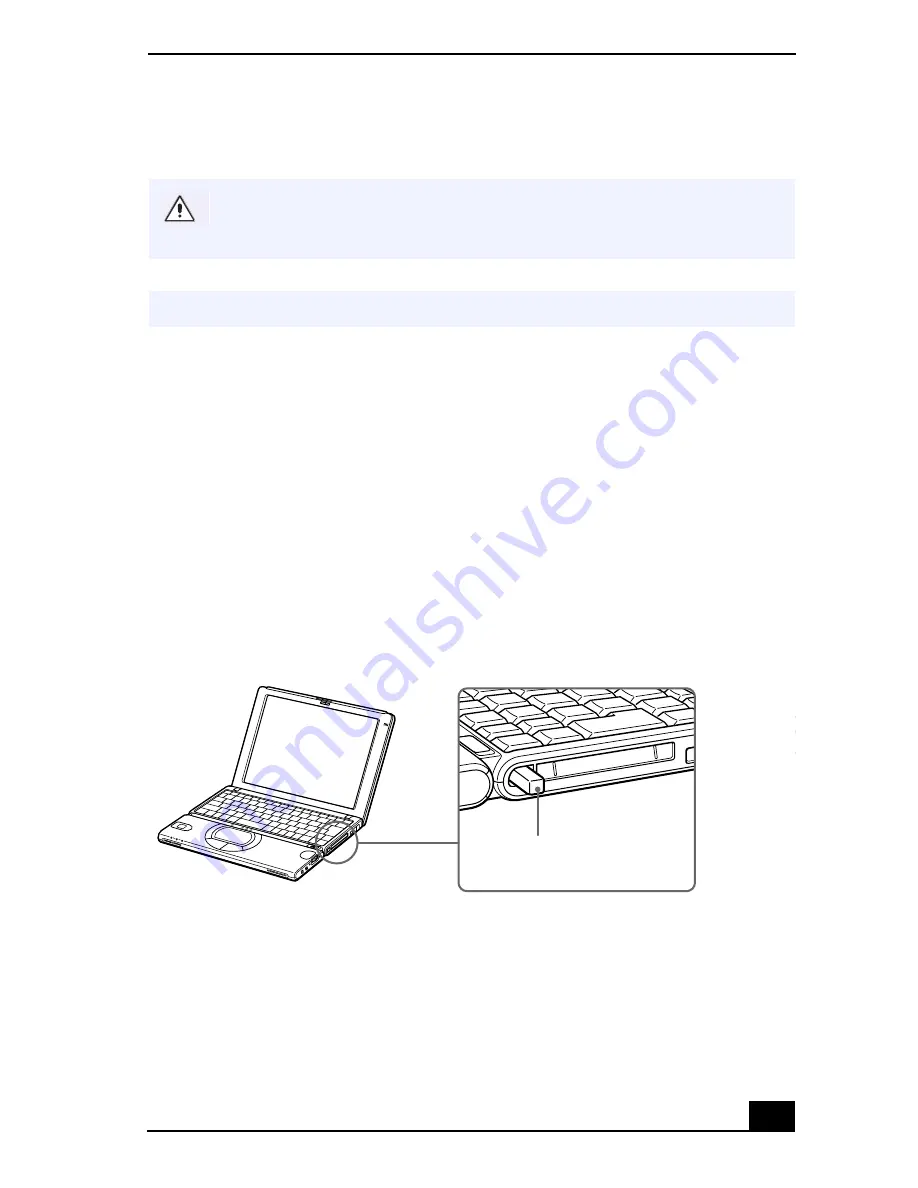
Pull the PC card release button up and press it in towards the notebook.
7
Gently grasp the card and pull it out.
8
Insert the PC card slot protector into the empty slot.
If you do not perform the following procedure for removing the PC card from
the your notebook while the notebook is turned on, your notebook system
may crash and data not previously save may be lost.
✍
If your notebook is turned off, do not perform this procedure.
Removing a PC Card
Eject Button
Summary of Contents for VAIO PCG-SR27
Page 6: ...Change to Current Document Title 6 ...
Page 40: ...VAIO Notebook User Guide 40 ...
Page 56: ...VAIO Notebook User Guide 56 ...
Page 57: ...Customizing Your VAIO Notebook 57 Customizing Your VAIO Notebook ...
Page 70: ...Change to Current Document Title 70 ...
Page 77: ...Confirming Added Memory Capacity 77 Sony Notebook Setup Dialog Box ...
Page 78: ...VAIO Notebook User Guide 78 ...
Page 114: ...VAIO Notebook User Guide 114 3 Click OK VAIO Support Agent Properties window ...
Page 115: ......
Page 116: ...VAIO Notebook User Guide 116 ...
Page 129: ......
Page 130: ......


