1-20
80
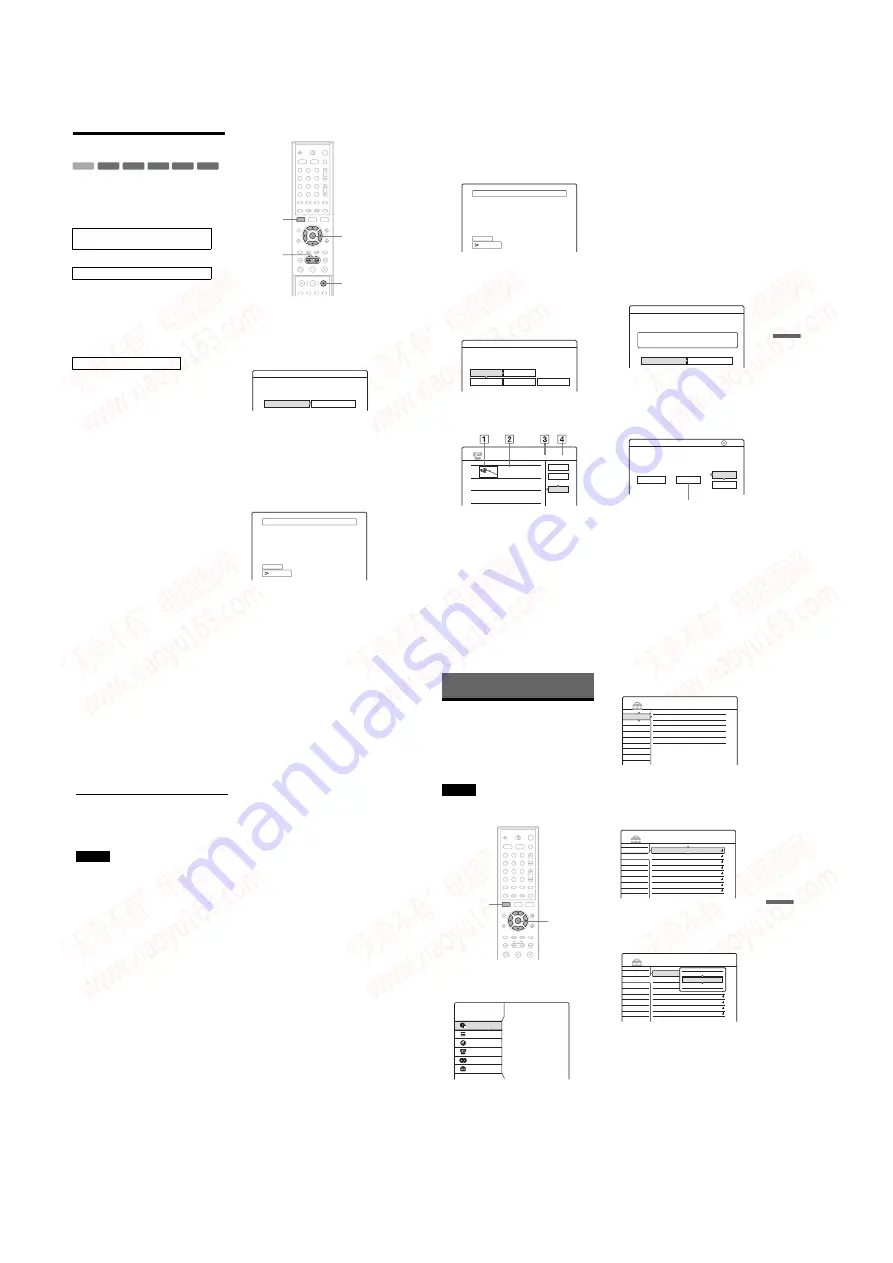
Program Edit
You can select scenes from a DV/Digital8 format
tape, and then automatically record selected
scenes to a disc of your choice.
To use this function, you will do the following:
m
Using the recorder’s remote control, fast forward
or rewind the tape to select the scenes. At this
point, the selected scenes are not copied to the
disc. The recorder only remembers the IN and
OUT points of the scenes that you selected for
dubbing. You can also reset, erase, or change the
order of the scenes.
m
After you have selected the scenes, the recorder
will fast forward and rewind the tape
automatically and record the scenes to a disc of
your choice.
◆
How chapters are created
The dubbed contents on the disc become one title,
and the title is divided into chapters. For a DVD-
RW (VR mode) and the HDD, every shooting on
the tape and each selected scene becomes a
chapter on the disc (Auto Scene Chaptering
function). For other discs, the recorder divides the
title in either 6 or 15-minute intervals, according
to the setting in “Auto Chapter” in Features Setup.
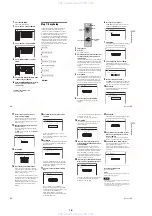
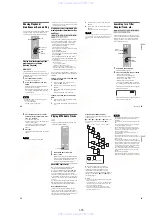
1
Follow steps 1 to 5 of
“
Preparing for
recording using the DV IN jack
”
(page 77),
and press SYSTEM MENU.
2
Select
“
DV/D8 EDIT,
”
and press ENTER.
The display asks if you want to start selecting
scenes.
• If you have previously saved a program, the
display asks if you want to edit an existing
program or to create a new program. To
resume editing the existing program, select
“Saved Data,” and go to step 6.
3
Select
“
Start,
”
and press ENTER.
The display for setting the IN point (start of
the scene) appears.
The scene starts to play in the background.
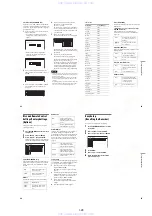
Connect your digital video camera and
prepare for recording
Select and edit the scenes you want to dub
Dub the selected scenes to a disc
-RWVR -RW
Video
+
RW
-
R
+
R
HDD
1
2
3
4
5
6
7
8
9
0
<
/
M
/
m
/
,
,
ENTER
m
/
M
x
REC
STOP
SYSTEM
MENU
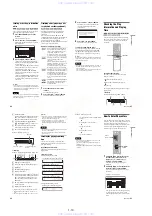
Scenes Selection
Do you want to select a scene?
Start
Cancel
Select scene (Set IN point)
OUT - : - - : - -
IN 0:00:30
Controlling...
81
D
V
/D
ig
ita
l8 D
ubb
in
g (DV
t
H
DD/
DV
D)
4
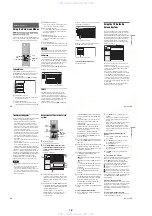
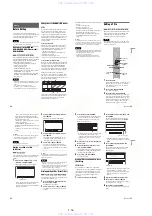
Select the IN point by pressing
m
/
M
,
and press ENTER.
The display for setting the OUT point (end of
the scene) appears. The scene starts to play in
the background from the IN point.
5
Select the OUT point by pressing
m
/
M
,
and press ENTER.
The display asks if you want to add the
selected scene to the Scene List menu. To
preview the scene, select “Preview.” To reset
either the IN or OUT point, select “Change
IN” or “Change OUT,” and repeat from step
4.
6
Select
“
OK,
”
and press ENTER.
A new Scene List menu appears with the
selected scene.
A
Thumbnail picture
B
Time information
C
Total duration of the program
D
Total number of scenes
7
When you finish adding scenes, select the
scene you want to edit, and press ENTER.
The sub-menu appears.
“Move”: Changes the scene order. Follow the
explanations on the screen to change the order
by pressing
M
/
m
and ENTER.
“Erase”: Erases the scene. When asked for
confirmation, select “OK.”
“Preview”: Plays the selected scene.
“Change IN”: Changes the start of the scene.
Repeat from step 4.
“Change OUT”: Changes the end of the scene.
Repeat from step 5.
8
When you finish editing the Scene List,
select
“
OK,
”
and press ENTER.
The display for entering the title name
appears. To enter a new name, select “Enter,”
and follow the explanations on page 43.
9
Select
“
OK,
”
and press ENTER.
The default title name is fixed, and the display
asks if you want to start recording. To change
the disc media, select “Media” and press
M
/
m
.
To change the dubbing mode, select “Dub
Mode” and press
M
/
m
.
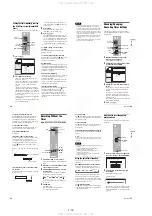
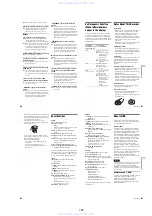
Select scene (Set OUT point)
OUT 0:00:52
IN 0:00:30
Controlling...
Scenes Selection
Do you want to capture the scene
between IN 0:00:30 and OUT 0:00:52?
OK
Cancel
Preview
Change IN
Change OUT
SCENE LIST
Total 0:00:22 Scenes 1
OK
Quit
Add
0:00:30-0:00:52
Duration 0:00:22
1
Title Name
Enter the title name.
OK
Enter
DV10/11/02 1:30PM - 11/12/02 4:46PM
Data capacity required for the dubbing.
Cancel
Start
DV / D8 Dubbing
2.6GB
Change the dubbing mode if necessary.
Select "Start" to start dubbing.
DVD
Media
Dub Mode
SP 0.8GB
,
continued
82
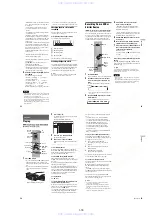
10
Select
“
Start,
”
and press ENTER.
The recorder starts recording the tape contents
as programmed.
• If the recording does not fit due to the
dubbing mode you selected, the display asks
if you want to continue. To change the
dubbing mode, select “Reset” and repeat
from step 9. To have the recorder adjust the
dubbing mode, select “Auto Dub Mode.”
• If there is not enough disc space even after
changing the dubbing mode, the display
asks if you want to record halfway. To
continue, select “OK.”
To stop during recording
Open the remote’s cover and press
Note that it may take a few seconds for the
recorder to stop recording.
• The disc may not be recorded as programmed if the
• The start and end points of a program may be different
• If you set the beginning of the tape as the IN point and
the end point as the OUT point, the IN and OUT points
may change slightly during dubbing.
• You cannot set a scene to be shorter than one second.
83
Set
tings
and
Ad
ju
st
m
e
nt
s
Settings and Adjustments
Using the Setup Displays
By using the Setup Displays, you can make
various adjustments to items such as picture and
sound, as well as select a language for the
subtitles.
The Setup Displays are used in the following way.
Note
Playback settings stored in the disc take priority over the
Setup Display settings, and not all of the functions
described may work.
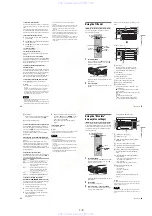
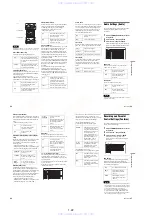
1
Press SYSTEM MENU while the recorder is
in stop mode.
The System Menu appears.
2
Select
“
SETUP,
”
and press ENTER.
The Setup Display appears.
3
Select
“
Settings,
”
“
Video,
”
“
Audio,
”
“
Features,
”
“
Options,
”
or
“
Easy Setup,
”
and press ENTER.
The selected Setup Display appears.
Example: “Video” setup
4
Select the item you want to set up, and
press ENTER.
Available options for the item appear.
Example: “TV Type”
1
2
3
4
5
6
7
8
9
0
<
/
M
/
m
/
,
,
ENTER
SYSTEM
MENU
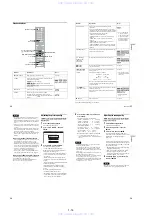
SYSTEM MENU
TITLE LIST
TV GUIDE
SCHEDULE
DV/D8 EDIT
DUBBING
SETUP
SETUP
Settings
Video
Audio
Features
Options
Easy Setup
Tuner Preset
Area Setup
Clock
Set Top Box Control
Language
Settings
Video
Audio
Features
Options
Easy Setup
TV Type :
Pause Mode :
Y/Pb/Pr Out Black Level :
Y/Pb/Pr In Black Level :
Progressive Mode :
Screen Saver :
Line1 Input :
Line3 Input :
4 : 3 Letter Box
Auto
Off
Off
Auto
On
Video
Video
SETUP
Settings
Video
Audio
Features
Options
Easy Setup
TV Type :
Pause Mode :
Y/Pb/Pr Out Black Level :
Y/Pb/Pr In Black Level :
Progressive Mode :
Screen Saver :
Line1 Input :
Line3 Input :
4 : 3 Letter Box
Auto
Off
Off
Auto
On
Video
Video
SETUP
16 : 9
4 : 3 Letter Box
4 : 3 Pan Scan
,
continued
www. xiaoyu163. com
QQ 376315150
9
9
2
8
9
4
2
9
8
TEL 13942296513
9
9
2
8
9
4
2
9
8
0
5
1
5
1
3
6
7
3
Q
Q
TEL 13942296513 QQ 376315150 892498299
TEL 13942296513 QQ 376315150 892498299

