1-17
70
Advanced Editing (Playlist Edit)
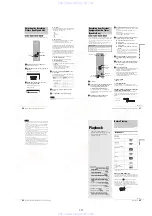
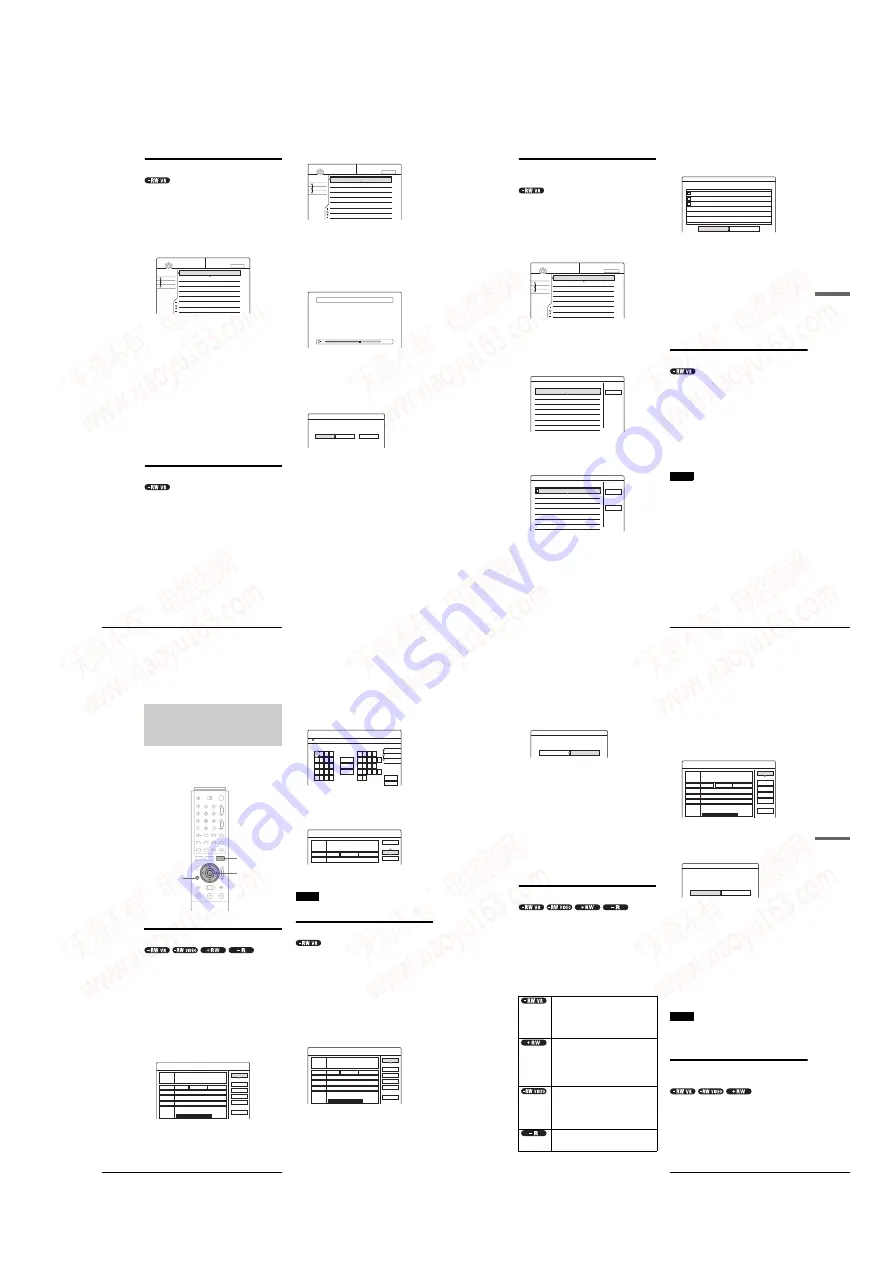
Moving a Playlist title (Move Title)
You can change the Playlist title order within the Title List
(Playlist).
a
Press TITLE LIST.
The Title List menu appears.
If the Title List (Original) menu appears, press
TOOLS, and select “Playlist” from the TOOLS
menu.
b
Press
<
to select the sort buttons.
c
Press
M
/
m
to select “Number,” then press
ENTER.
d
Press
M
/
m
to select the title you want to move,
then press ENTER.
The sub-menu appears.
e
Press
M
/
m
to select “Move Title,” then press
ENTER.
The display for moving titles appears.
f
Press
M
/
m
to select the new location, then
press ENTER.
The title moves to its new location, and the display
returns to the new Title List (Playlist) menu.
Dividing a Playlist title (Divide Title)
You can divide a Playlist title into two Playlist titles. For
example, if a Playlist title contains two football matches, you can
divide the title where the first match ends.
a
Press TITLE LIST.
The Title List menu appears.
If the Title List (Original) menu appears, press
TOOLS, and select “Playlist” from the TOOLS
menu.
b
Press
M
/
m
to select the title, then press
ENTER.
The sub-menu appears.
c
Press
M
/
m
to select “Divide Title” then press
ENTER.
The display setting the dividing point appears.
The selected title starts to play in the background.
d
While watching the picture on the screen,
move the playback point using
H
PLAY,
X
PAUSE, and
m
/
M
.
e
Press ENTER at the point where you want to
divide the title.
The display asks for confirmation.
To change the dividing point, select “Change.”
f
Press
<
/
,
to select “OK,” then press
ENTER.
The display asks if you want to enter a new name.
◆
To enter a new name
Select “Yes” and follow the explanations on page 34.
◆
To use the same name as before
Select “No.”
The title is divided and the Title List menu appears
with the two divided titles.
Sort
Date
Number
Title
My Movies
TITLE LIST
PLAYLIST
-RW.VR
1.5/4.7GB
1 2ch 1:00PM - 2:00PM
2 5ch 8:00PM - 9:00PM
9/15
9/17
Sort
Date
Number
Title
My Movies
TITLE LIST
PLAYLIST
-RW.VR
1.5/4.7GB
1 2ch 1:00PM - 2:00PM
2 5ch 8:00PM - 9:00PM
9/15
9/17
Divide
0:12:34
1 2ch 1:00PM - 2:00PM
Divide
Do you want to divide this title at this point?
OK
Change
Cancel
71
Advanced Editing (Playlist Edit)
Editing a
D
V
D
Combining multiple Playlist titles
(Combine Titles)
You can add new contents to an existing Playlist title by
combining the title with other Playlist titles.
a
Press TITLE LIST.
The Title List menu appears.
If the Title List (Original) menu appears, press
TOOLS, and select “Playlist” from the TOOLS
menu.
b
Press TOOLS.
The TOOLS menu appears.
c
Press
M
/
m
to select “Combine Titles,” then
press ENTER.
The display for selecting titles appears.
d
Press
M
/
m
to select the title, then press
ENTER.
A number appears next to the selected title,
indicating the order in which you selected the title.
To cancel the selection, move the cursor to the
selected title by pressing
M
/
m
, then press ENTER
again.
e
Repeat step 4 to select all the titles you want
to combine.
To list the titles to be combined, select “List.”
To cancel all of the selections, select “Reset All.”
f
Press
,
to select “OK,” then press ENTER.
The display asks for confirmation.
To change the selection, select “Change.”
g
Press
<
/
,
to select “OK,” then press
ENTER.
The display for selecting a title name from among the
selected titles appears.
To enter a new name, select “Enter Text,” and follow
the explanations on page 34.
h
Press
M
/
m
to select a name, then press
ENTER.
The titles are combined, and the display returns to the
Title List menu.
Additional Playlist edit functions
You can also do the following edits for Playlists.
– Label a Playlist title (page 64).
– Erase a Playlist title (page 65).
– Erase multiple Playlist titles (page 65).
– Erase a section of a Playlist title (A-B Erase) (page 66).
– Create chapters in a title (page 67).
To perform these edits, press TITLE LIST * and then follow the
same steps for these functions explained in “Basic Editing”
(page 64).
* If the Title List (Original) menu appears, press TOOLS and select
“Playlist” from the TOOLS menu.
Note
Erasing Playlist titles will not free up disc space.
Sort
Date
Number
Title
1.5 / 4.7GB
My Movies
TITLE LIST
PLAYLIST
-RW.VR
1 2ch 1:00PM - 2:00PM
2 5ch 8:00PM - 9:00PM
3 2ch 1:00PM - 2:00PM
4 2ch 1:00PM - 2:00PM
9/15
9/17
9/28
10/ 5
Combine
Select the titles to combine.
Cancel
1 2ch 1:00PM - 2:00PM
2 5ch 8:00PM - 9:00PM
3 2ch 1:00PM - 2:00PM
4 2ch 1:00PM - 2:00PM
9/15
9/17
9/28
10/ 5
Combine
Select the titles to combine.
Cancel
Reset All
1
1 2ch 1:00PM - 2:00PM
2 5ch 8:00PM - 9:00PM
3 2ch 1:00PM - 2:00PM
4 2ch 1:00PM - 2:00PM
9/15
9/17
9/28
10/ 5
Combine
Combine the titles in the following order.
OK
Change
1
2
3
1 2ch 1:00PM - 2:00PM
2 2ch 1:00PM - 2:00PM
3 2ch 1:00PM - 2:00PM
9/15
9/28
10/ 5
72
Labeling, Protecting, or Finalizing the Disc
Labeling, Protecting, or
Finalizing the Disc
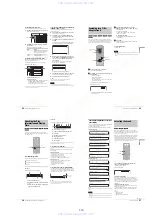
Using the Disc Information display, you can label, protect, or
finalize your disc. You can even erase the entire disc except for
the protected titles. This section explains settings effective for
the entire disc.
You can enter up to 64 characters for a disc name (the actual
number of displayed characters will vary). The disc name will be
displayed in the Title List, etc.
Press TOOLS while the disc is in the
recorder.
b
Press
M
/
m
to select “Disc Info.,” then press
ENTER.
The Disc Information display appears.
Example: When the inserted disc is a DVD-RW (VR
mode).
c
Press
M
/
m
to select “Disc Name,” then press
ENTER.
The display for entering a disc name appears.
d
Enter a name by following the explanation on
page 34.
The Disc Information display appears with the new
disc name.
e
Press RETURN to turn off the display.
Note
The disc name will not appear when the disc is played on a different
recorder.
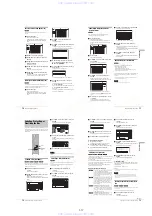
Protecting a disc (Protect Disc)
You can protect an entire disc. To protect individual titles, see
page 64.
Note that this protection is effective only for inadvertent edit
commands and erasure.
a
Press TOOLS while the disc is in the
recorder.
The TOOLS menu appears.
b
Press
M
/
m
to select “Disc Info.,” then press
ENTER.
The Disc Information display appears.
Disc Information
DiscName
Close
Media
DVD-RW
Format
VR
Title no.
Original 3 / Playlist 2
Protected
Not Protected
Date
9/15/2003 ~ 10/28/2003
HQ : 0H30M
LP : 1H30M
HSP : 0H45M
EP : 2H00M
SP : 1H00M
2. 3 / 4. 7GB
SLP : 3H00M
Remainder
Disc Name
Format
Erase All
Finalize
Protect Disc
"A"
"a"
Symbol
Cancel
Finish
Space
Clear All
Back
,
.
-
1
B
A
C
2
E
D
F
3
H
G
I
4
K
J
L
5
1
2
3
4
5
N
M
O
6
Q
P
R
S
U
T
V
8
X
W
Y
Z
7
9
0
6
7
8
9
0
Input Disc Name
Disc Information
DiscName Movie
Close
Media
DVD-RW
Format
VR
Title no.
Original 3 / Playlist 2
Disc Name
Protect Disc
Disc Information
DiscName Movie
Close
Media
DVD-RW
Format
VR
Title no.
Original 3 / Playlist 2
Protected
Not Protected
Date
9/15/2003 ~ 10/28/2003
HQ : 0H30M
LP : 1H30M
HSP : 0H45M
EP : 2H00M
SP : 1H00M
2. 3 / 4. 7GB
SLP : 3H00M
Remainder
Disc Name
Format
Erase All
Finalize
Protect Disc
73
Labeling, Protecting, or Finalizing the Disc
Editing a
D
V
D
c
Press
M
/
m
to select “Protect Disc,” then press
ENTER.
The display for setting disc protection appears.
d
Press
<
/
,
to select “Protect,” then press
ENTER.
The display returns to the Disc Information display.
e
Press RETURN to turn off the display.
To cancel the disc protection
1
Repeat steps 1 to 3 above.
The display for setting disc protection appears.
2
Press
<
/
,
to select “Don’t Protect.”
The display returns to the Disc Information display.
3
Press RETURN to turn off the display.
Finalizing a disc (Finalize)
Finalizing is necessary when you play discs recorded with this
recorder on other DVD equipment.
Before finalizing, check the differences between the disc types
on the table below.
When you finalize a DVD-RW (Video mode), DVD+RW, or
DVD-R, a DVD menu will be automatically created, which can
be displayed on other DVD equipment.
When a finalized disc is in the recorder, the FINALIZED
indicator lights up on the front panel.
Differences between the disc types
a
Press TOOLS while the disc is in the
recorder.
The TOOLS menu appears.
b
Press
M
/
m
to select “Disc Info.,” then press
ENTER.
The Disc Information display appears.
c
Press
M
/
m
to select “Finalize,” then press
ENTER.
The display shows the approximate time required for
finalizing and asks for confirmation.
d
Press
<
/
,
to select “OK,” then press
ENTER.
The recorder starts finalizing the disc.
To unfinalize a disc
If you cannot record or edit on the DVD-RW (VR mode) that has
been finalized with other DVD equipment (a message appears),
unfinalize the disc.
Select “Unfinalize” in step 3 above.
z
Hint
You do not need to finalize a disc again once the disc has been finalized
with this recorder.
Notes
• Depending on the condition of the disc, recording, or the DVD
equipment, discs may not play even when the discs are finalized.
• The recorder may not be able to finalize the disc if it was recorded on
another recorder.
Erasing all the titles on the disc (Erase
All)
You can erase all the titles on the disc except the titles you have
set protection.
The disc name and recording format remain the same.
a
Press TOOLS while the disc is in the
recorder.
The TOOLS menu appears.
Finalizing is unnecessary when playing a disc
on VR format compatible equipment.
You may need to finalize the disc depending on
the DVD equipment, or if the recording time is
short. You can edit or record on the disc even
after finalizing.
Finalizing is unnecessary, since DVD+RWs are
automatically finalized when removed from the
recorder. However, you may need to finalize the
disc by following the steps below for certain
DVD equipment, or if the recording time is
short. You can edit or record on the disc even
after finalizing.
Finalizing is necessary when playing on
equipment other than this recorder. After
finalizing, you cannot edit or record on the disc.
If you want to record on it again, reformat the
disc (page 74). However, all contents recorded
on the disc will be erased.
Finalizing is necessary when playing on
equipment other than this recorder. After
finalizing, you cannot edit or record on the disc.
Protect Disc
Select the protection status for this disc.
Protect
Don't Protect
Disc Information
DiscName Movie
Close
Media
DVD-RW
Format
VR
Title no.
Original 3 / Playlist 2
Protected
Not Protected
Date
9/15/2003 ~ 10/28/2003
HQ : 0H30M
LP : 1H30M
HSP : 0H45M
EP : 2H00M
SP : 1H00M
2. 3 / 4. 7GB
SLP : 3H00M
Remainder
Disc Name
Format
Erase All
Finalize
Protect Disc
Finalize
About xx min is needed for finalizing this disc.
Cannot cancel finalizing during transaction.
Do you want to finalize?
OK
Cancel
,
continued
www. xiaoyu163. com
QQ 376315150
9
9
2
8
9
4
2
9
8
TEL 13942296513
9
9
2
8
9
4
2
9
8
0
5
1
5
1
3
6
7
3
Q
Q
TEL 13942296513 QQ 376315150 892498299
TEL 13942296513 QQ 376315150 892498299


