Get
ting S
tar
te
d
19
GB
The system starts searching for all available
digital channels, followed by all available
analogue channels. This may take some time,
please be patient and do not press any buttons on
the system or remote.
Once all available digital and analogue channels
have been stored, the system returns to normal
operation, displaying the digital channel stored on
channel number 1. If no digital channels are
found, the analogue channel stored on channel
number 1 is displayed.
When a message appears for you to confirm the
aerial connections
No digital or analogue channels are found. Check
all the aerial connections and press
(OK) to
start auto-tuning again.
2
The Programme Sorting menu appears
on the screen.
Note
If some digital channel is found, this step will not
appear.
3
To change the order in which the
channels are stored on the system. See
page 46.
4
Press TV MENU to exit.
The system has now tuned in all the available
channels.
Hint
To stop Digital Auto Tuning, select [Cancel]. Digital
Auto Tuning is cancelled, and Analogue Auto Tuning
starts.
* Note that this Digital auto-tune display may not appear in some
countries.
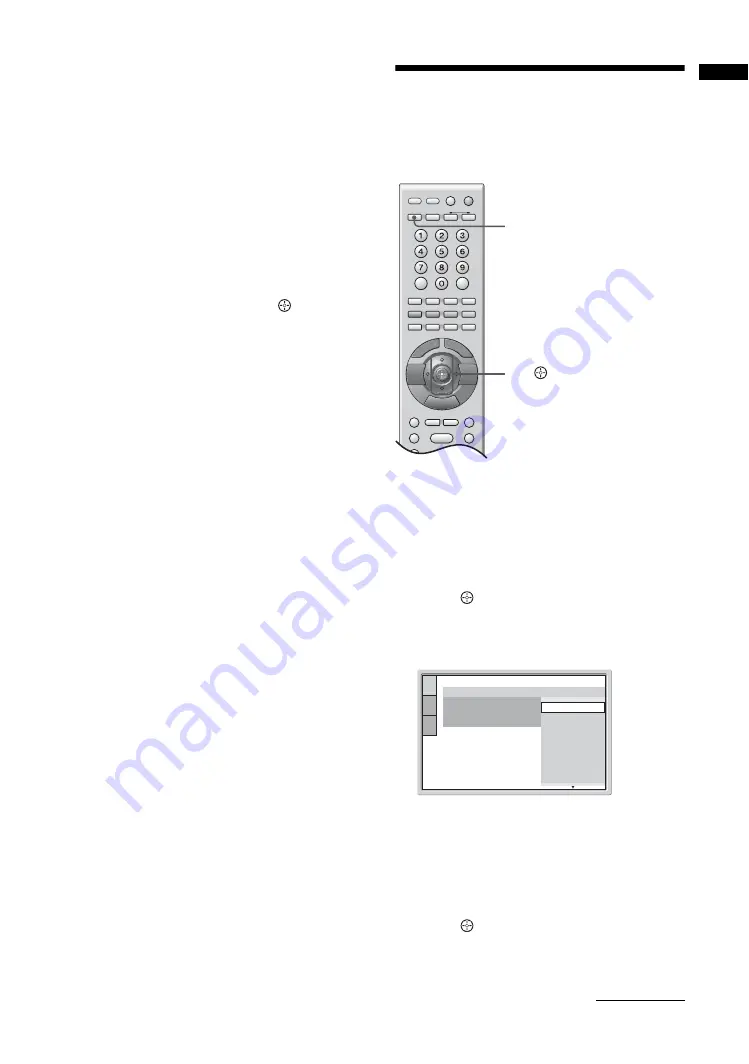
8: Selecting the DVD
language (Quick Setup)
You can set the display language.
1
Press DVD (direct input select) to switch
the input to DVD.
[Press [ENTER] to run QUICK SETUP.] appears
at the bottom of the screen. This message does not
appear if the disc is loaded or Quick Setup is
already done.
2
Press
(ENTER) without inserting a
disc.
The Setup Display for selecting the language used
in the on-screen display appears.
3
Press
M
/
m
to select a language.
The system displays the on-screen display, the
menu and subtitles in the selected language.
Note
The selectable language is different depending on the
area.
4
Press
(ENTER).
Quick Setup is finished. All connections and setup
operations are complete.
M
/
m
/
(ENTER)
DVD
LANGUAGE SETUP
OSD:
MENU:
AUDIO:
SUBTITLE:
ITALIANO
ESPAÑOL
NEDERLANDS
DANSK
SVENSKA
FRANÇAIS
ENGLISH
ENGLISH
DEUTSCH
Continued


