29
Settings
Cha
p
te
r 2
Pre
par
at
ion
s
4
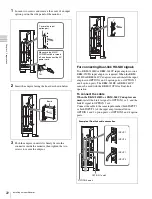
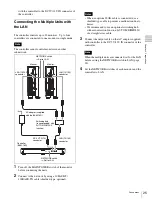
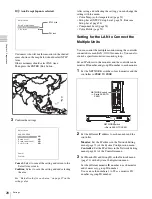
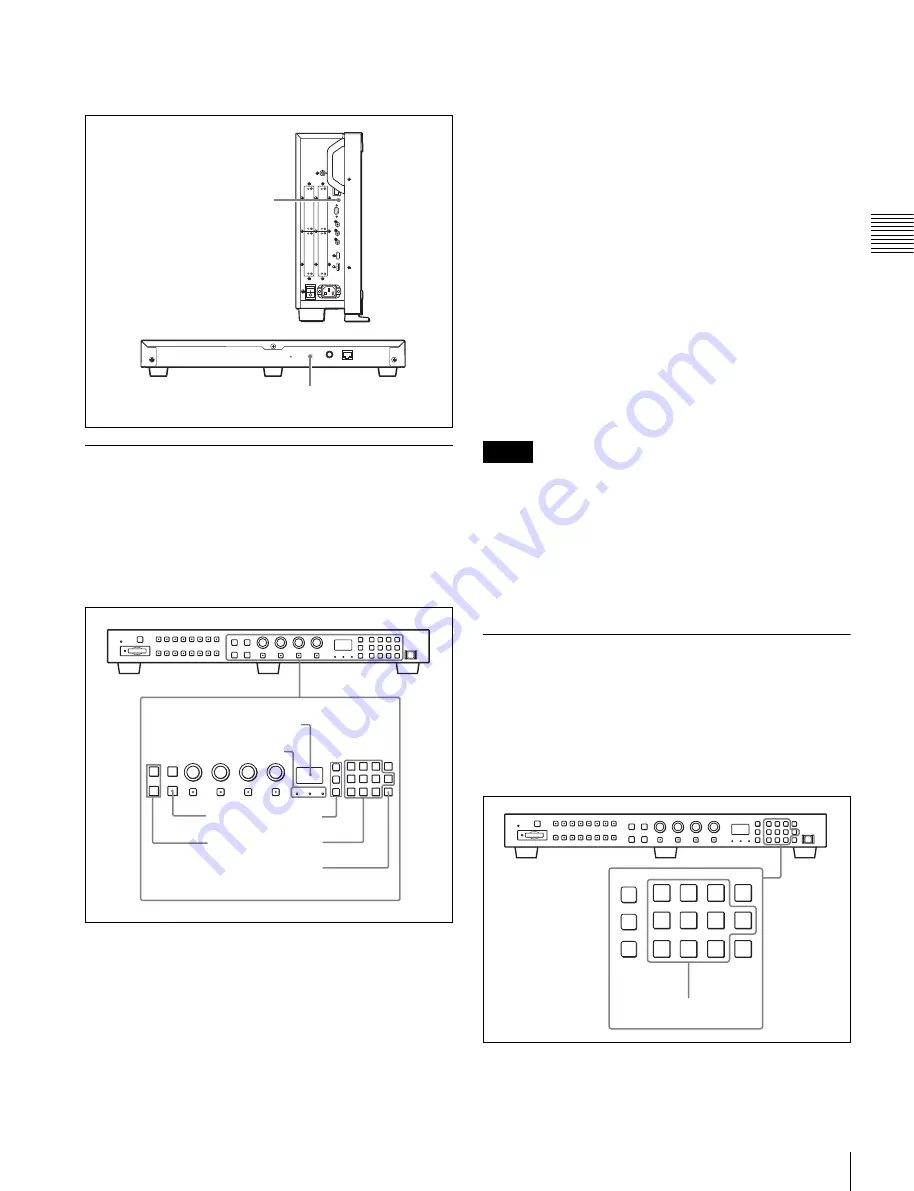
Set the NETWORK switches of the monitor and the
controller to LAN.
Selecting the Monitor (Designation
of the Monitor or Group ID Number)
When the multiple monitors are connected by the network
connections, you can remotely connect the monitors from
the controller by designating the set monitor ID number or
group ID number.
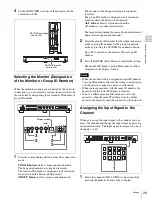
1
Press the corresponding button to select the connection
mode.
SINGLE button:
Selects single connection mode.
The designated monitor is connected remotely.
The monitor ID number is displayed on all connected
monitors when the button is held pressed.
GROUP button:
Selects group connection mode.
The monitor of the designated group is connected
remotely.
The group ID number is displayed on all connected
monitors when the button is held pressed.
ALL button:
Selects all connection mode.
All monitors are connected remotely.
The lamp corresponding the pressed button flashes and
lights after recognizing the monitor.
2
Select the monitor ID number for the single connection
mode or group ID number for the group connection
mode by pressing the UP/DOWN or numeric button.
Up to 99 is entered as the monitor ID or group ID
number.
3
Press the ENTER or Ent button to confirm the setting.
The monitor ID number, group ID number or ALL is
displayed in the display window.
• When the monitor with no assigned monitor ID number
or group ID number is selected, the setting is not changed
and the previous connection status is maintained.
• When there are monitors with the same ID number, the
monitor with the lower IP address is selected.
• Even if a different monitor ID number is set to the
monitors, when the same IP address is set to another
monitor, the monitor cannot be connected to the network.
Assigning the Input Signal to the
Channel
When you assign the input signal to the channel, you can
select the channel and change the input signal by pressing
the numeric button. The input signal is assigned to one of
channels 1 to 30.
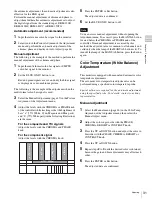
1
Select the channel (CH1 to CH30) to be assigned by
pressing the numeric button of the controller.
NETWORK switch
t
Set to LAN.
NETWORK switch
t
Set to LAN.
2
1
2
3
3
Lamp
Display window
Notes
1


