28
Settings
Cha
p
te
r 2
Pre
par
at
ion
s
If
4
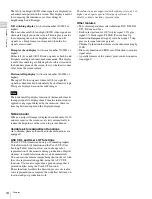
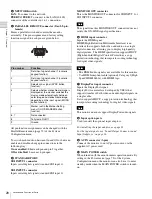
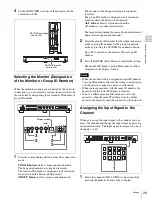
Asia Except Japan is selected:
Customers who will use this monitor in the shaded
areas shown in the map below should select NTSC
Area.
Other customers should select PAL Area.
Then press the ENTER (Ent) button.
3
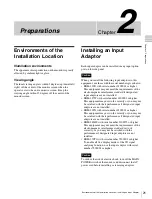
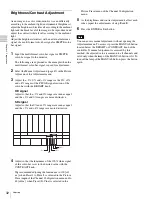
Confirm the settings.
Cancel:
Select to cancel the setting and return to the
Select Area screen.
Confirm:
Select to save the setting and end selecting
the area.
See “Default value for each area” on page 27 on the
setting value.
After saving and reflecting the setting, you can change the
setting with the menu.
• Color Temp (color temperature) (page 51)
• Setup Level (NTSC Setup Level: page 54, Betacam
Setup Level: page 54)
• Component Level (page 54)
• Color Profile (page 52)
Setting for the LAN to Connect the
Multiple Units
You can control the multiple monitors using the controller
connected via each LAN (10/100) connector. You can also
control a specific monitor or monitor group.
Set an IP address to the monitors and the controller and a
monitor ID number and group ID number to each monitor.
1
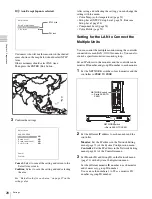
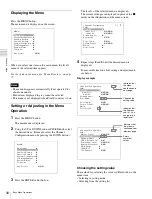
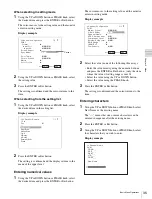
Set the NETWORK switches of each monitor and the
controller to PEER TO PEER.
2
Set the different IP address to each monitor and the
controller.
Monitor:
Set the IP address in the Network Setting
menu (page 71) of the System Configuration menu.
Controller:
Set the IP address in the Network Setting
menu (page 81) of the Controller menu.
3
Set Monitor ID and Group ID in the Network menu
(page 71) of the System Configuration menu.
Set the different monitor ID number to each monitor
and if necessary, group ID number.
You can use the numbers 1 to 99 as a monitor ID
number or group ID number.
Asia Except Japan
NTSC Area
B
PAL Area
B
Select Area
NTSC area
PAL area
XXXXXXXXXX
Color Temp:
xx
Setup Level:
xx
Component Level:
xx
Color Profile:
xx
Cancel
Confirm
Select Area
NETWORK switch
t
Set to PEER TO PEER.
NETWORK switch
t
Set to PEER TO
PEER.

