Maintenance and Printer Status
29
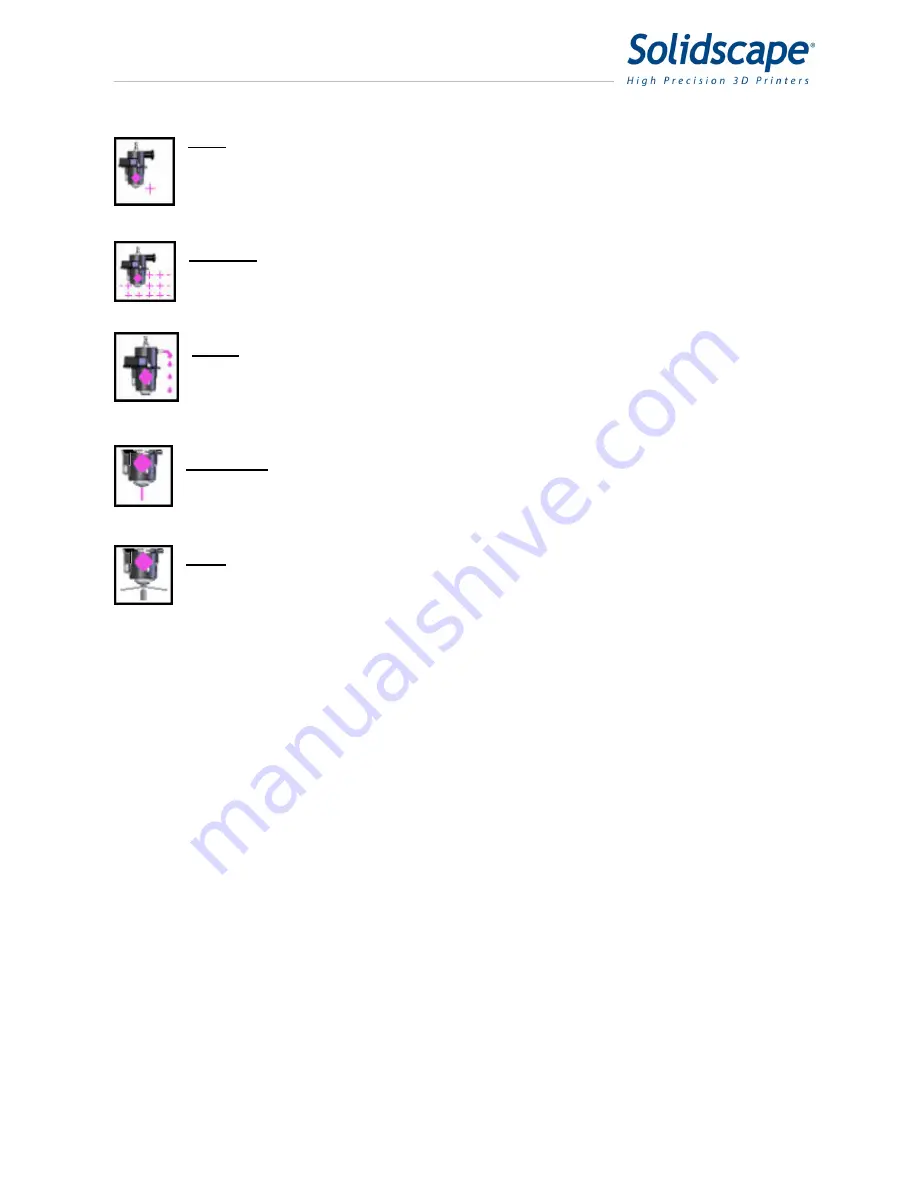
Test
Touching the test icon will command the printhead to print a single test line or
cross on the paper. The camera will then attempt to read the line. If the line is read
successfully, the printhead icon will have a green check next to it. If there is a failure,
the printhead icon will have either a red x or yellow warning check.
Refer to figure 8-2
Multitest
Touching Multitest will command the printer to print a row of successive
tests on the paper. The camera will read each test and will indicate a pass or failure
of the test.
Purge
Touching the purge icon will command the printer remove the purge cap from
the printhead and then purge the material into the purge cup. This is done to remove
any air bubbles that may have been trapped in the heated line. At this time the air
bubble within the printhead, will be restored.
Fire Purge
Touching the Fire Purge icon will command the printer to force material
through the printhead and, at the same time, exercise the printhead with a series of
frequency tests.
Wipe
Touching the Wipe icon will command the printer to wipe any excess material
from the face of the printhead.
7.2
Cleaning the Camera Lens
The 3Z printer utilizes a small digital camera for a variety of tests and calibrations. It is essential
that the camera lens be clean in order for these procedures to be performed accurately. The
camera lens is located on the Y carriage next to the printheads. The lens is facing down. See
Figure 7-5 Cleaning Camera Lens. The lens should be cleaned with a pre moistened, lint free
lens cleaner similar to one used for cleaning photographic cameras. Place the lens cleaner over
a Qtip and gently clean the camera lens. Do not touch the lens with your finger or any other
cleaning instrument.
7.3
Cleaning the Purge Cap Removal Station.
During the printhead setup operation, the purge cap is removed and replaced from each
printhead. During this process, some residual build or support material may stick to the purge
cap removal station. The excess material may eventually build up. To prevent this, the area
must be cleaned periodically. Excess debris should be scraped off with a plastic putty knife and
Summary of Contents for 3Z Max
Page 1: ...I 3zseries User Manual Part Number 840180 Rev F August 2013...
Page 5: ...VI...
Page 13: ...Cautions XIV...
Page 23: ...Power on Procedure 10...
Page 33: ...Job Finish 20...
Page 39: ...Maintenance and Printer Status 26 Figure 7 1 Printhead Screens...
Page 51: ...Printer Subordinate Systems 38...
Page 61: ...Connecting the Printer 48 Figure 10 9 Starting Windows 7 Control Panel...
Page 66: ...Connecting the Printer 53 Figure 10 15 Windows XP Network Connection Properties...
Page 67: ...Connecting the Printer 54...
Page 73: ...Post Processing 60...
Page 77: ...Technical Specifications 64...


