STEP
ACTION
1
2
3
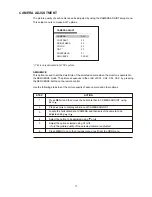
Press MENU and then move the indication bar to DATE/TIME using or .
Press
or
to display sub-menu of DATE/TIME.
Move the indication bar to DATE FORMAT and select the format you want using
or
.
4
Move the indication bar to the item (DATE
TIME) to be adjusted using
or .
or
DISPLAY
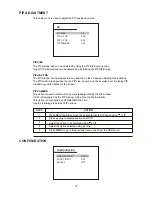
The display option on the time and date setup screen allows you to select whether to display the
time and date on the screen. The default option is ON.
Use the following steps to adjust the DATE/TIME option.
5
Select one of the option using
or
.
6
Adjust the option using or .
7
Press MENU to display the previous OSD window.
8
Move the indication bar to DISPLAY and select the option "ON" to display time
and date on the screen.
9
Press MENU to go to the previous OSD window or exit from the OSD.
PICTURE ADJUSTMENT
PICTURE
OVERVIEW
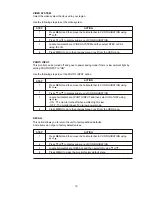
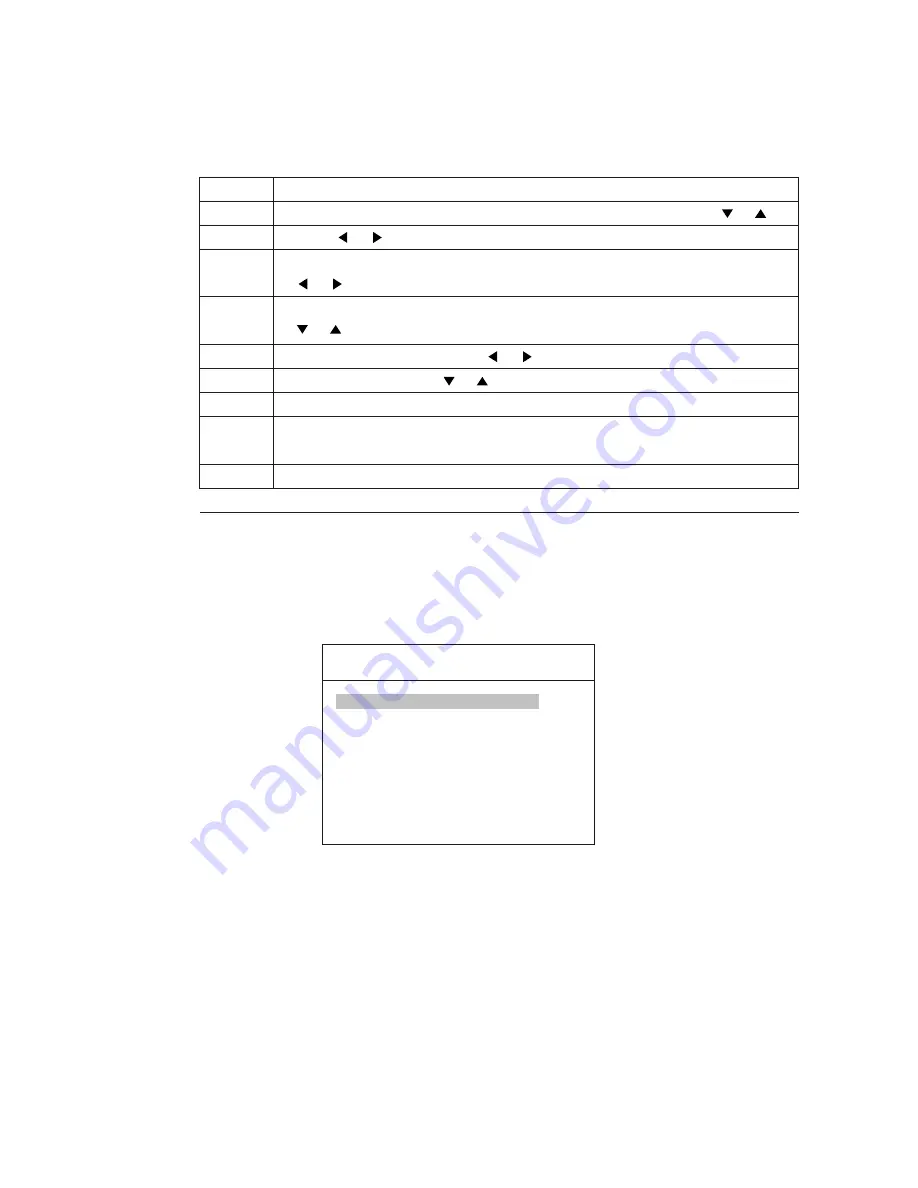
The PICTURE menu allows you to modify the picture quality by adjusting the contrast, brightness,
color, tint and sharpness.
VOLUME
00
CONTRAST
19
BRIGHTNESS
19
COLOR
50
1)
TINT
50
SHARPNESS
06
MOTION ADJUST
2
1) Tint is only activated in NTSC system.
VOLUME
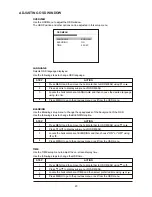
The volume adjustment controls the audio level to the internal speakers.
MOTION ADJUST
MOTION ADJUST does not affect the motion detection settings of cameras.
This control is used to adjust the picture quality of moving images.
At times unwanted artifacts can be seen on the edge of objects moving fast through the scene.
A lower value results in improved picture quality for images moving fast.
However, a better picture quality is obtained by adjusting MOTION ADJUST to a larger value in
still image scenes.
15


